Palare: the hi-fi AF “Externalized” Lingo 4
Okay, enough griping about the Lingo 4! The one I have runs quietly, holds its speed, and sounds great. So why mess with a good thing?
Well, obviously, I just can’t resist.
Rationale for Externalizing the Lingo 4
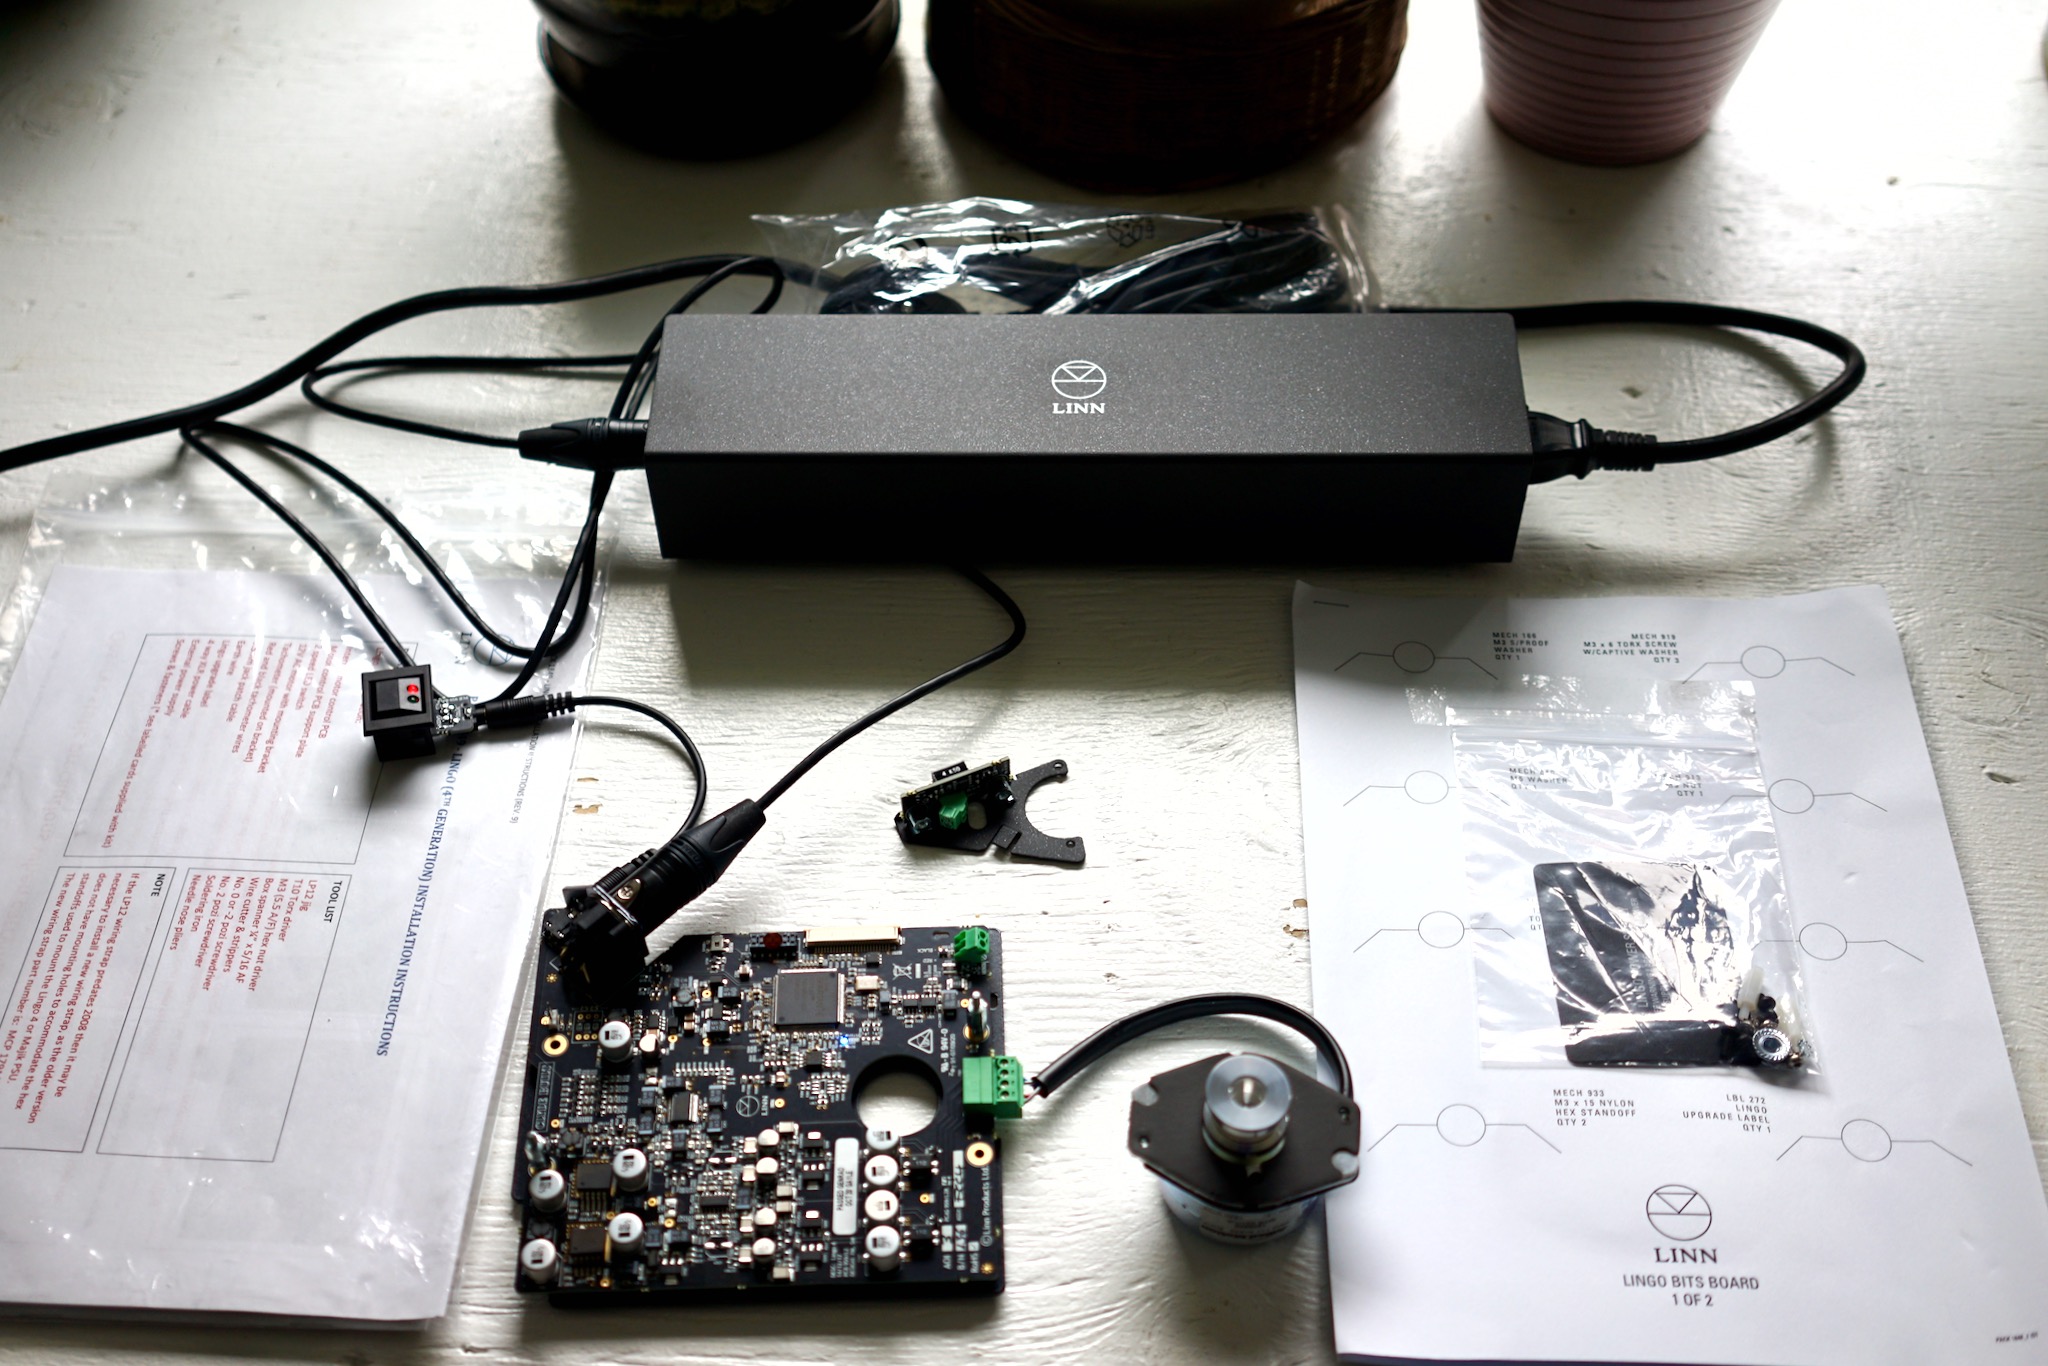
I don’t really understand why the electronics of the Lingo 4 mount internally in the deck. The Valhalla mounted in the deck — so when the Lingo 1 came around, much of the argument for why you needed one was that it got those nasty, noise-generating electronics as far as possible from your uber-sensitive MC cartridge and its infinitesimal, easily-annoyed signals.
The Lingo 4, however, sits inside the deck. Why? Being charitable, I would assume that it was because (a) it’s cheaper to make, requiring no extra external box; and (b) Linn found that mounting it internally was not significantly noisier than external mounting.
But I wanted to test (b). I did this by mounting a totally unshielded, non-twisted phono cable from my TT to my phono preamp. It picked up a fair amount of noise, as you can hear in the video below: with the volume jacked, there was a very perceptible hum. The interesting thing is that this hum changes in frequency when toggling between 33.3 and 45pm. It also gets louder when you move the cable toward the Lingo 4 electronics. You might need headphones to hear all this in the video below — but it’s there.
The one thing to keep is mind is that I wasn’t able to isolate motor noise from board noise — the hum you hear might be 100% generated by the motor itself, not by the PSU boards that mount internally.
But anyway, I was looking for an excuse to proceed with this project, and this little experiment was the excuse I needed!
(Note: I also repeated this experiment with two other tonearm cables, both shielded, and I was able to pick up some noise from the Lingo 4 — able to hear the change in tone between 33.3 and 45rpm — in both. Later, I made a custom phono lead from unshielded but twisted cable, and that one is completely impervious to motor noise, even with the Lingo 4 boards in the deck. So that’s the one I’ve continued to use. More on it some other time, perhaps!)
Externalizing the Lingo 4
So the question was, “How to do it?”
As usual, I started with my friends on the AudioFlat forum. I posted this sketch and solicited opinions.
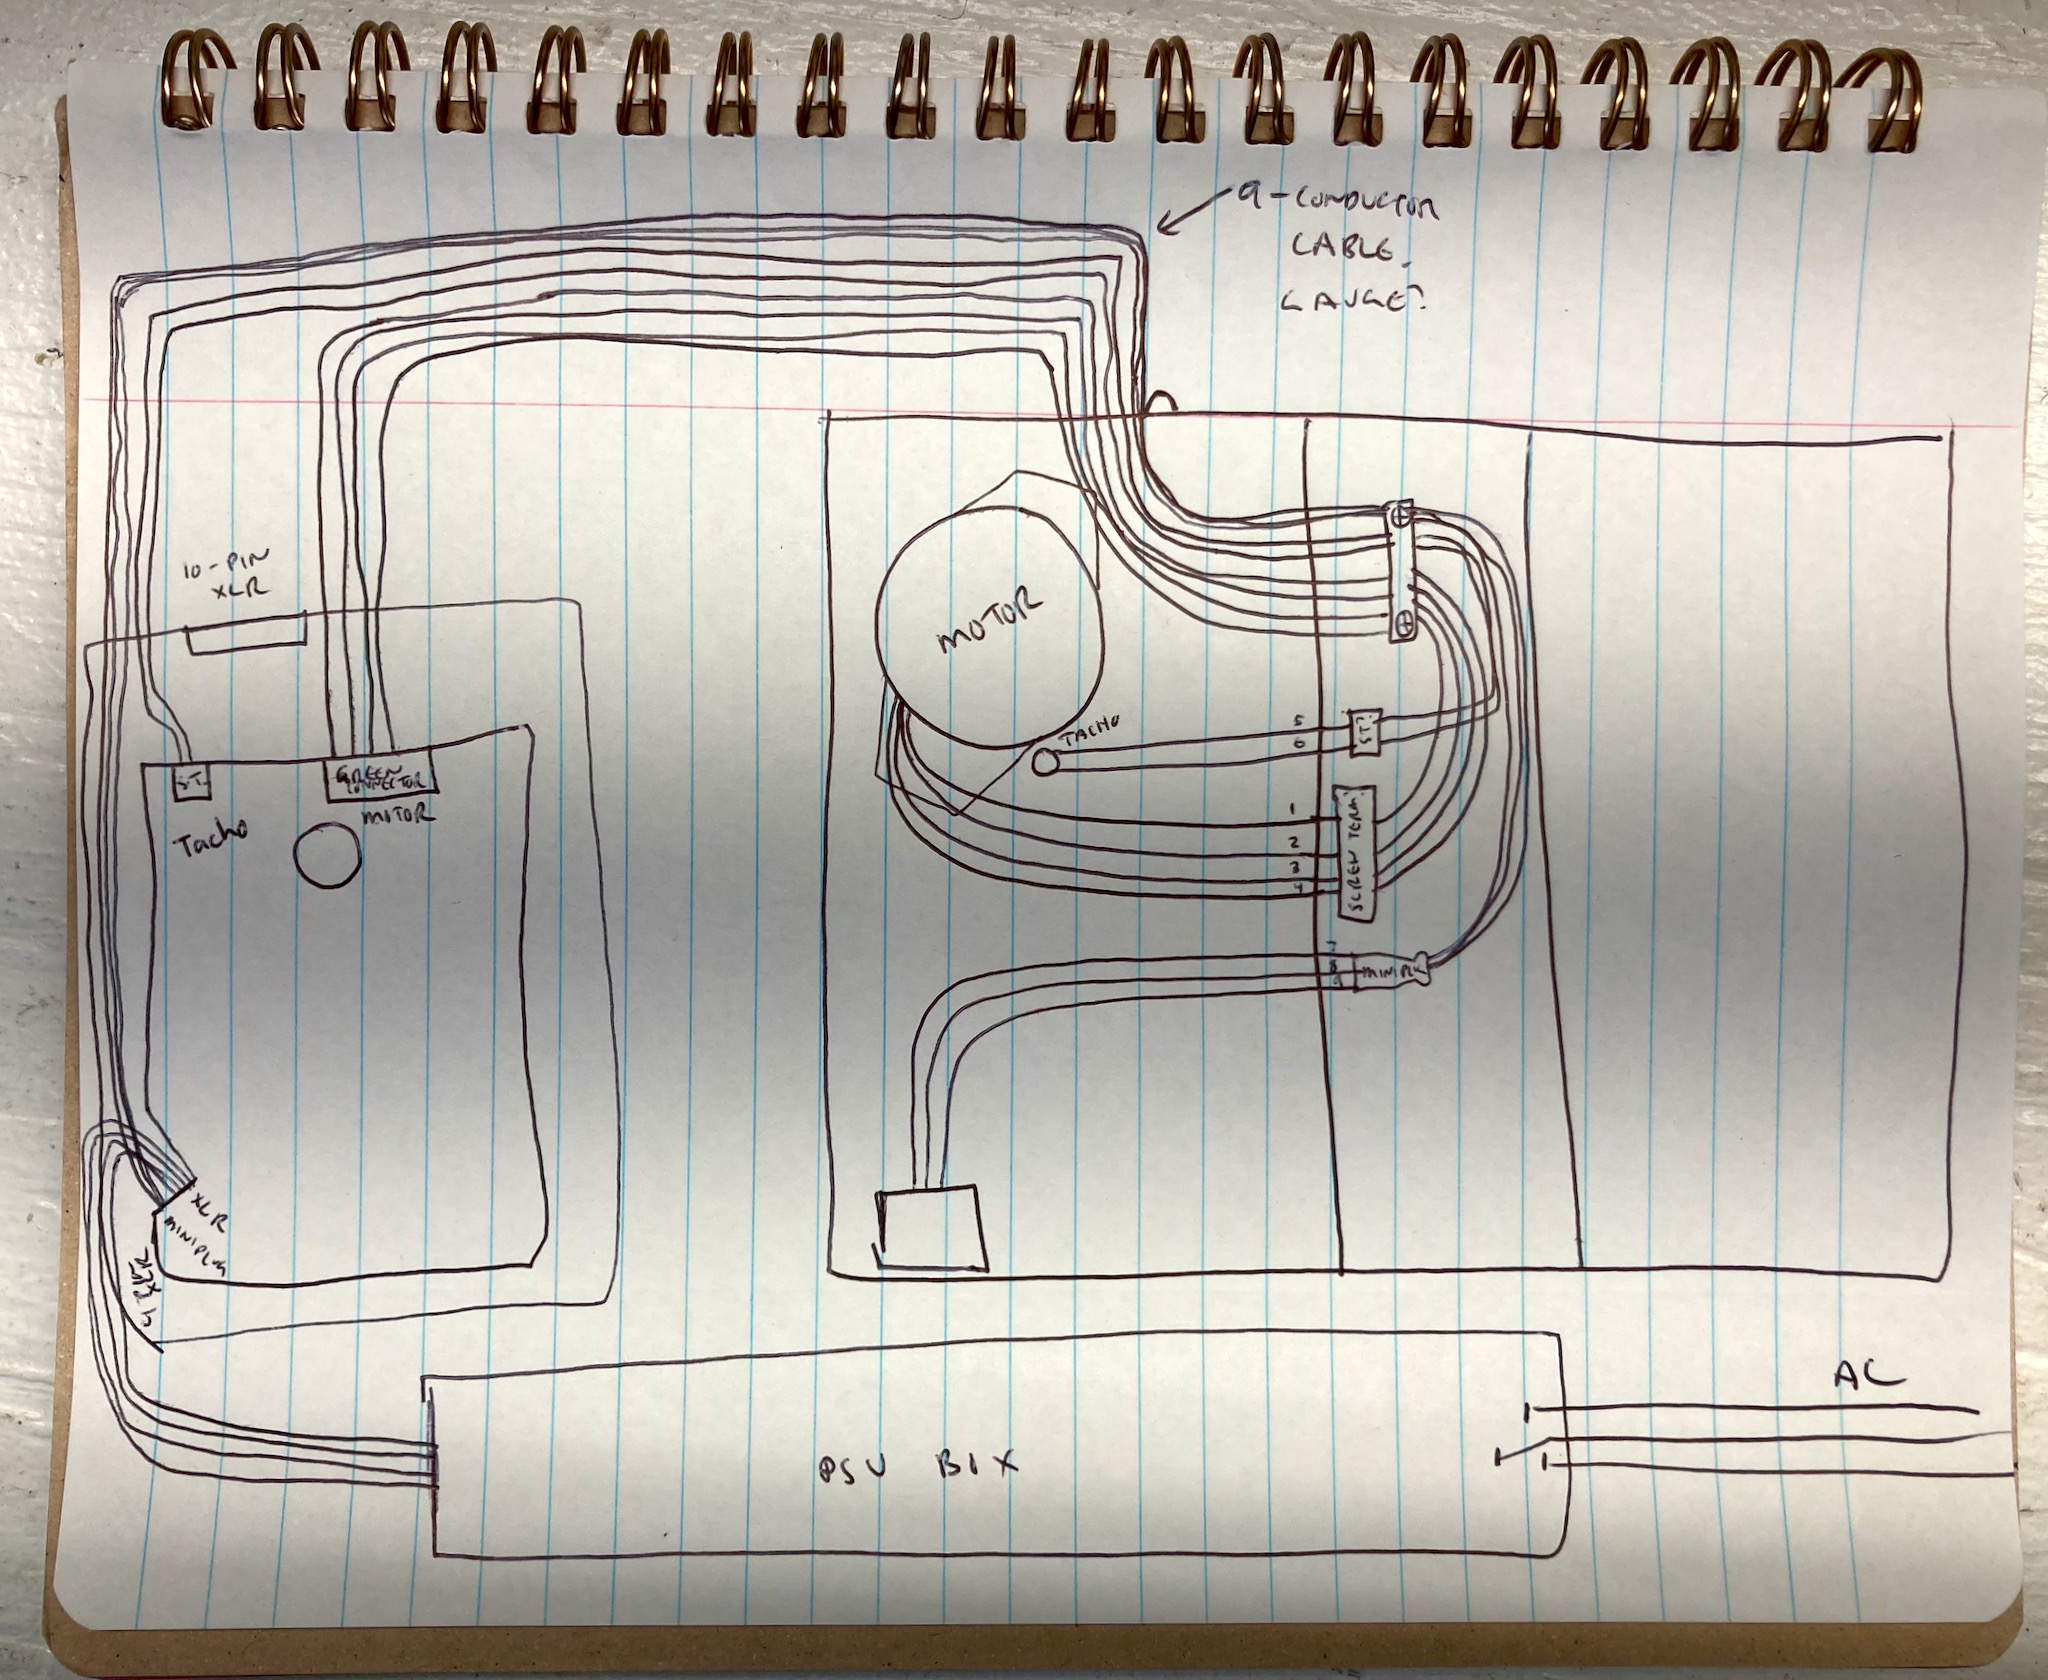
The consensus was I was not crazy and could proceed.
Keeping the switch in the deck would require 9 conductors; moving the switch to the external box would require only 6. Since 6-pin XLR cables and connectors are pretty easy to find, and 9-pin are non-existent and 10-pin fiddly, I decided to externalize the switch too.
First, though, a proof of concept. The pictures tell the story.
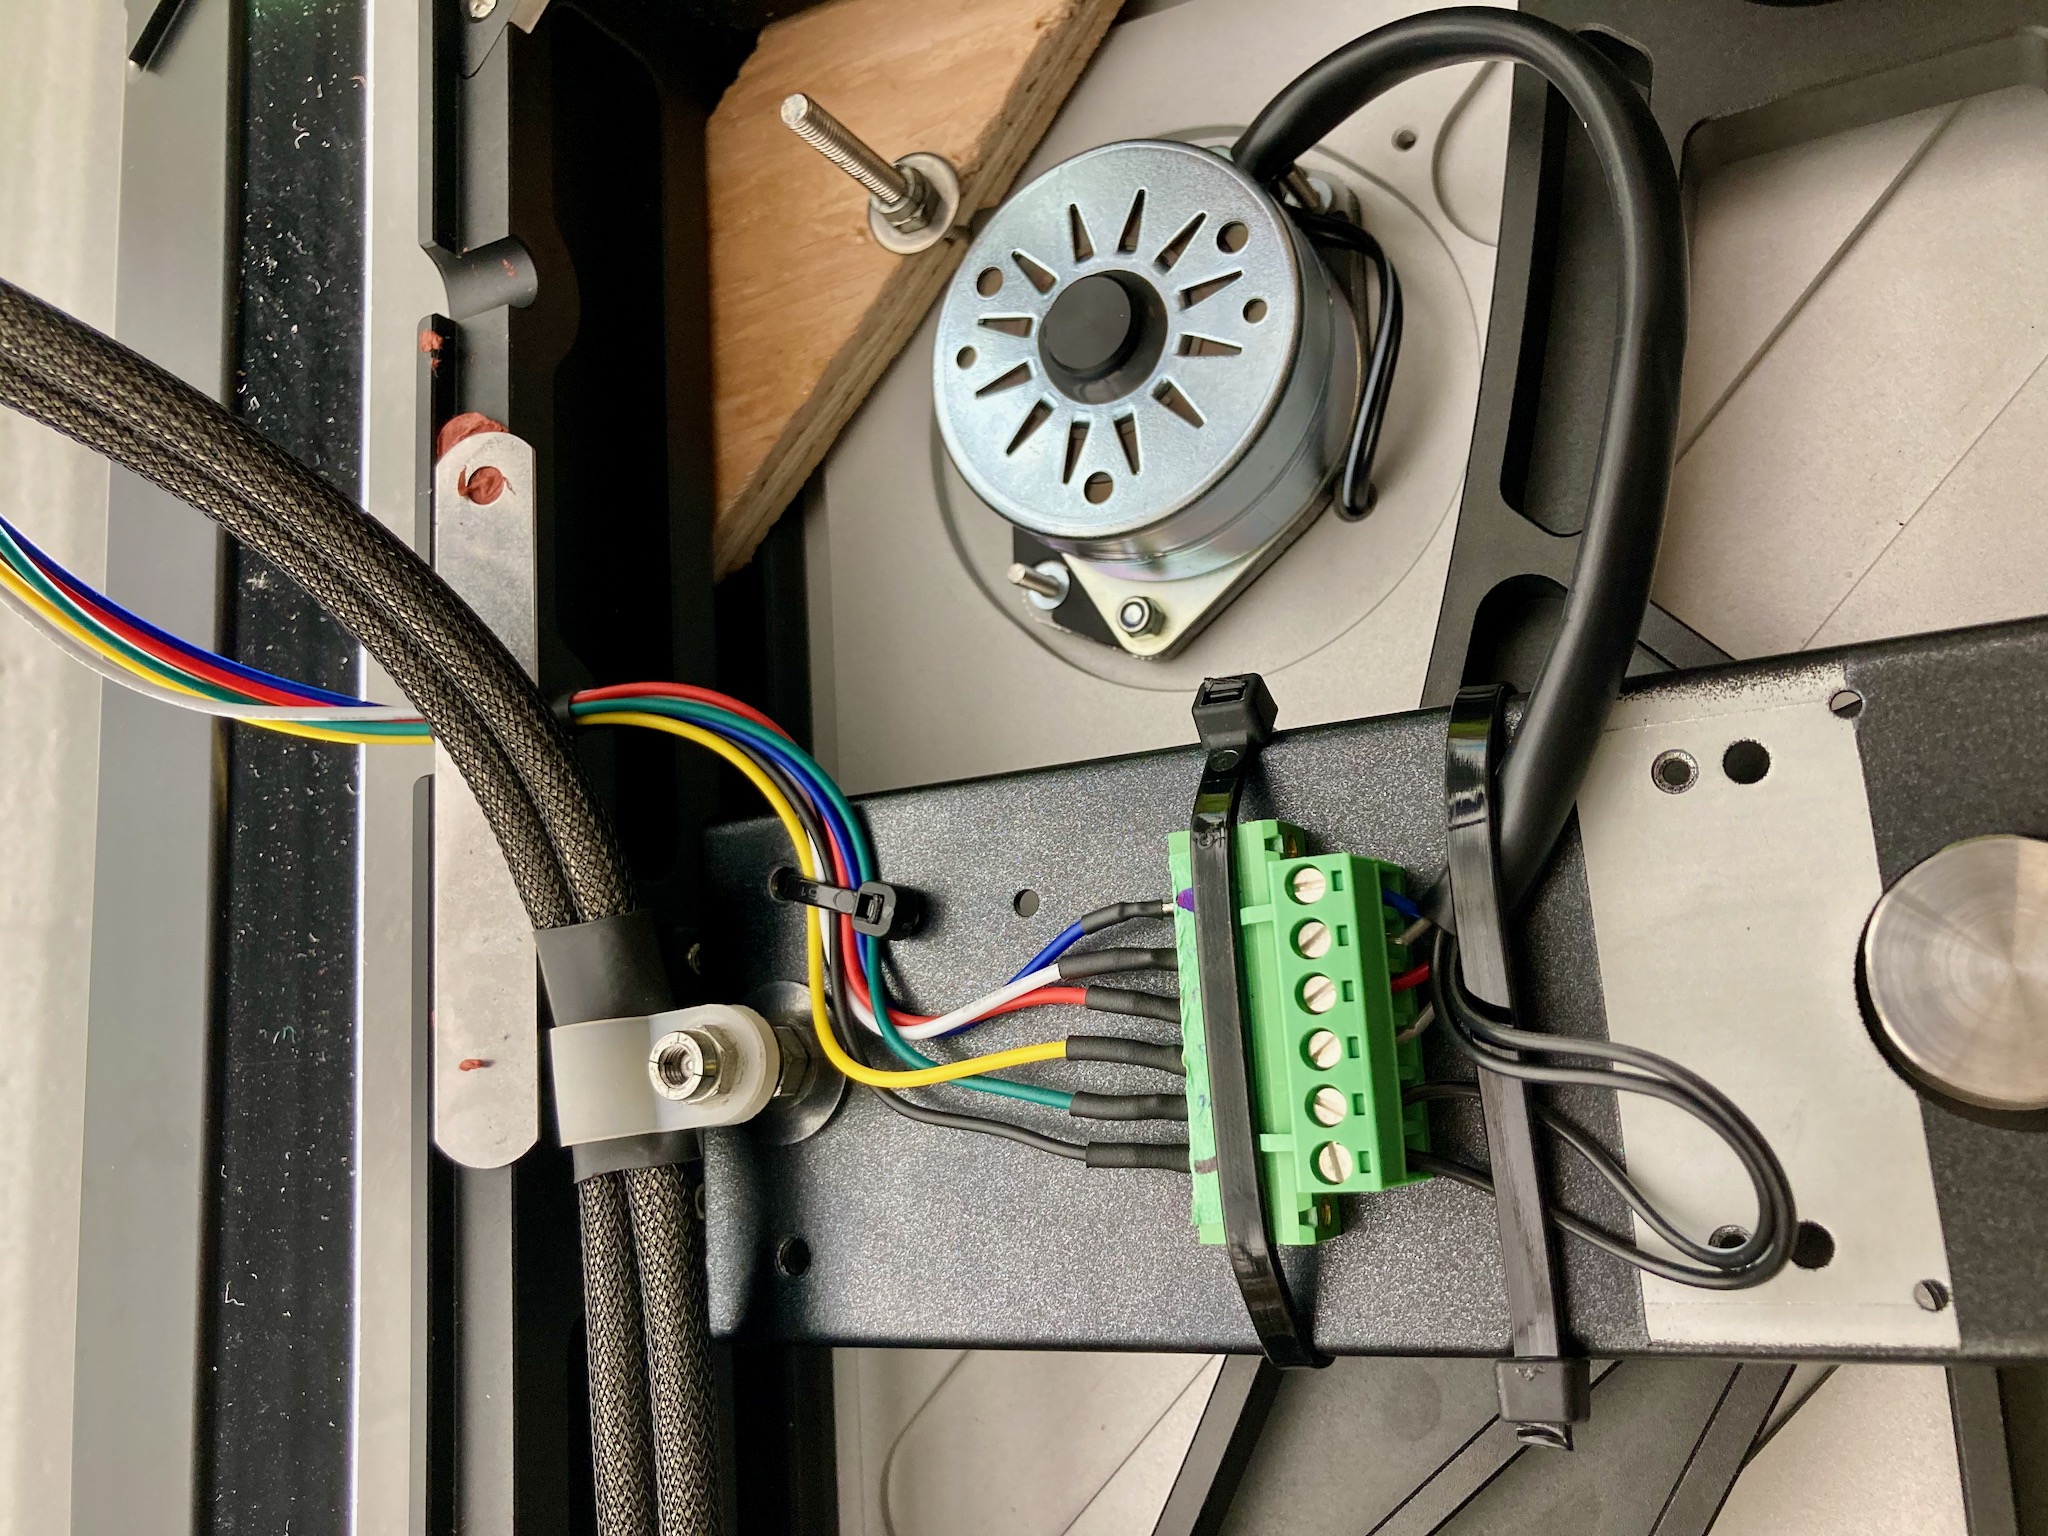
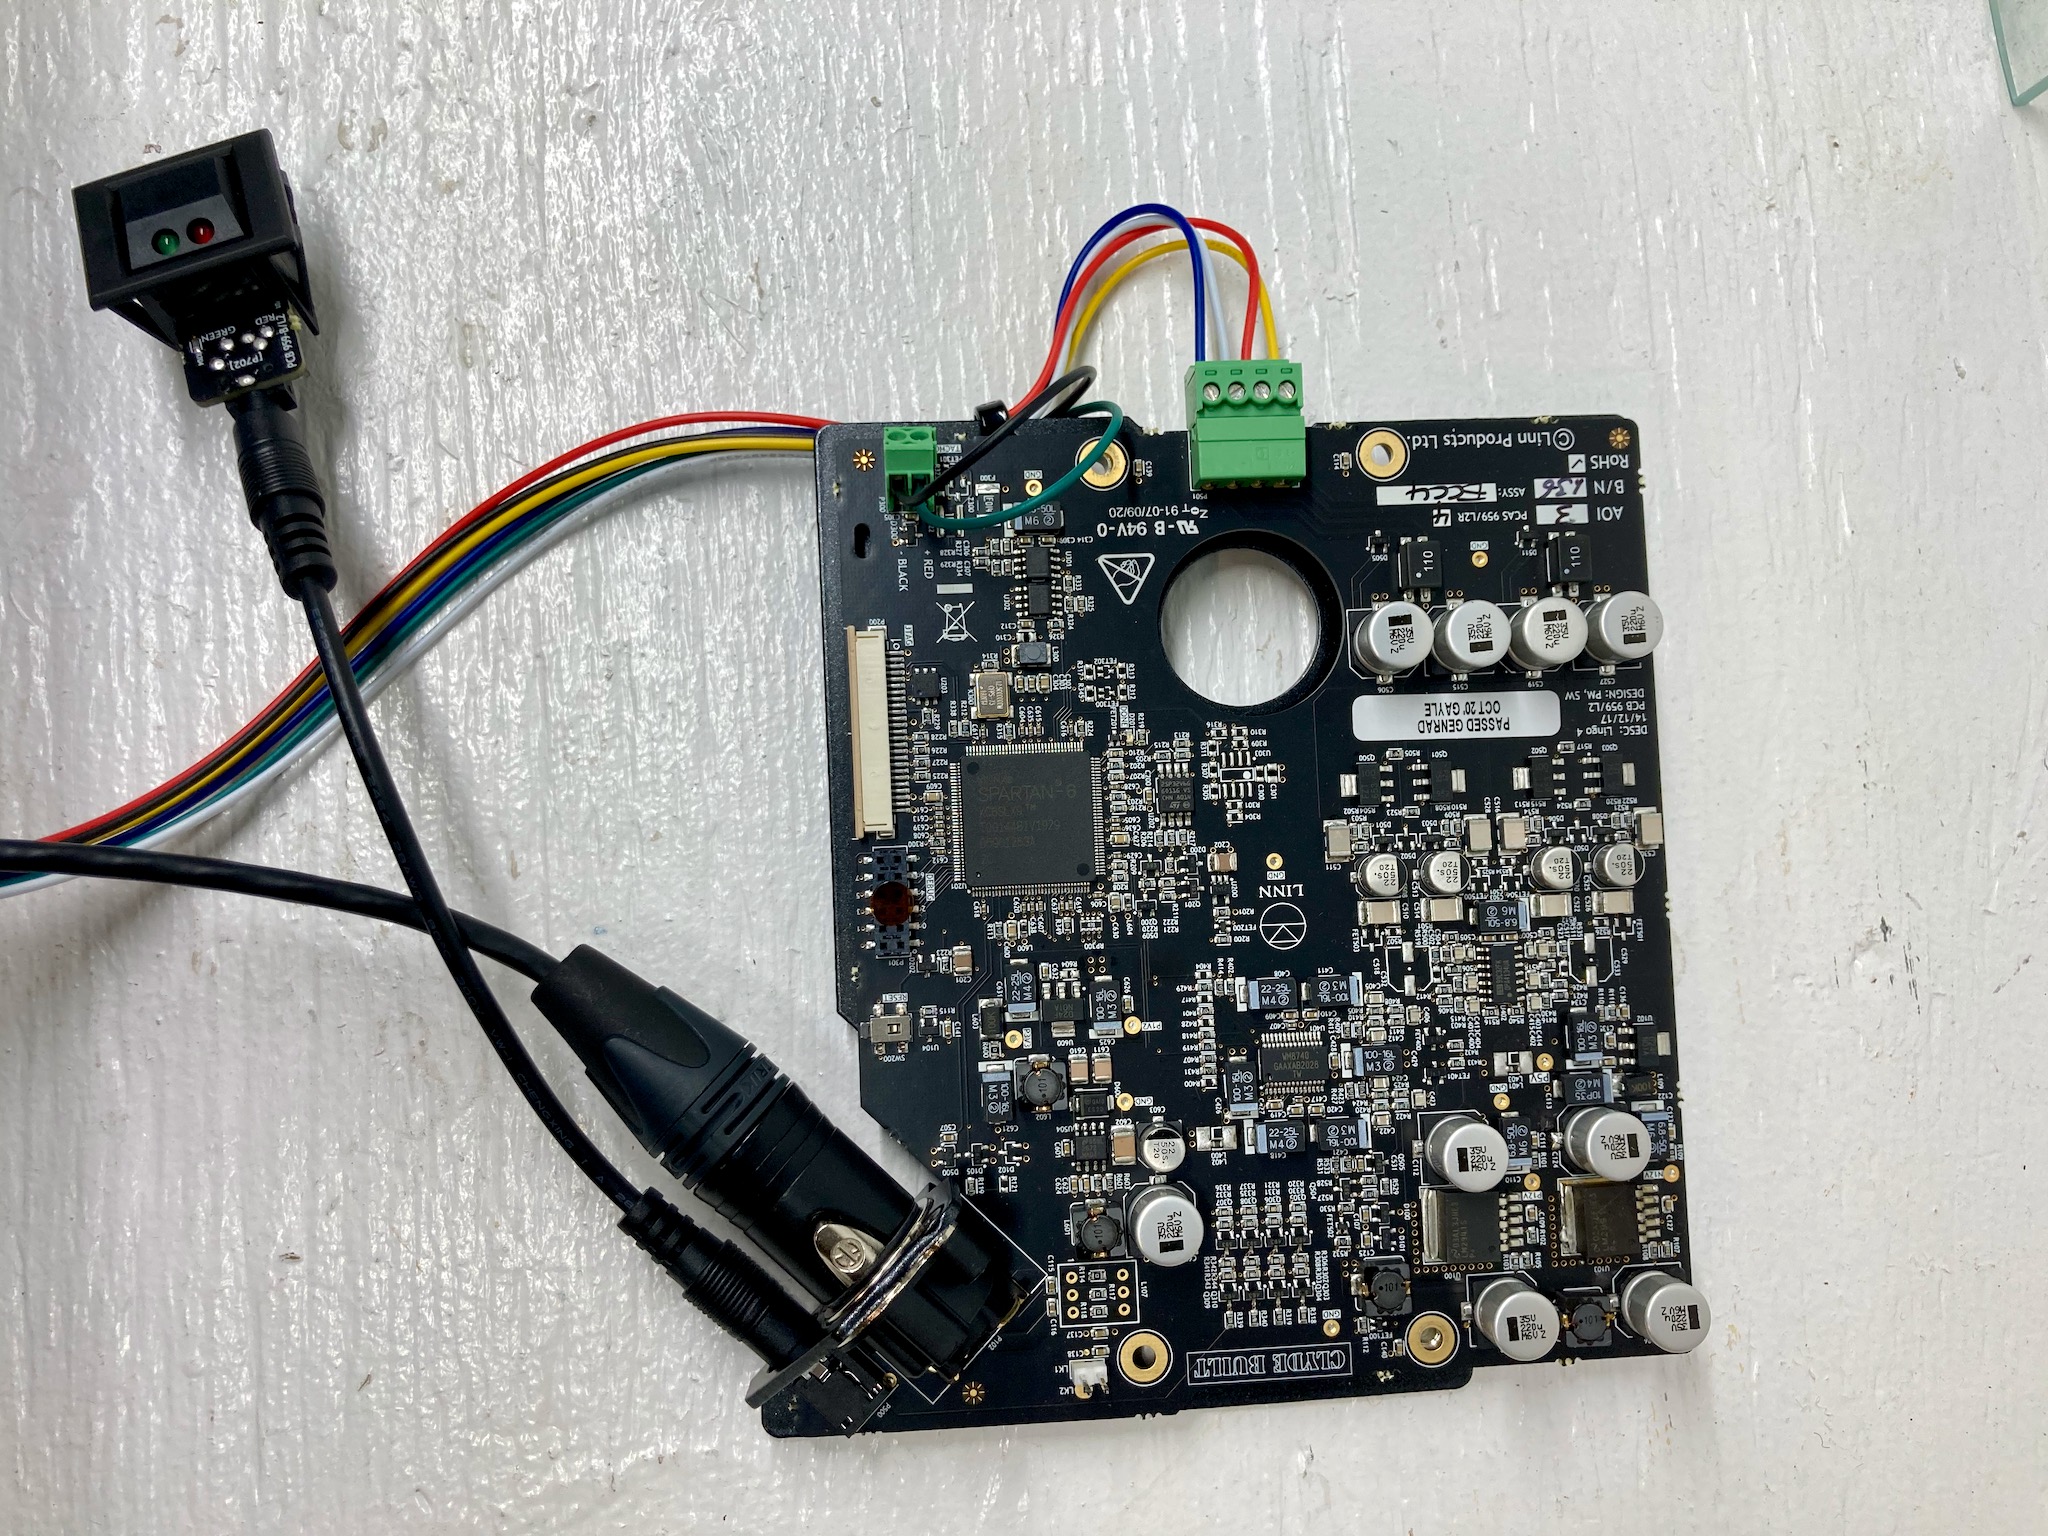
The video tells the rest. Happily, the Lingo 4 was susceptible to externalization. (It may take a while, but the LEDs do eventually dim when the speed locks in!)
Getting It In a Box
The next challenge was deciding what kind of box to house the boards in.
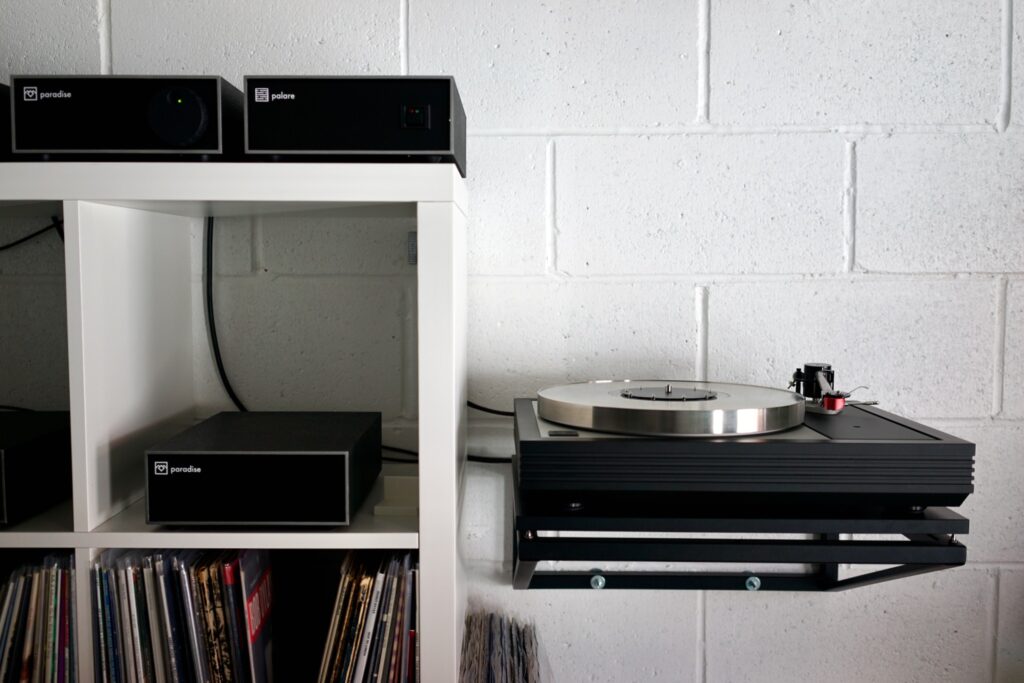
Well, it wasn’t really much of a challenge. I love the Naim “Chrome Bumper” look, my entire system is done in that style, and I had a spare case from the Paradise project. So I decided to put it in a CB box.
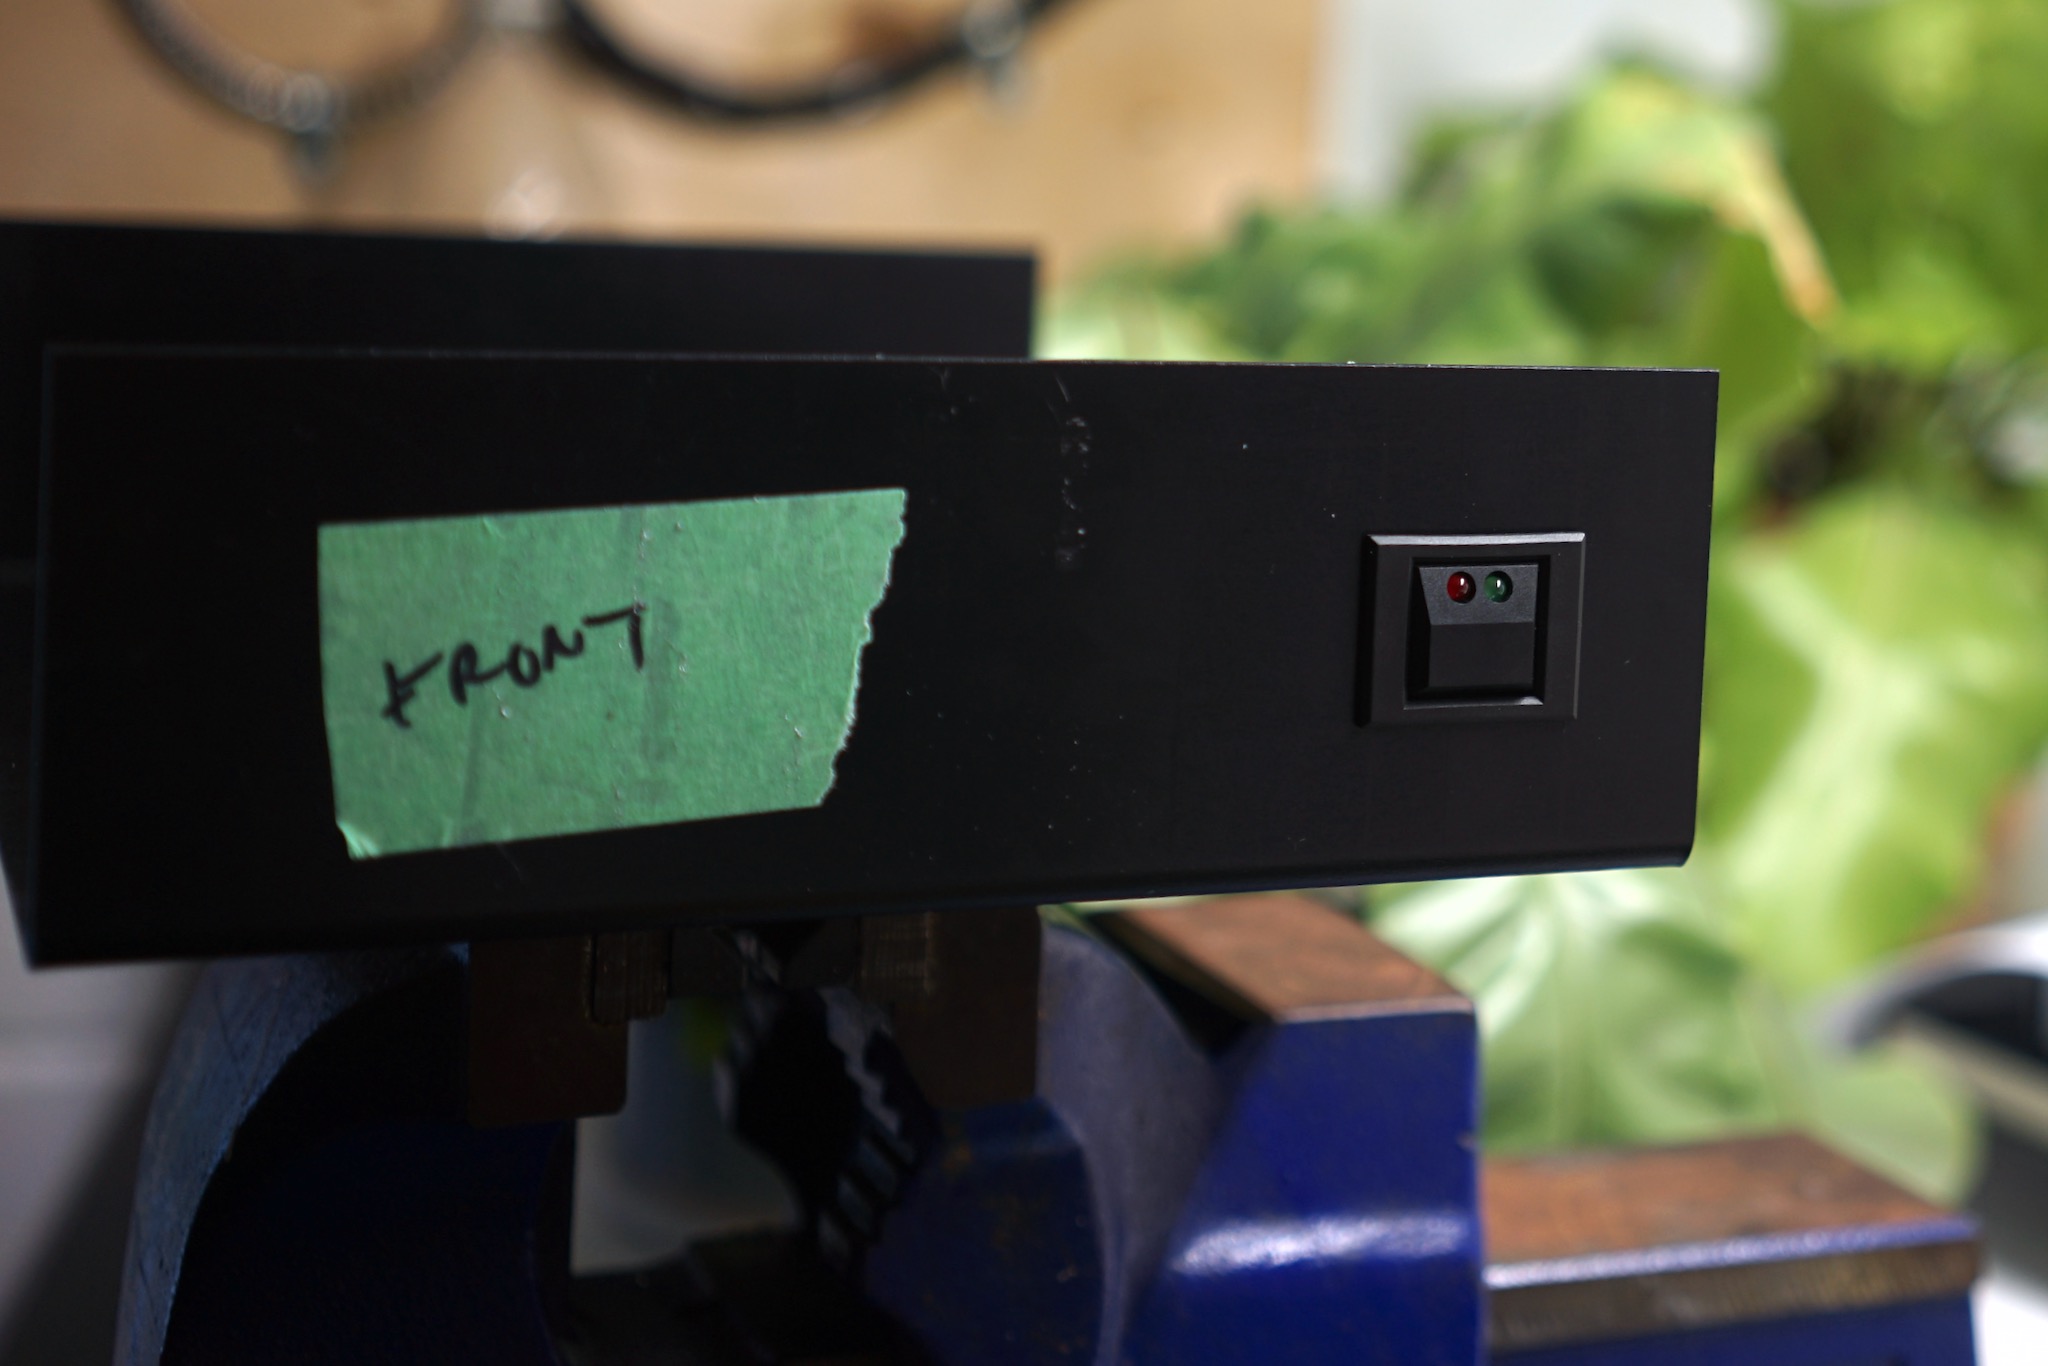
The switch was going to be a bit of a problem. Mounted in what seemed like the most aesthetically pleasing spot, there wouldn’t be room for the 3.5mm connector at the point of attachment to the switch.
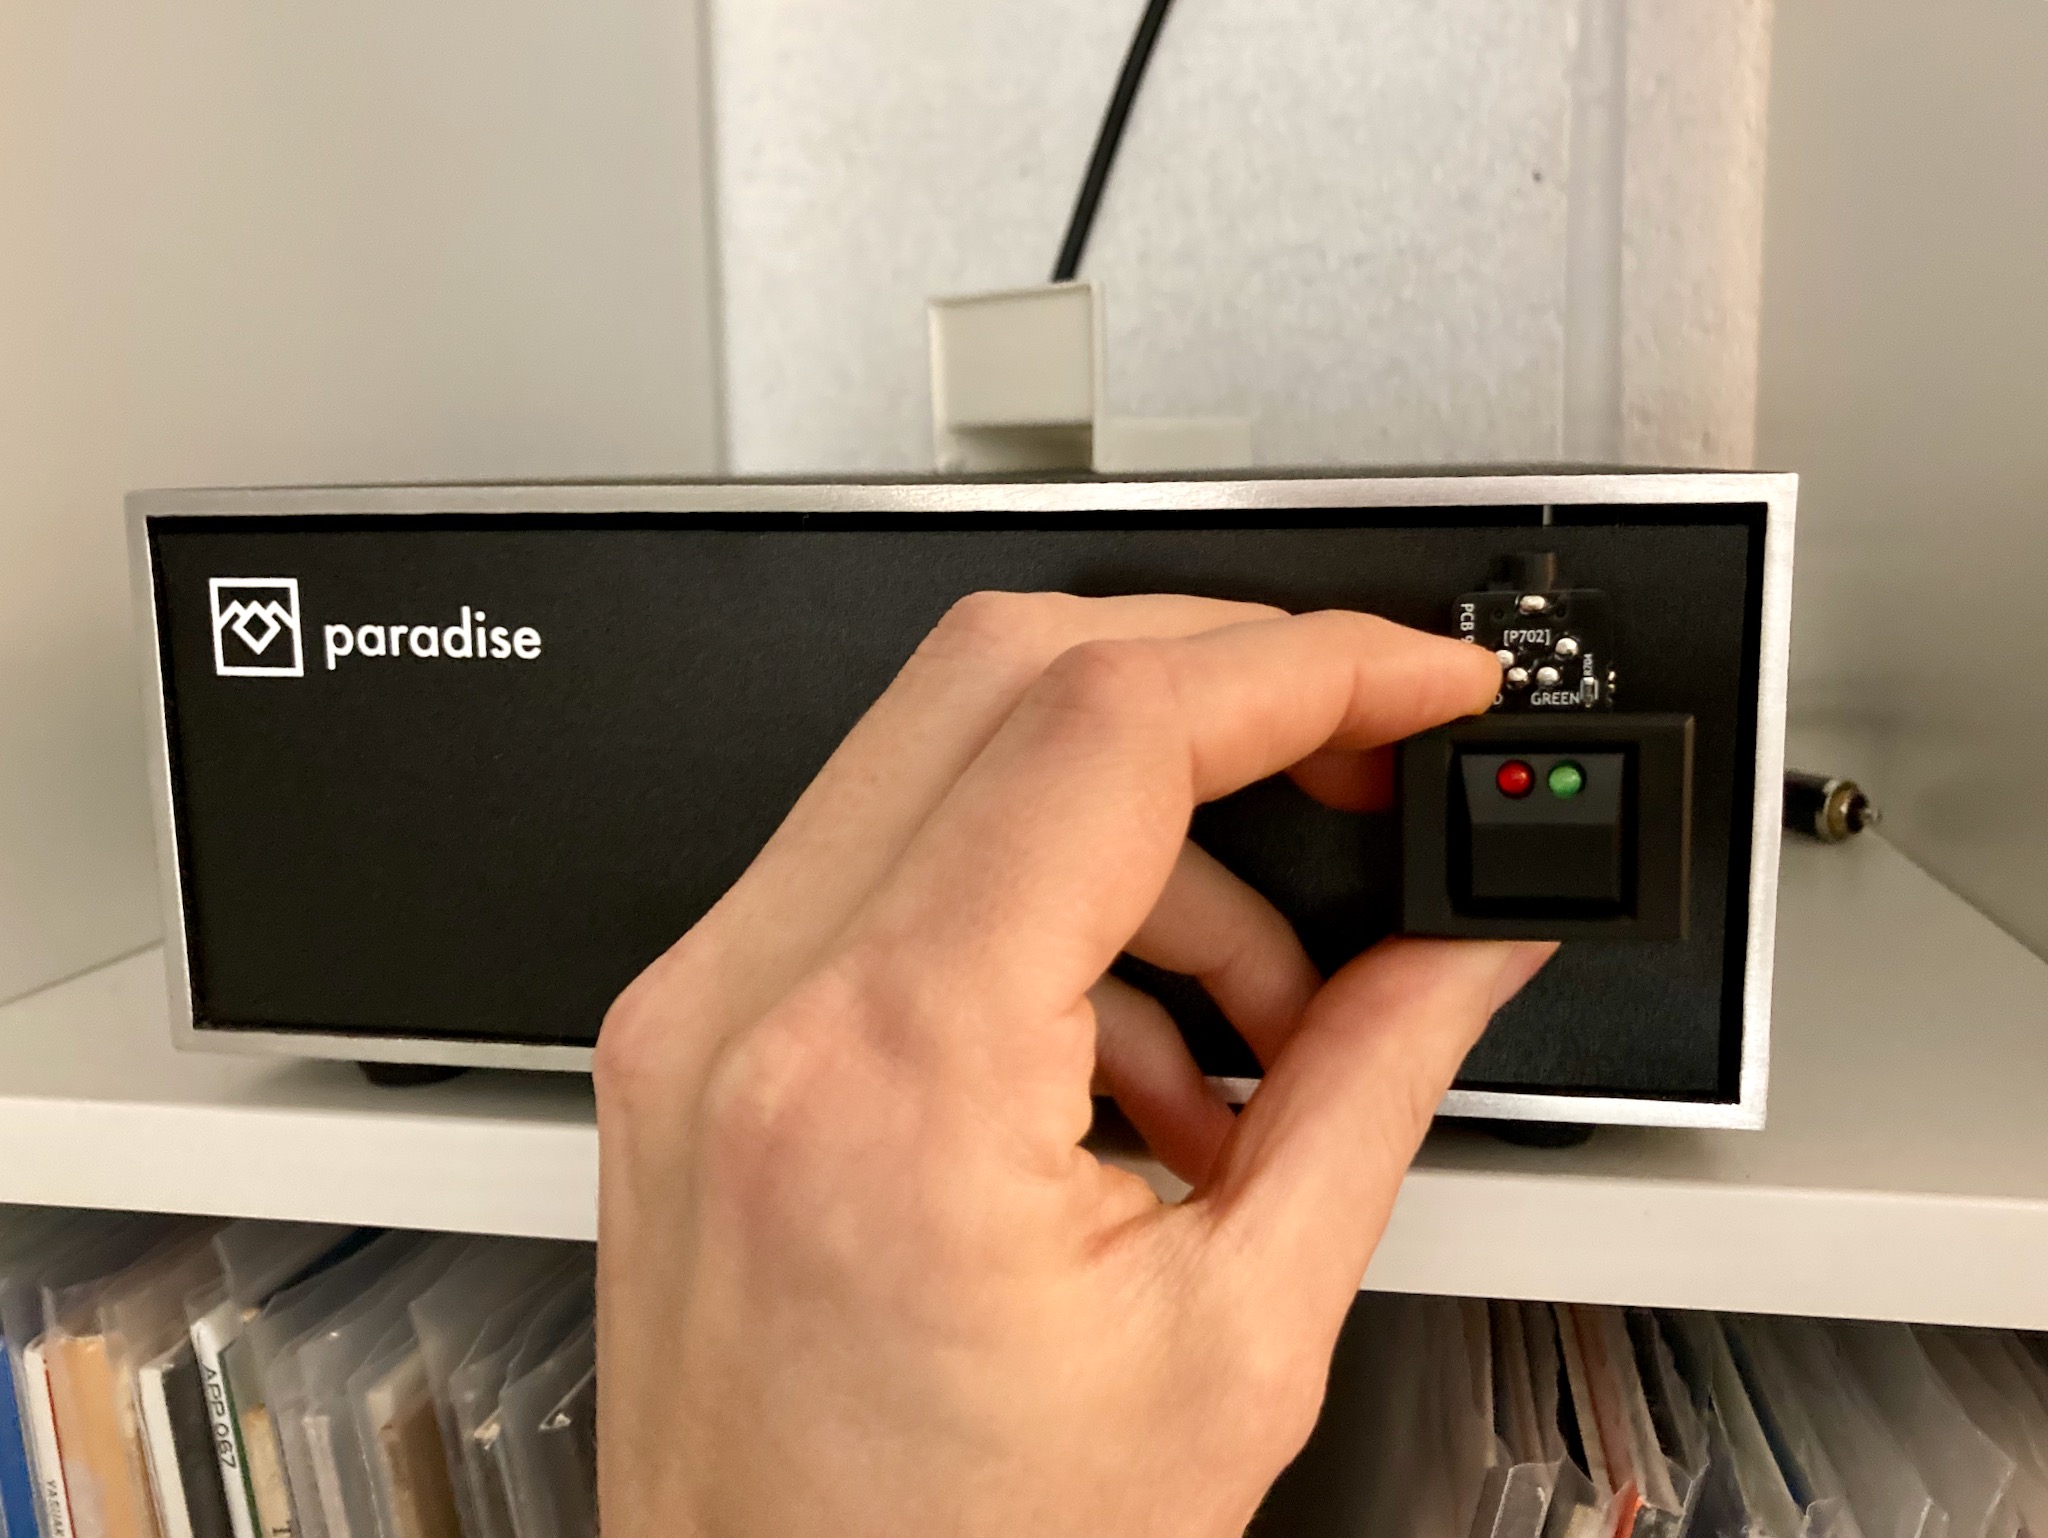
After considering various options, I decided the best thing to do would be to solder directly to the little PCB. These two photos show how the connections work:
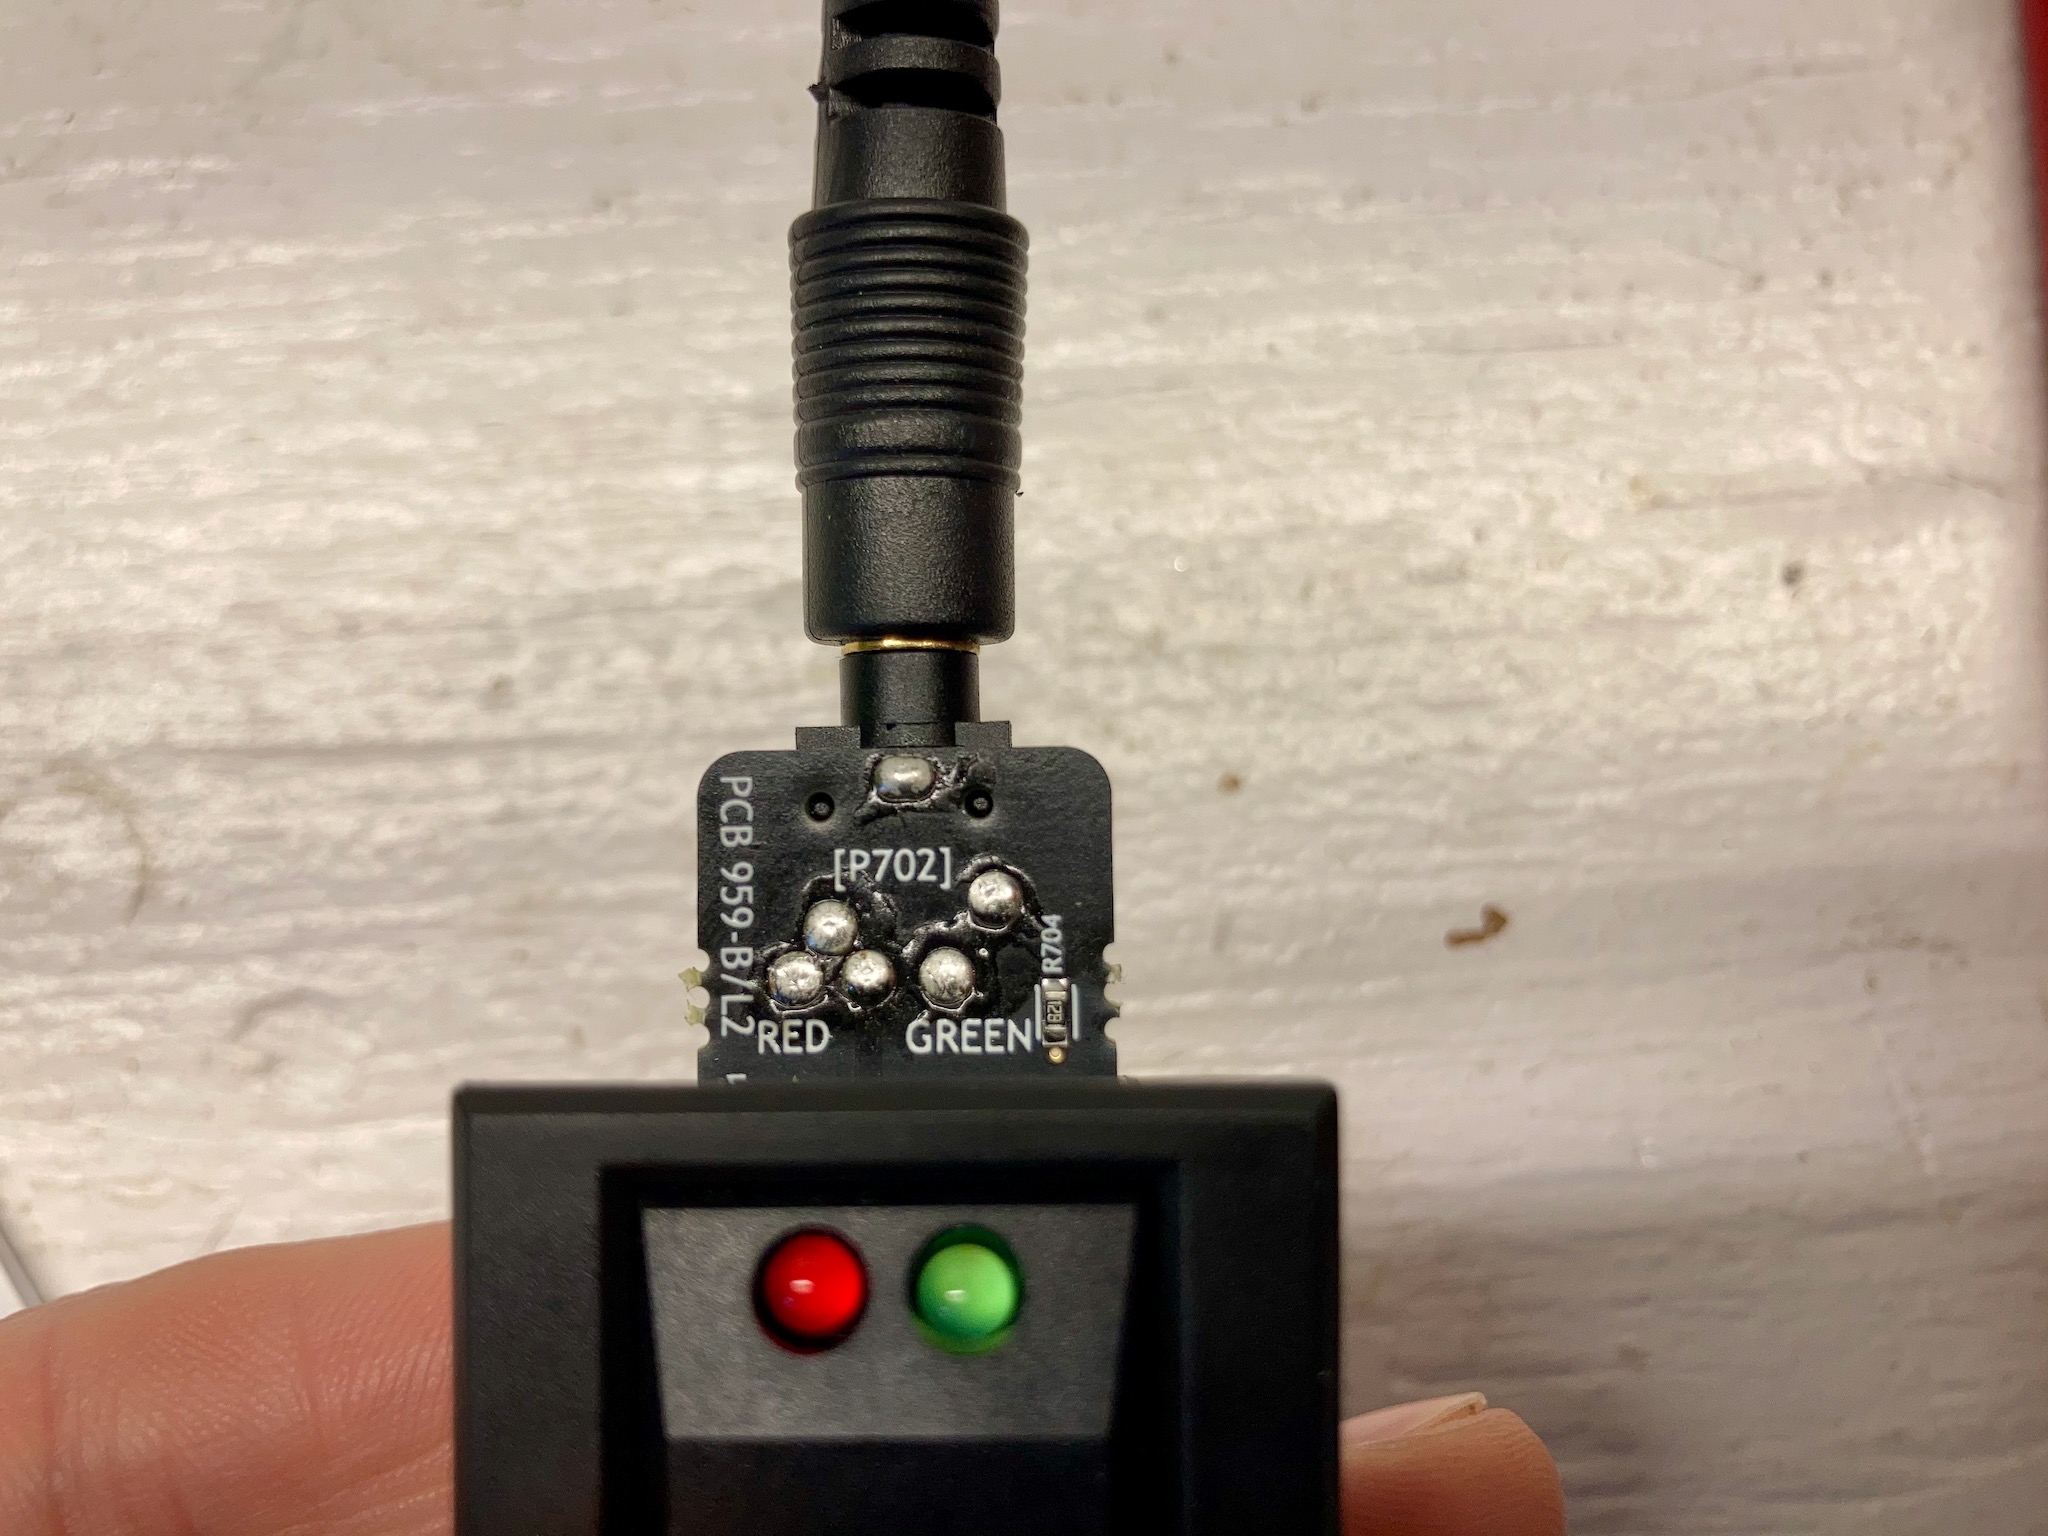
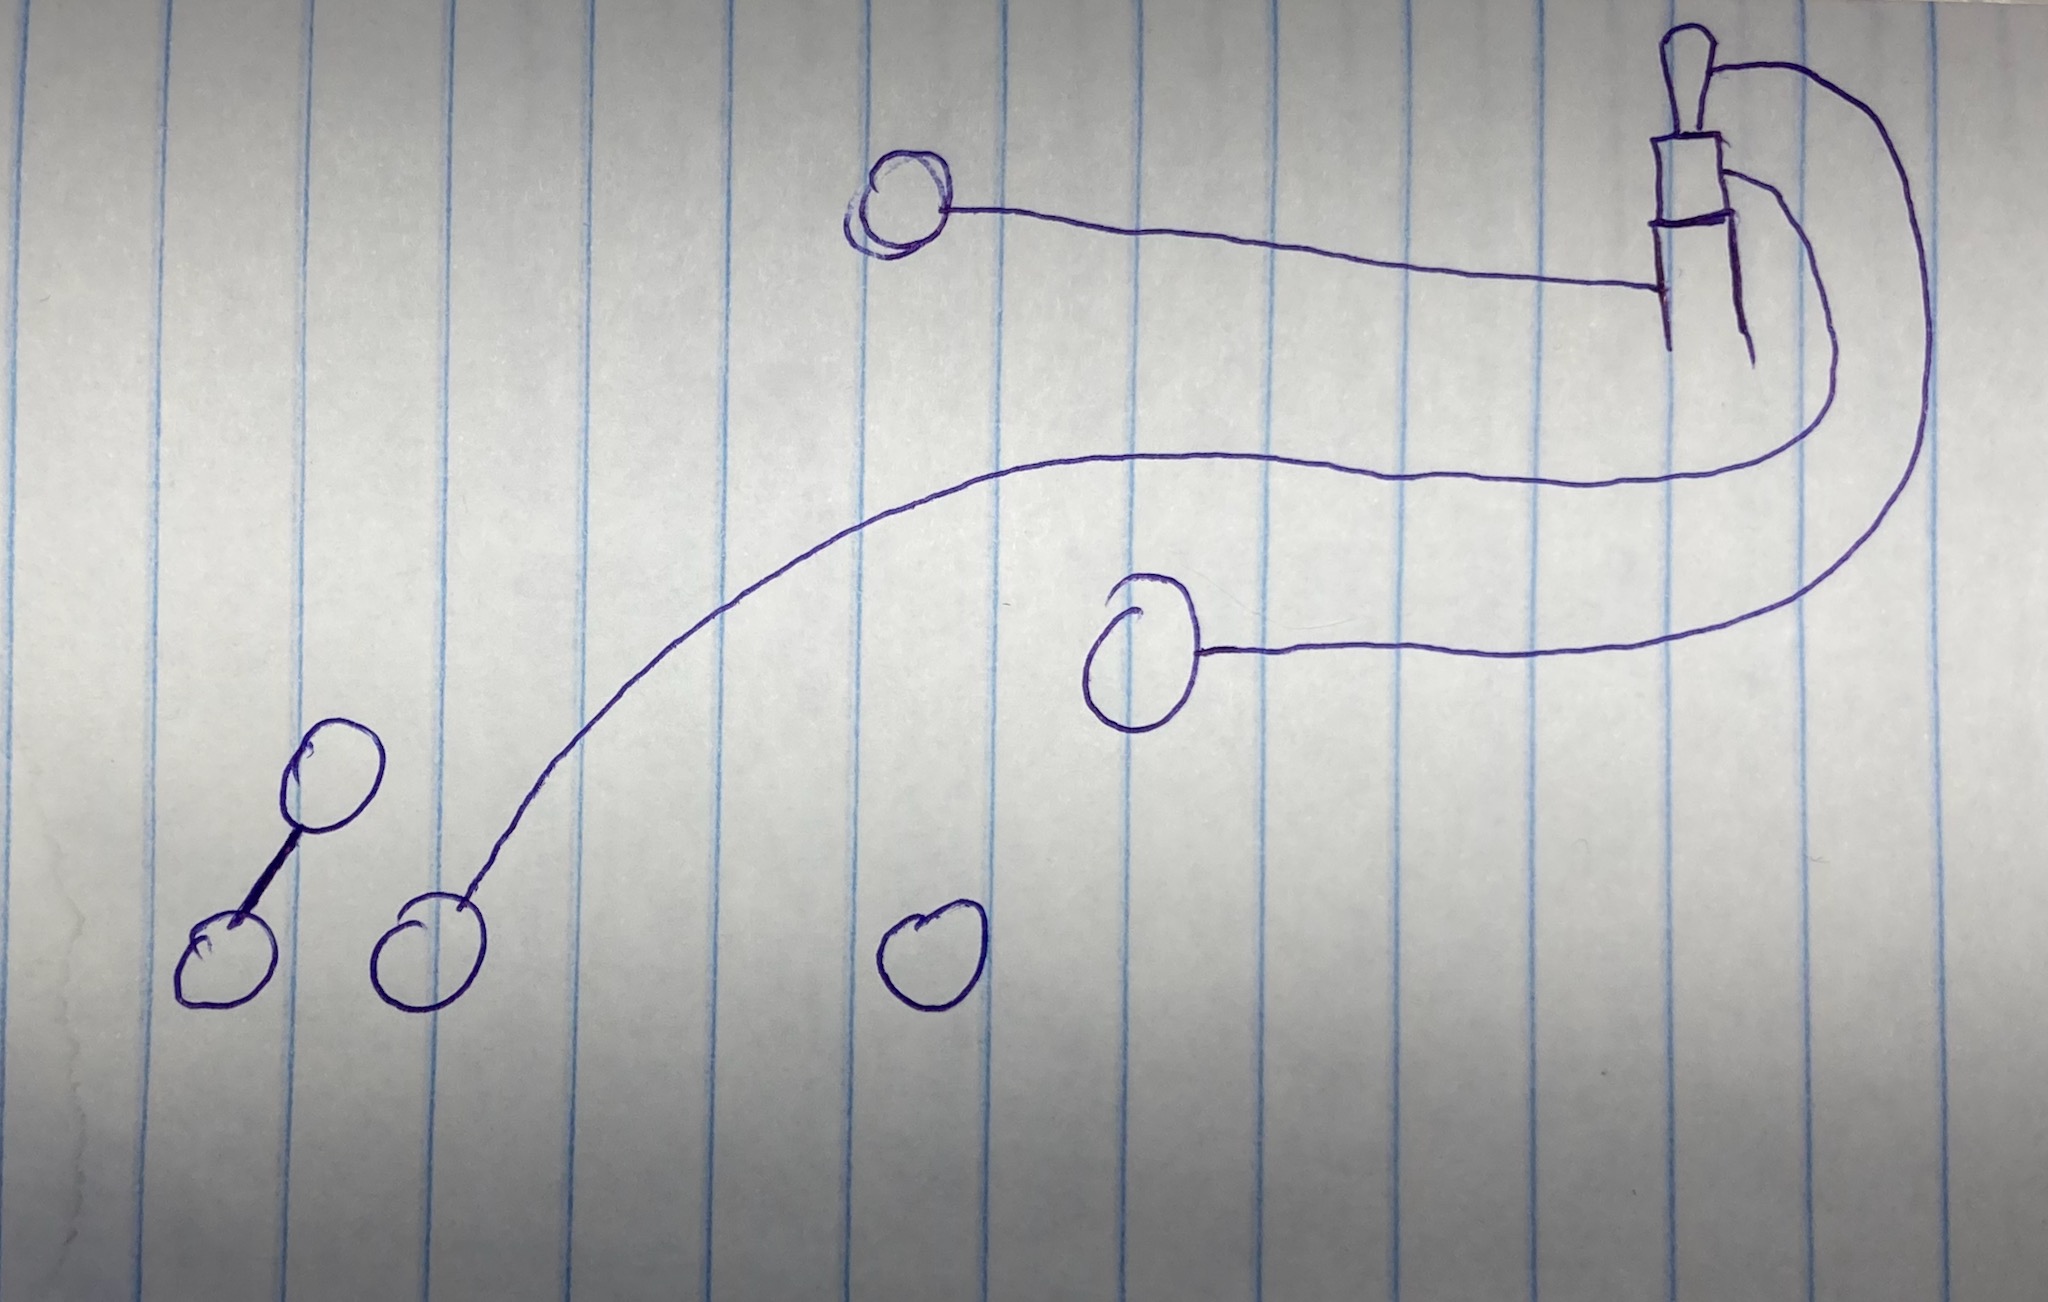
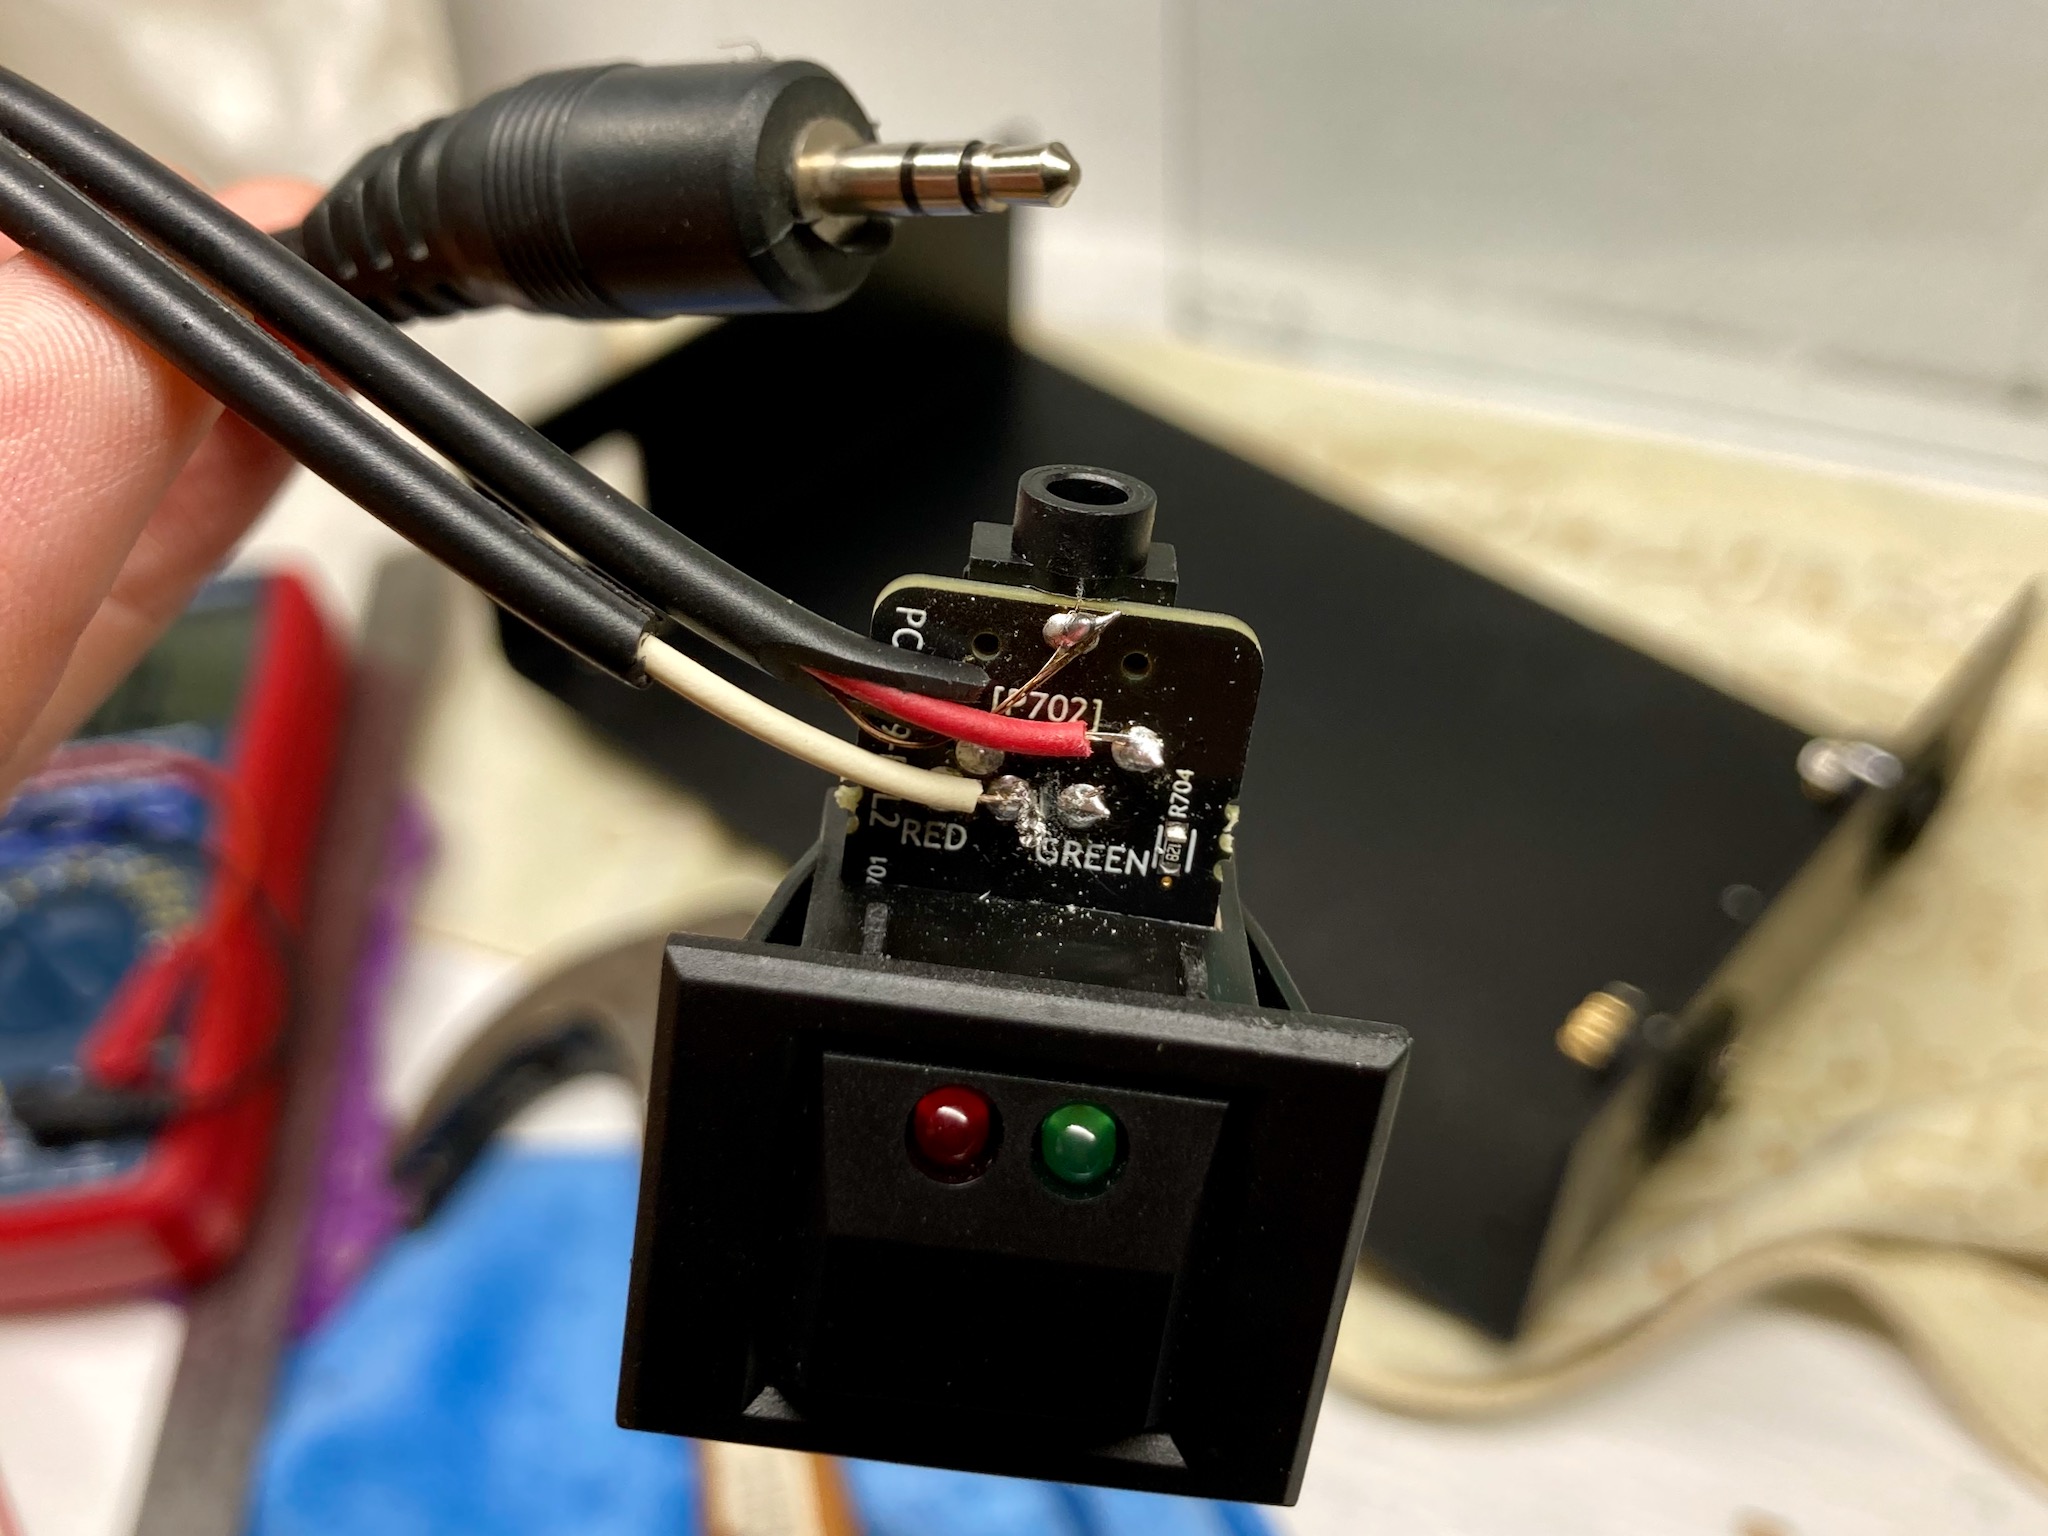
And the photo below shows how I actually did it, repurposing some junky old audio connector I had laying around… It worked!
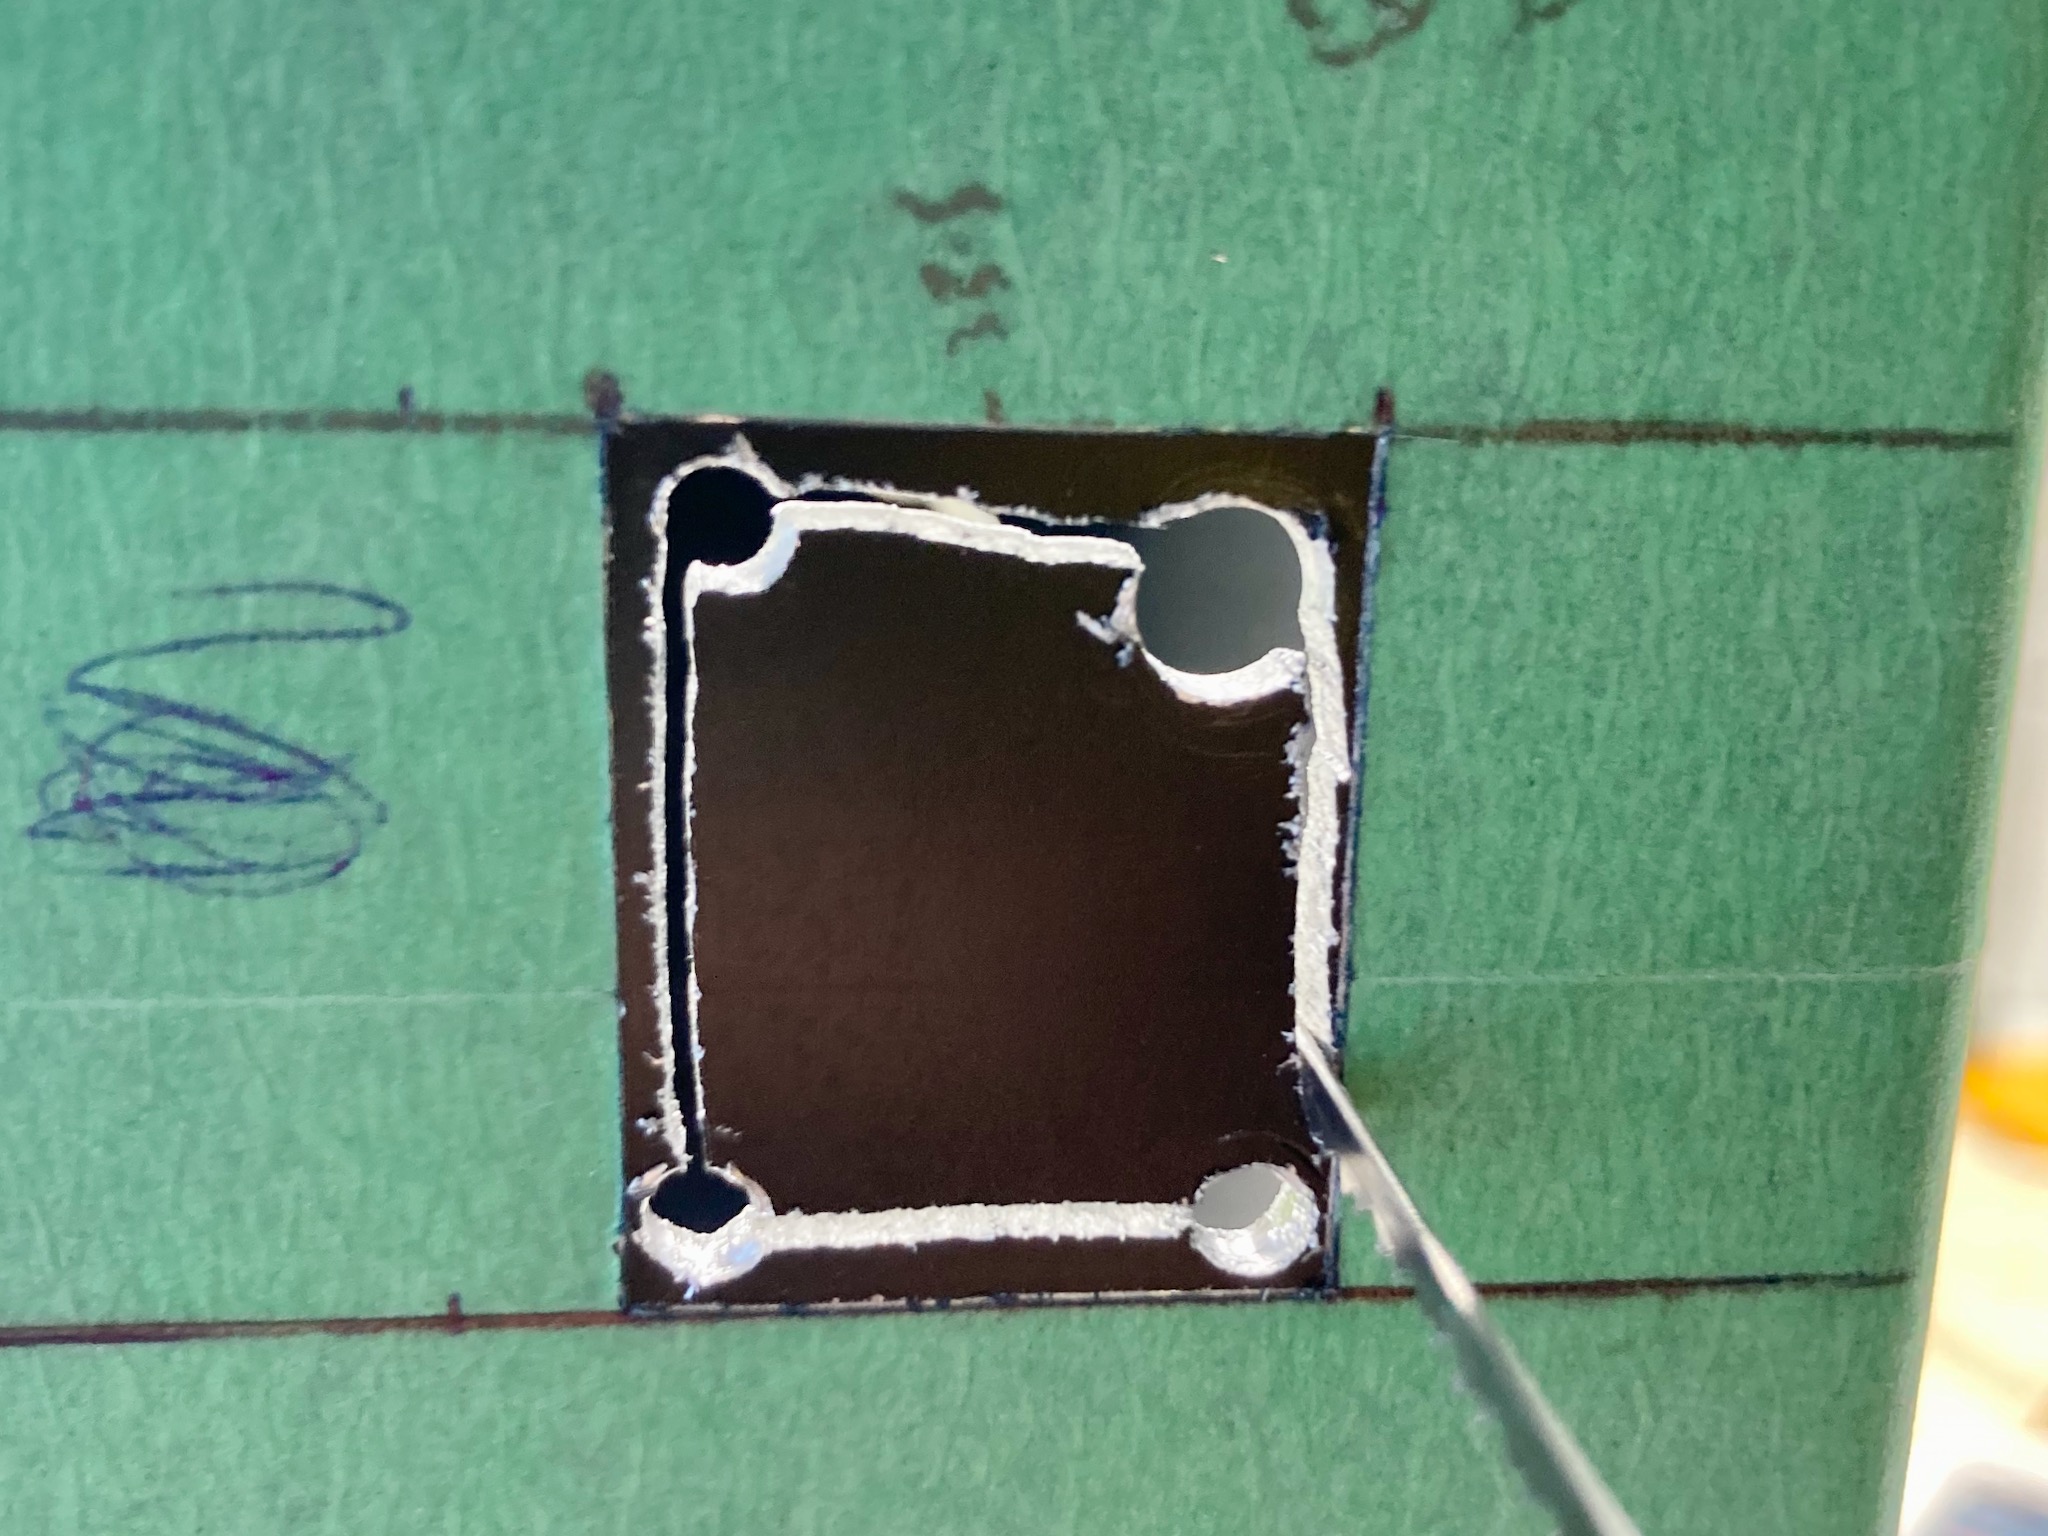
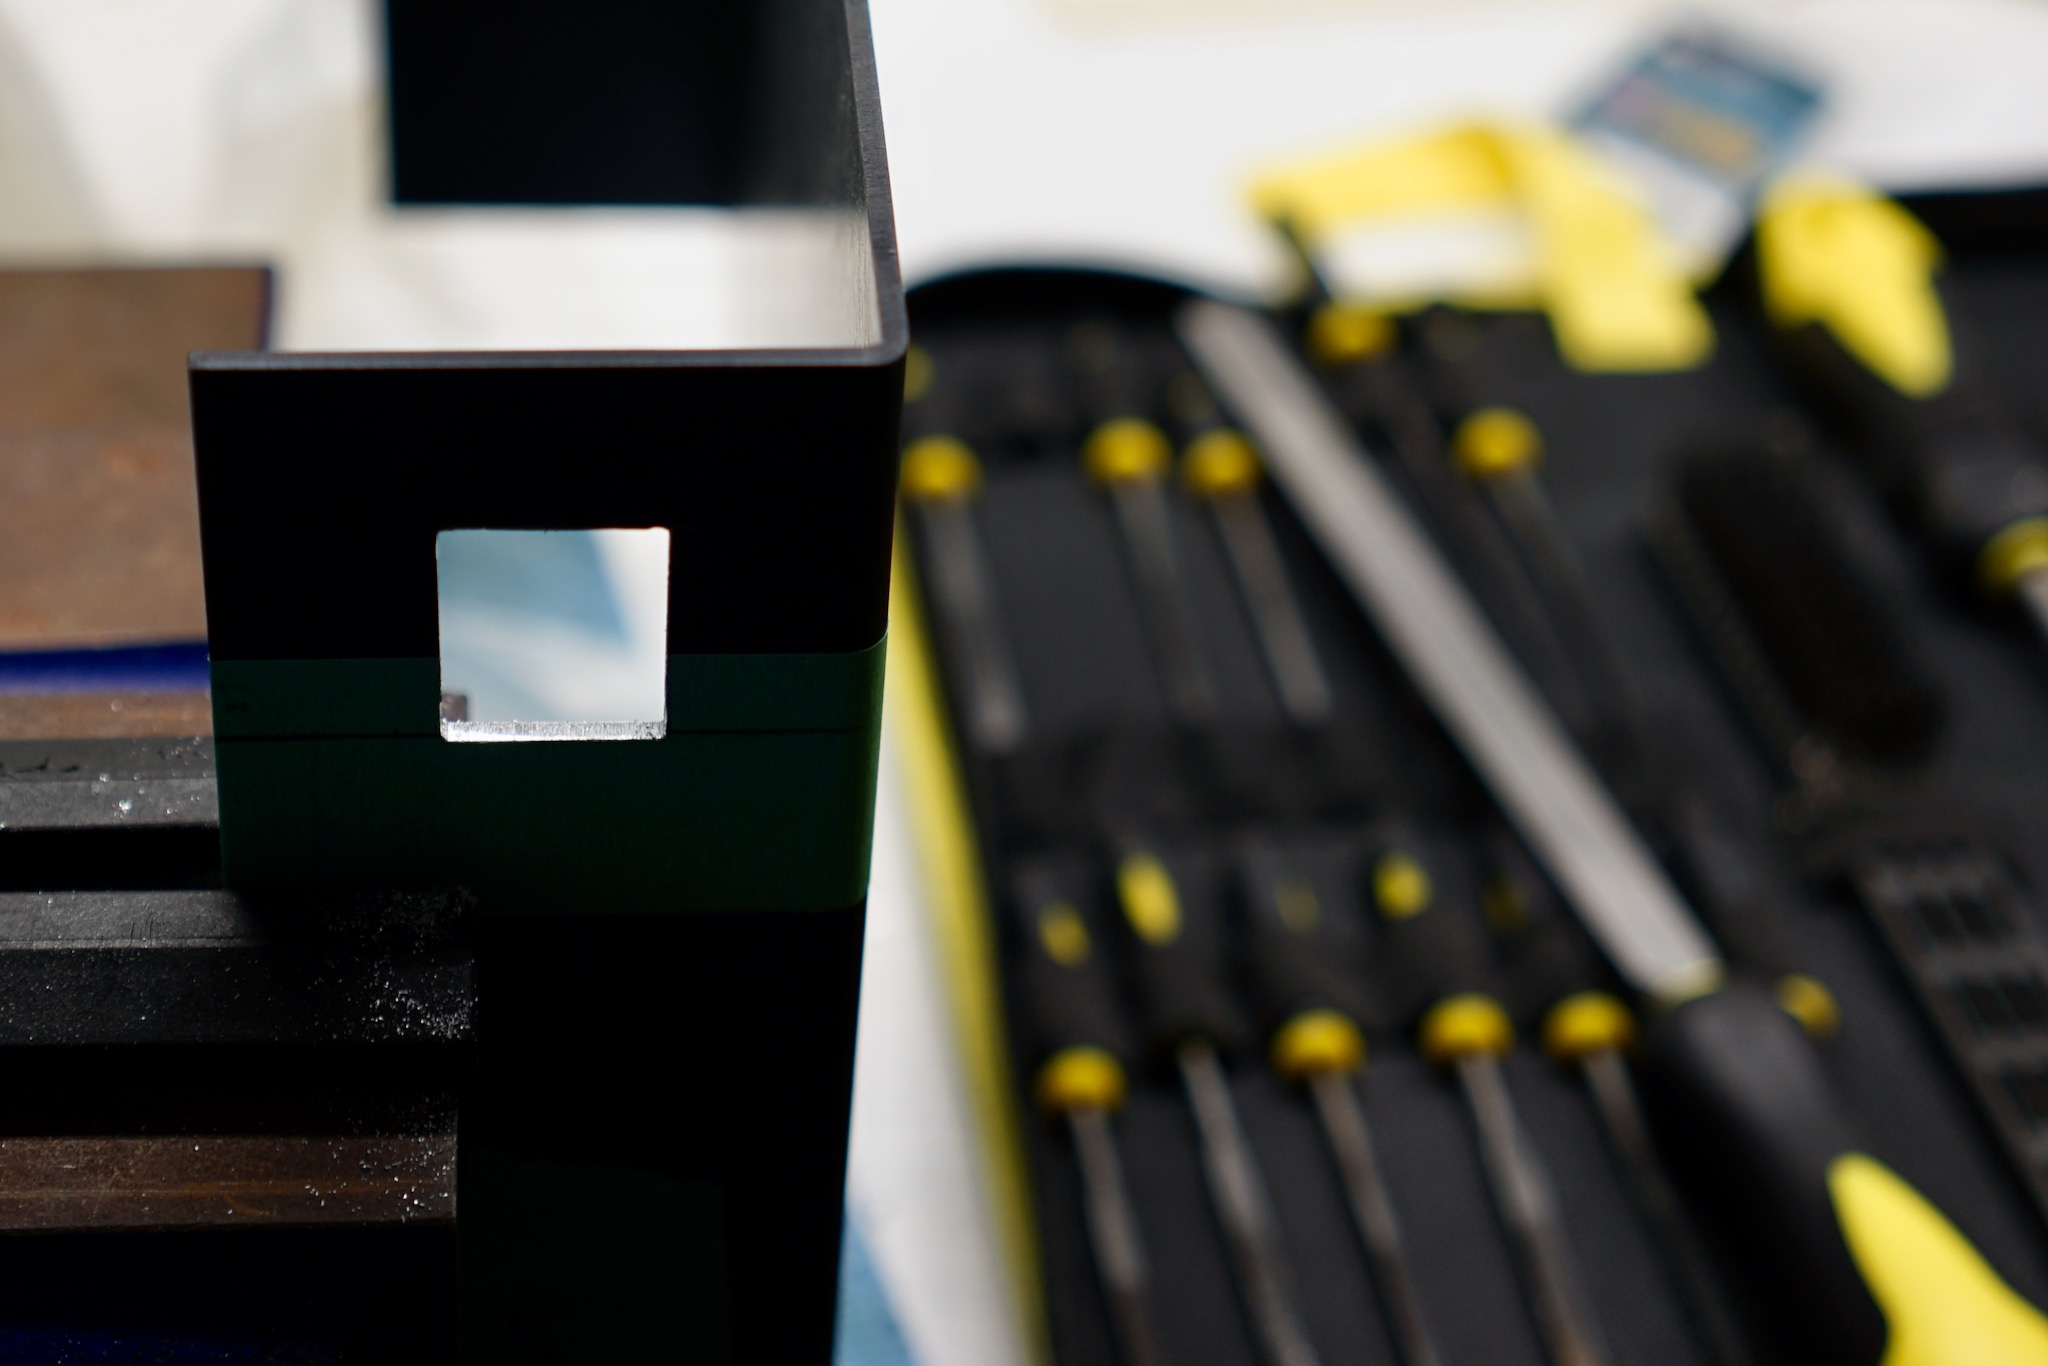
Then it was time to open a hole for the switch, accomplished by the drill + coping saw + filing method I used for IEC sockets on my Paradise…
Picking a Name, Making Logos
One of the pleasures of this project was “overwriting” the Lingo name. If I was making my own box, you can be damned sure it wasn’t going to be advertising Linn, after all they’d put me through…
There was lots of brainstorming on AudioFlat, mostly centering on clever synonyms of lingo: idiom, slang, dialect, dialeKt, you get the gist.
Eventually I came up with the name I liked best, taking it from a song of which I am extremely fond, Morrissey’s catchy post-Smiths single “Piccadily Palare” (1990). As Morrissey helpfully explains,
The Piccadilly Palare
Was just silly slang
Between me and the boys in my gang
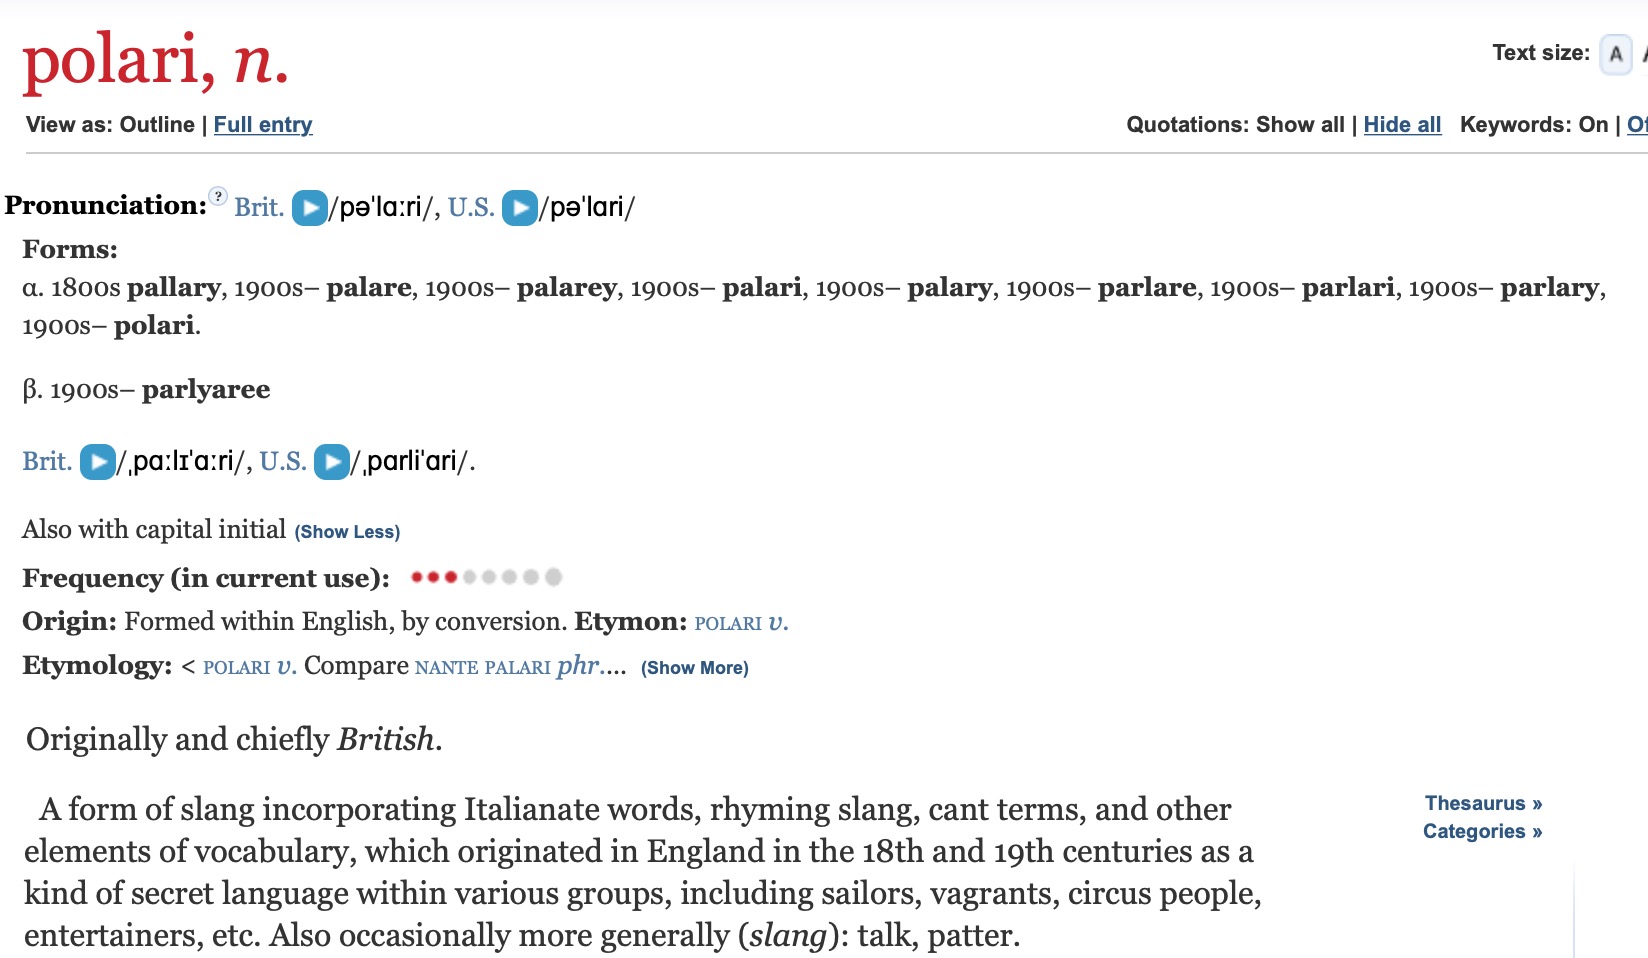
I mean, there’s more to it. It’s a song about secret languages and male prostitution. As the OED informs us, palare — most commonly spelled “polari” — is an Italianate slang spoken by all sorts of outlaws and marginal figures, from sailors to vagrants to circus people to… entertainers, etc. I love all the associations. I also liked that it started with the same letters, “pa,” as Paradise. Palare was it! (The only downside is that now every time I turn my turntable on, I get the song stuck in my head.)
Next up, then, designing logos and making silkscreens.
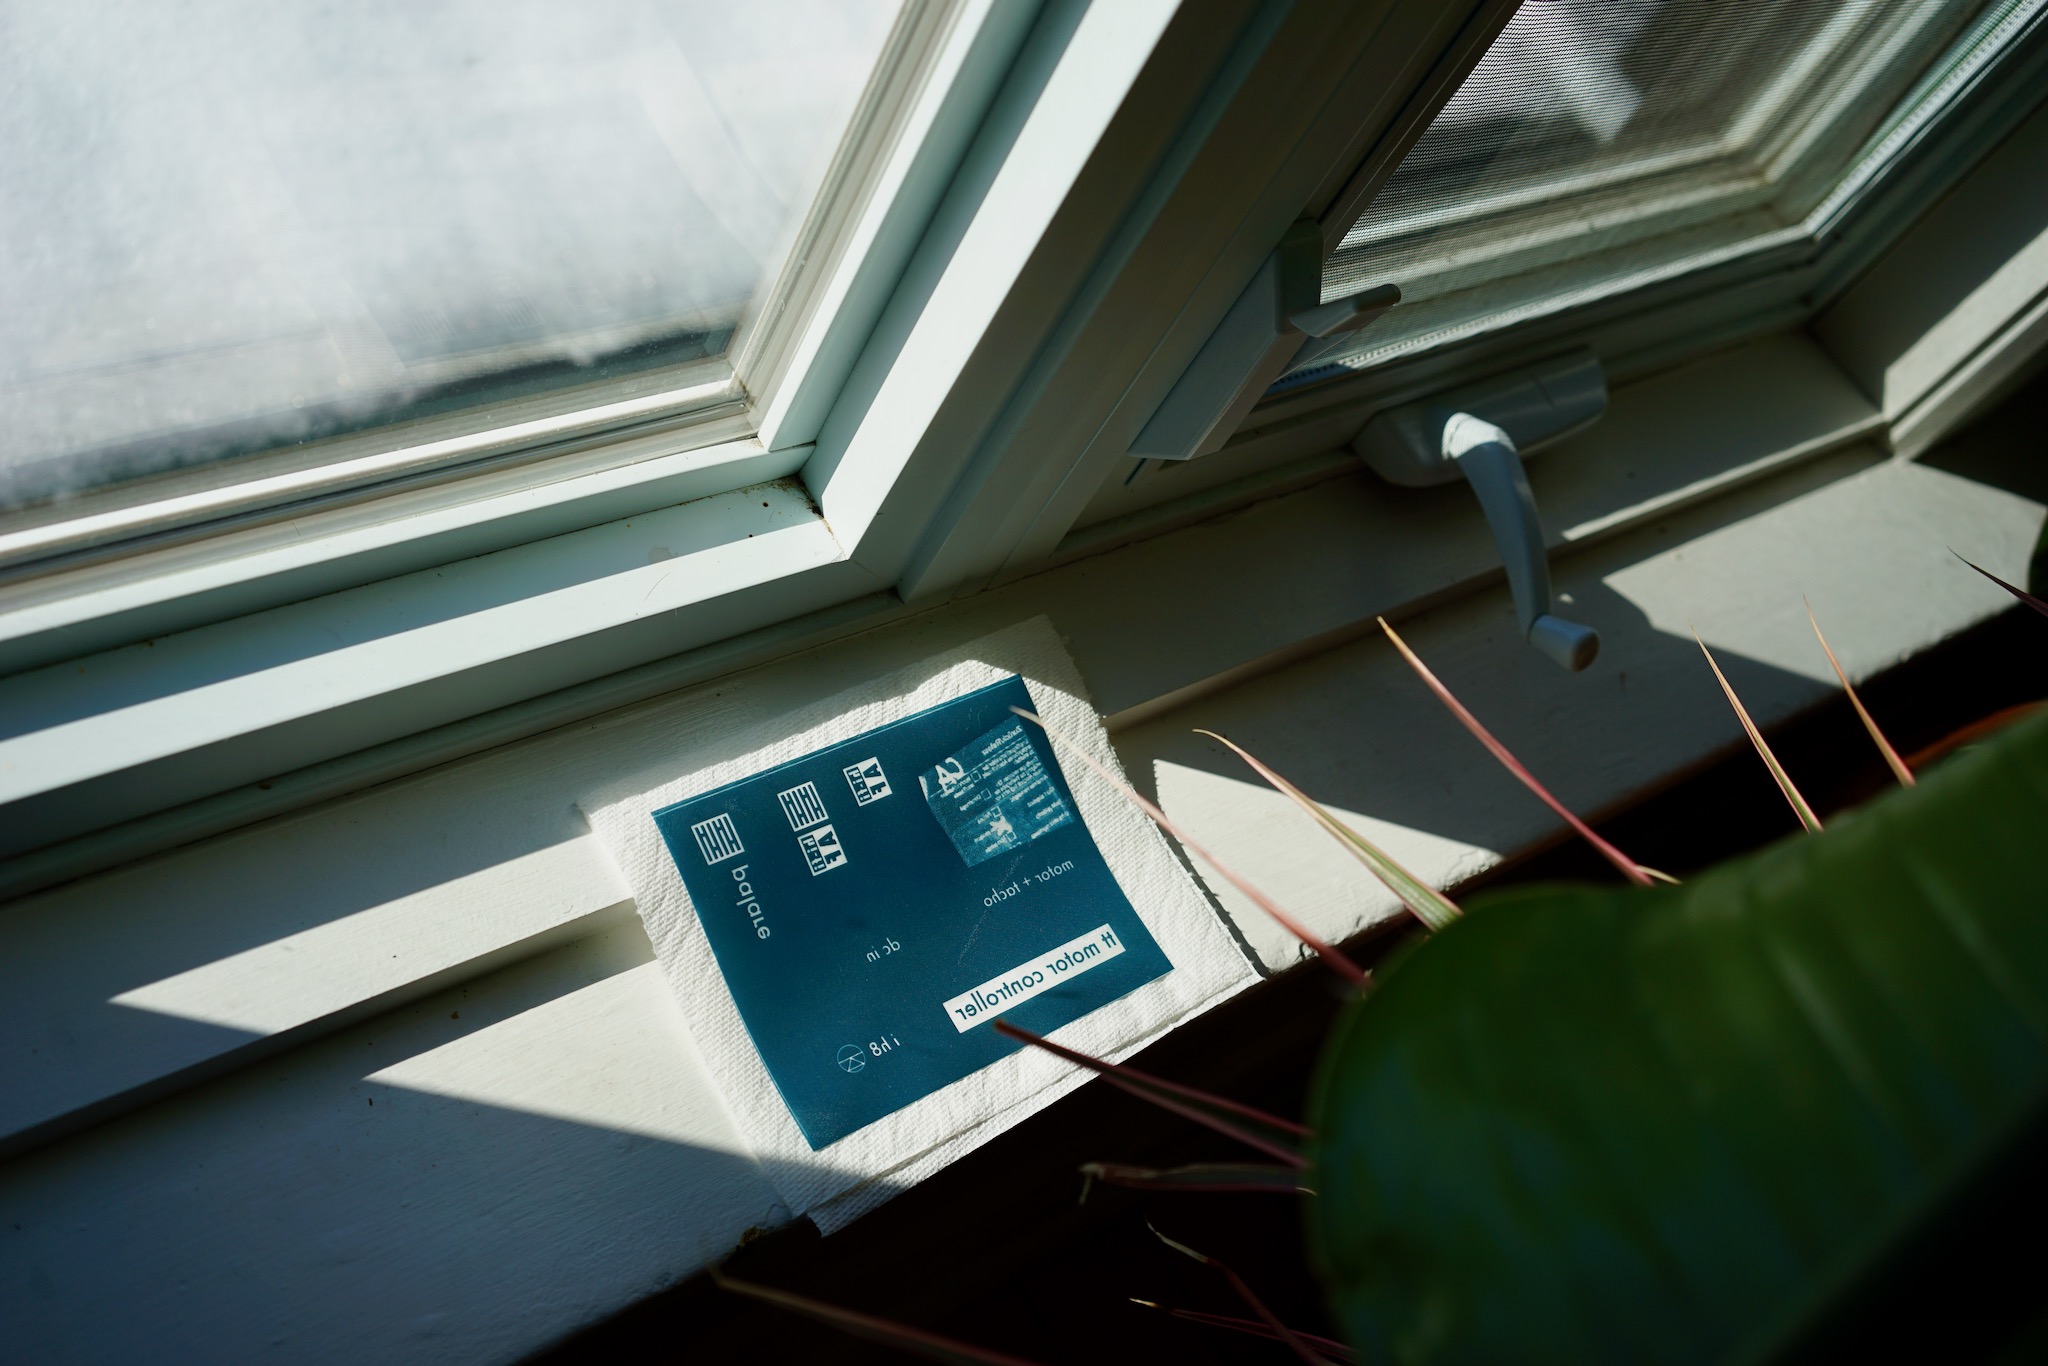
Using the same methods employed on the Paradise, the results were as follows. (The little broken lines are meant to evoke broken lines of communication — and one successful line, when you happen on someone who speaks your secret language!)
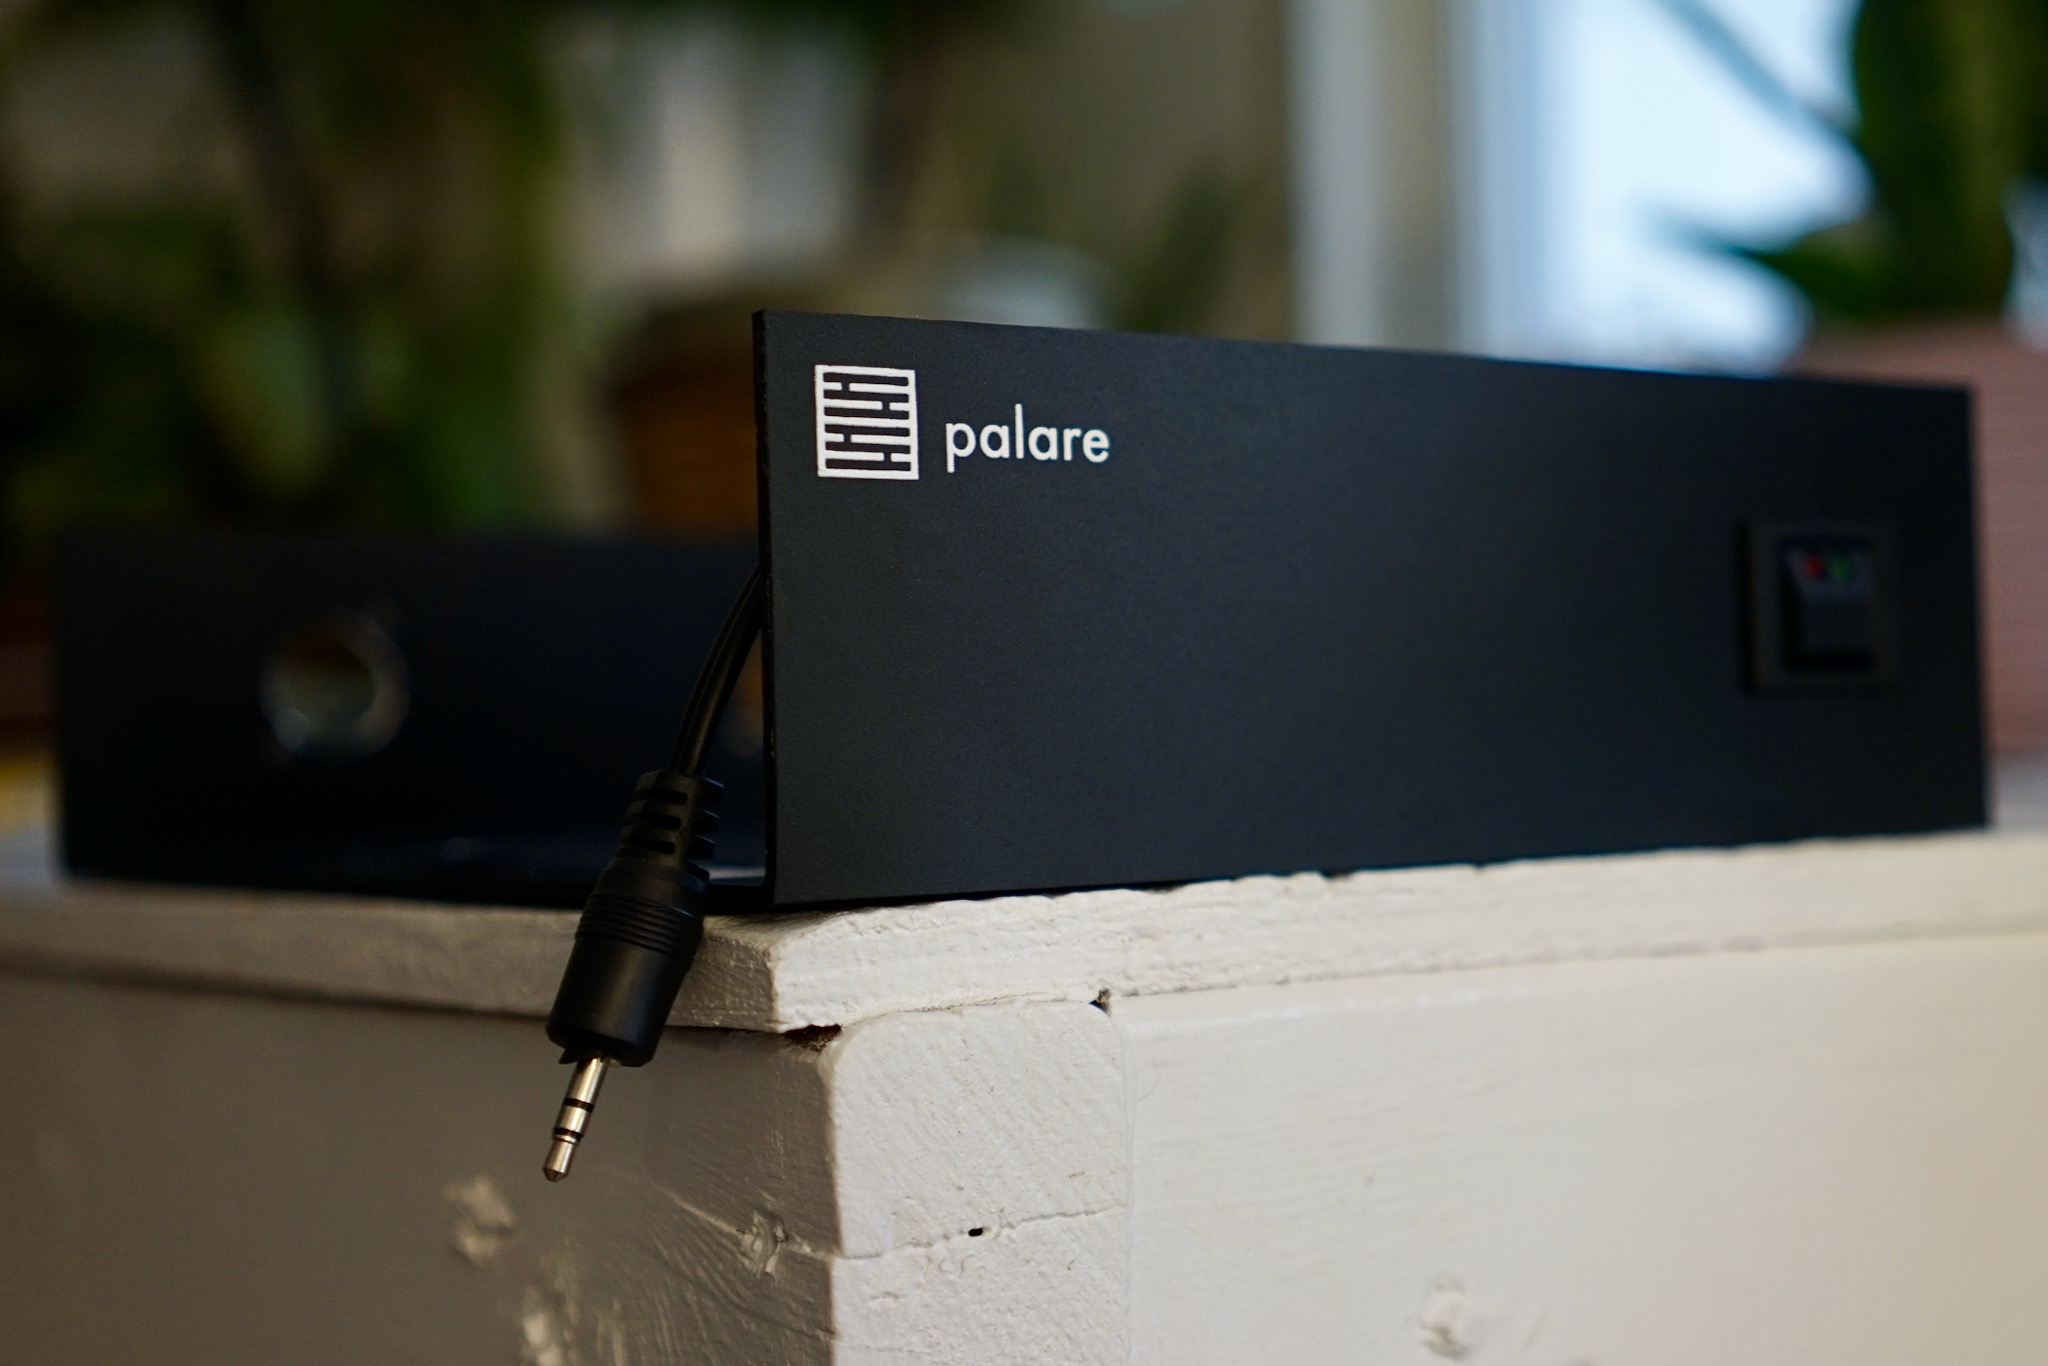
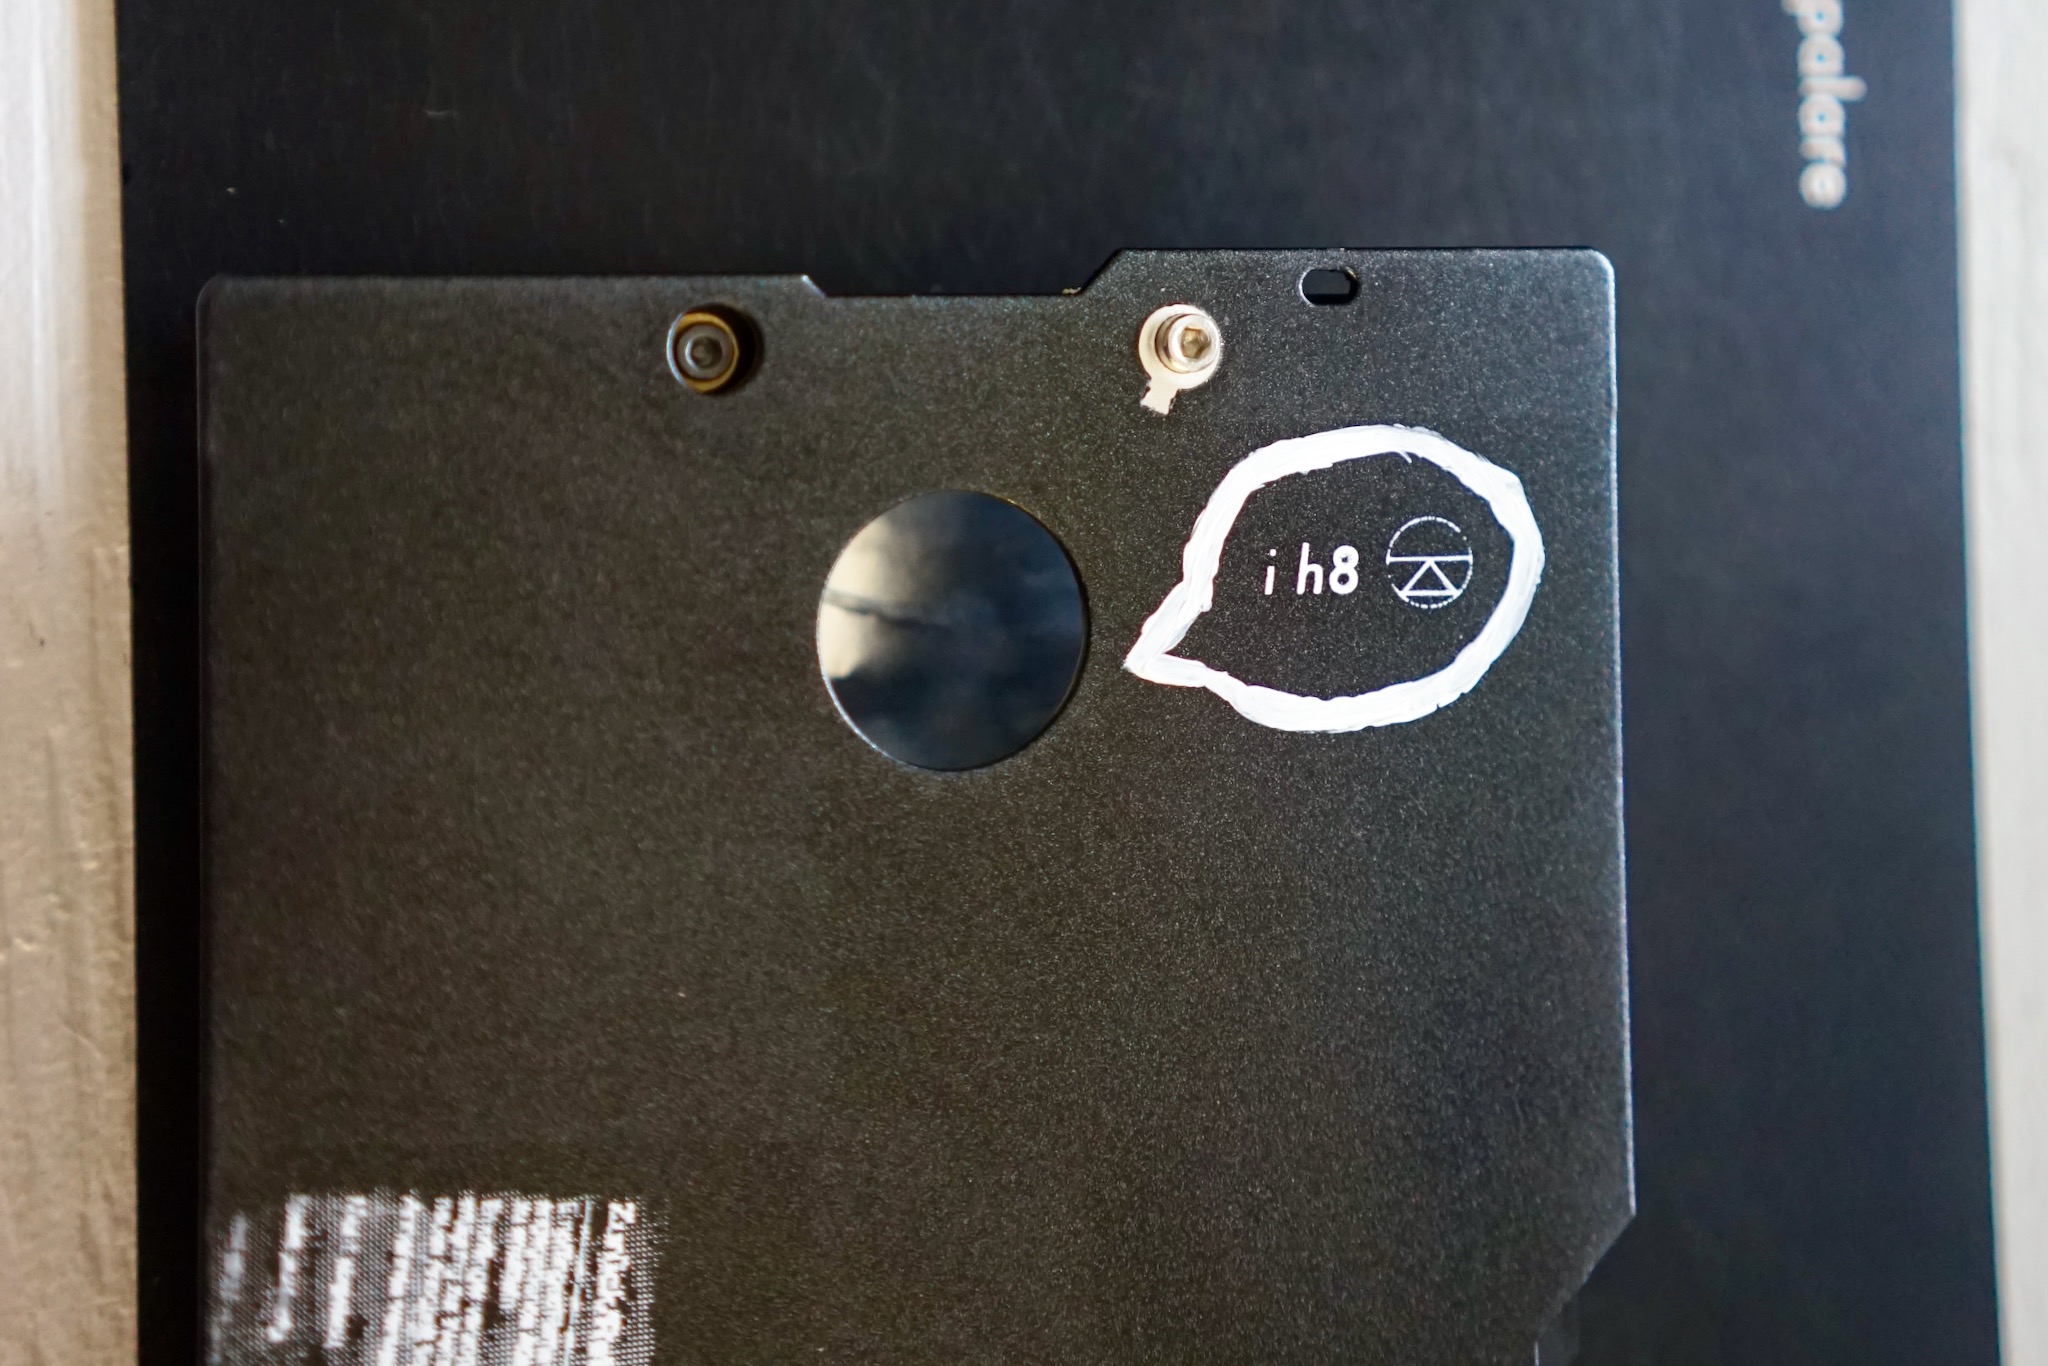
Naturally, I wanted to do a bit of decorating on the Lingo 4 board itself. First, I capitalized on the implicit “surprised face” formed by two bolts and a bearing cutout, then made it say a slangy version of “I hate Linn,” being sure to invert the Linn logo in the process, for demonic effect.
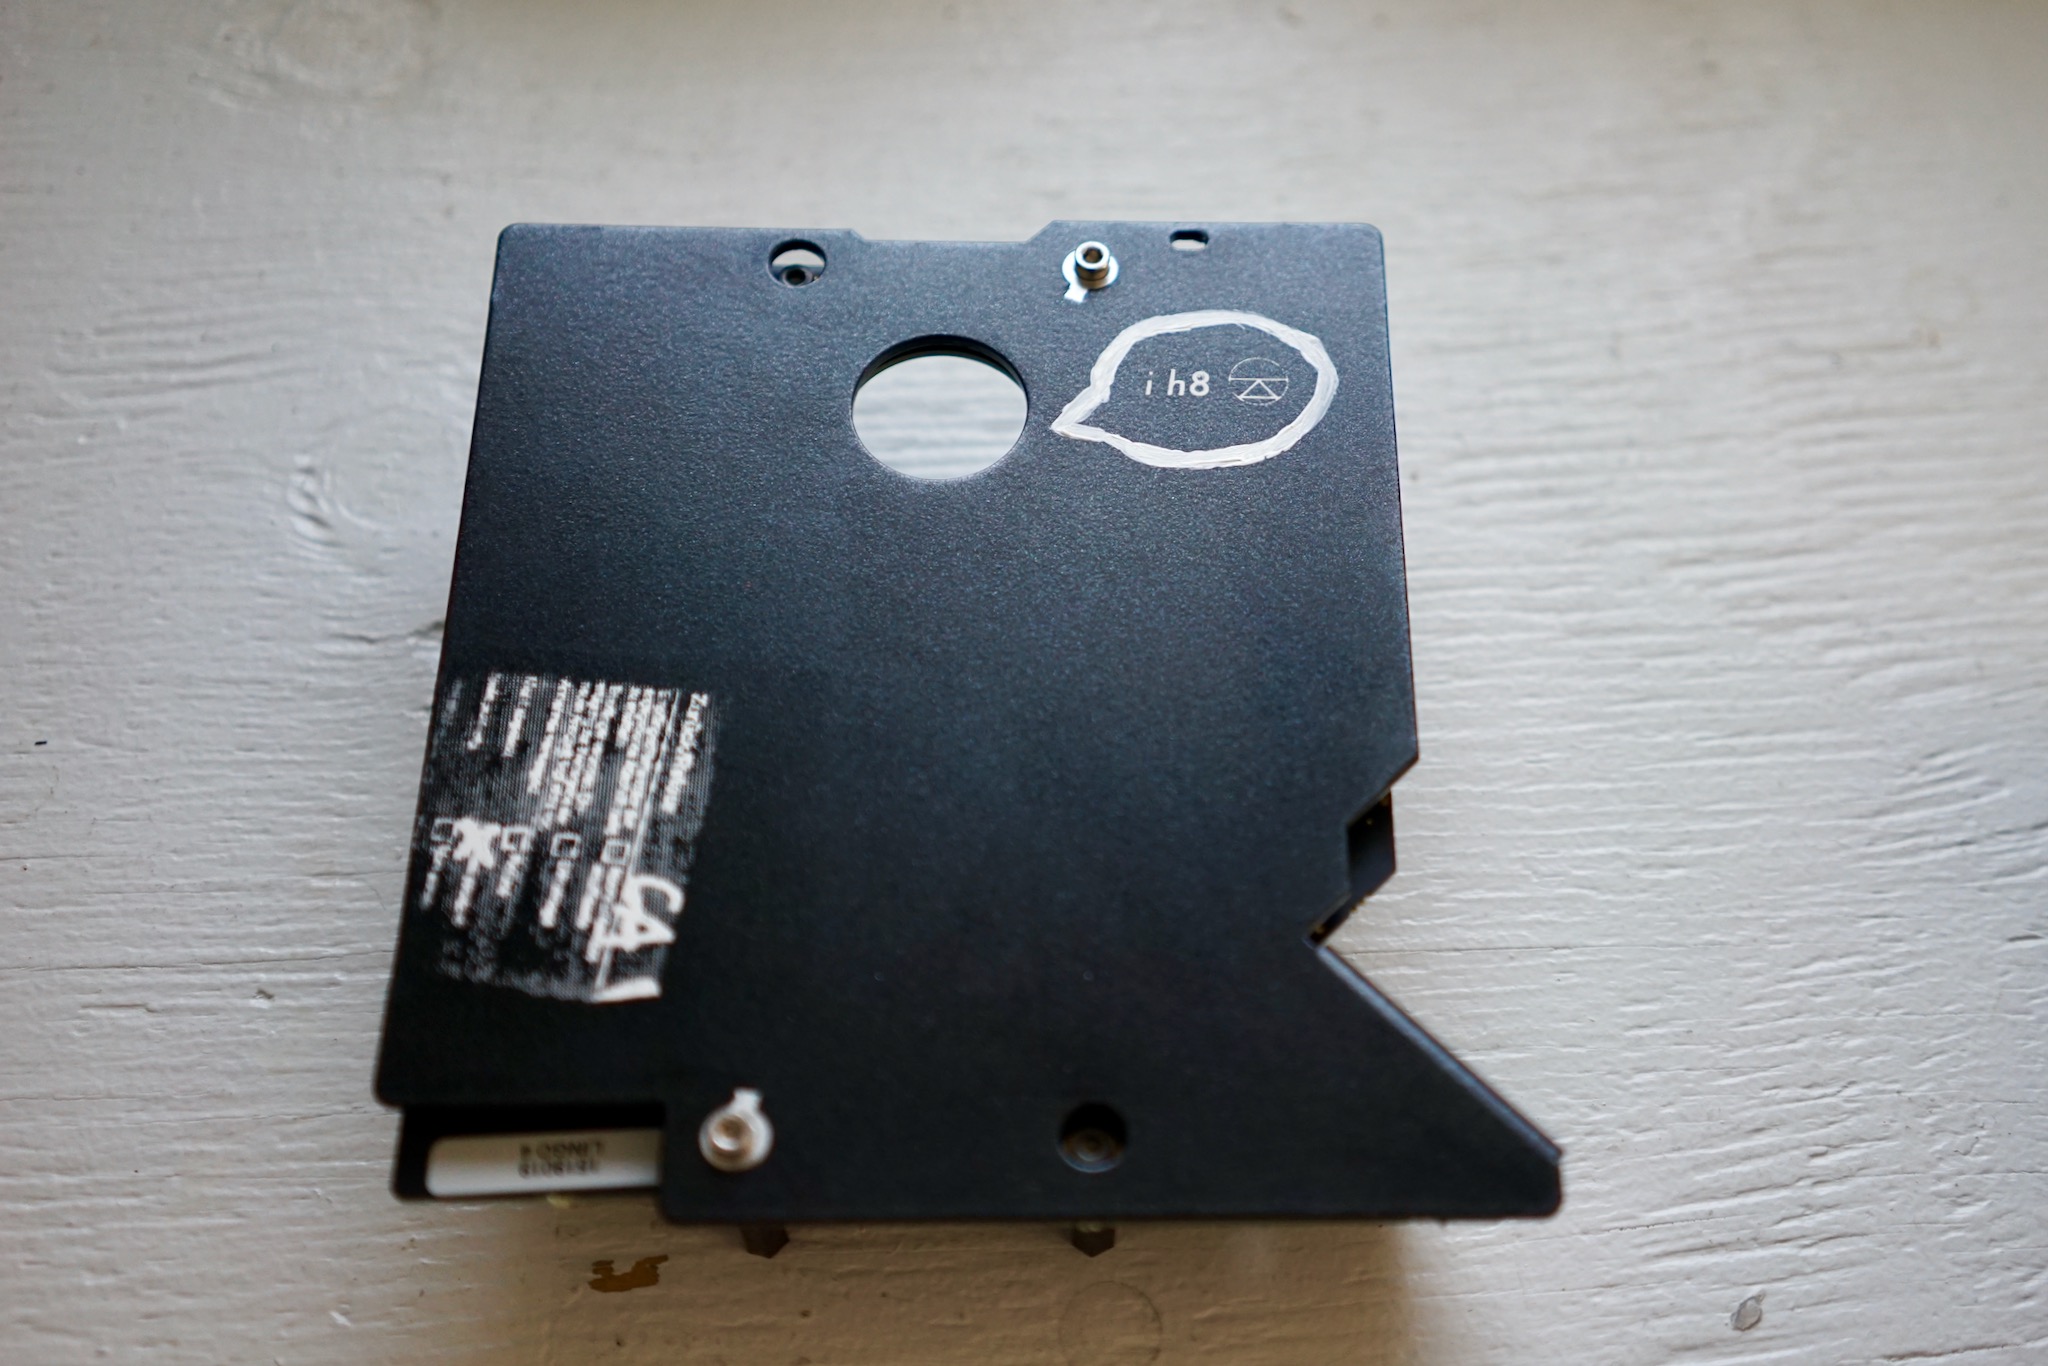
I also made a silkscreen of the German customs form that accompanied my rejected Lingo 4 board when it came back to me last summer.
Original:
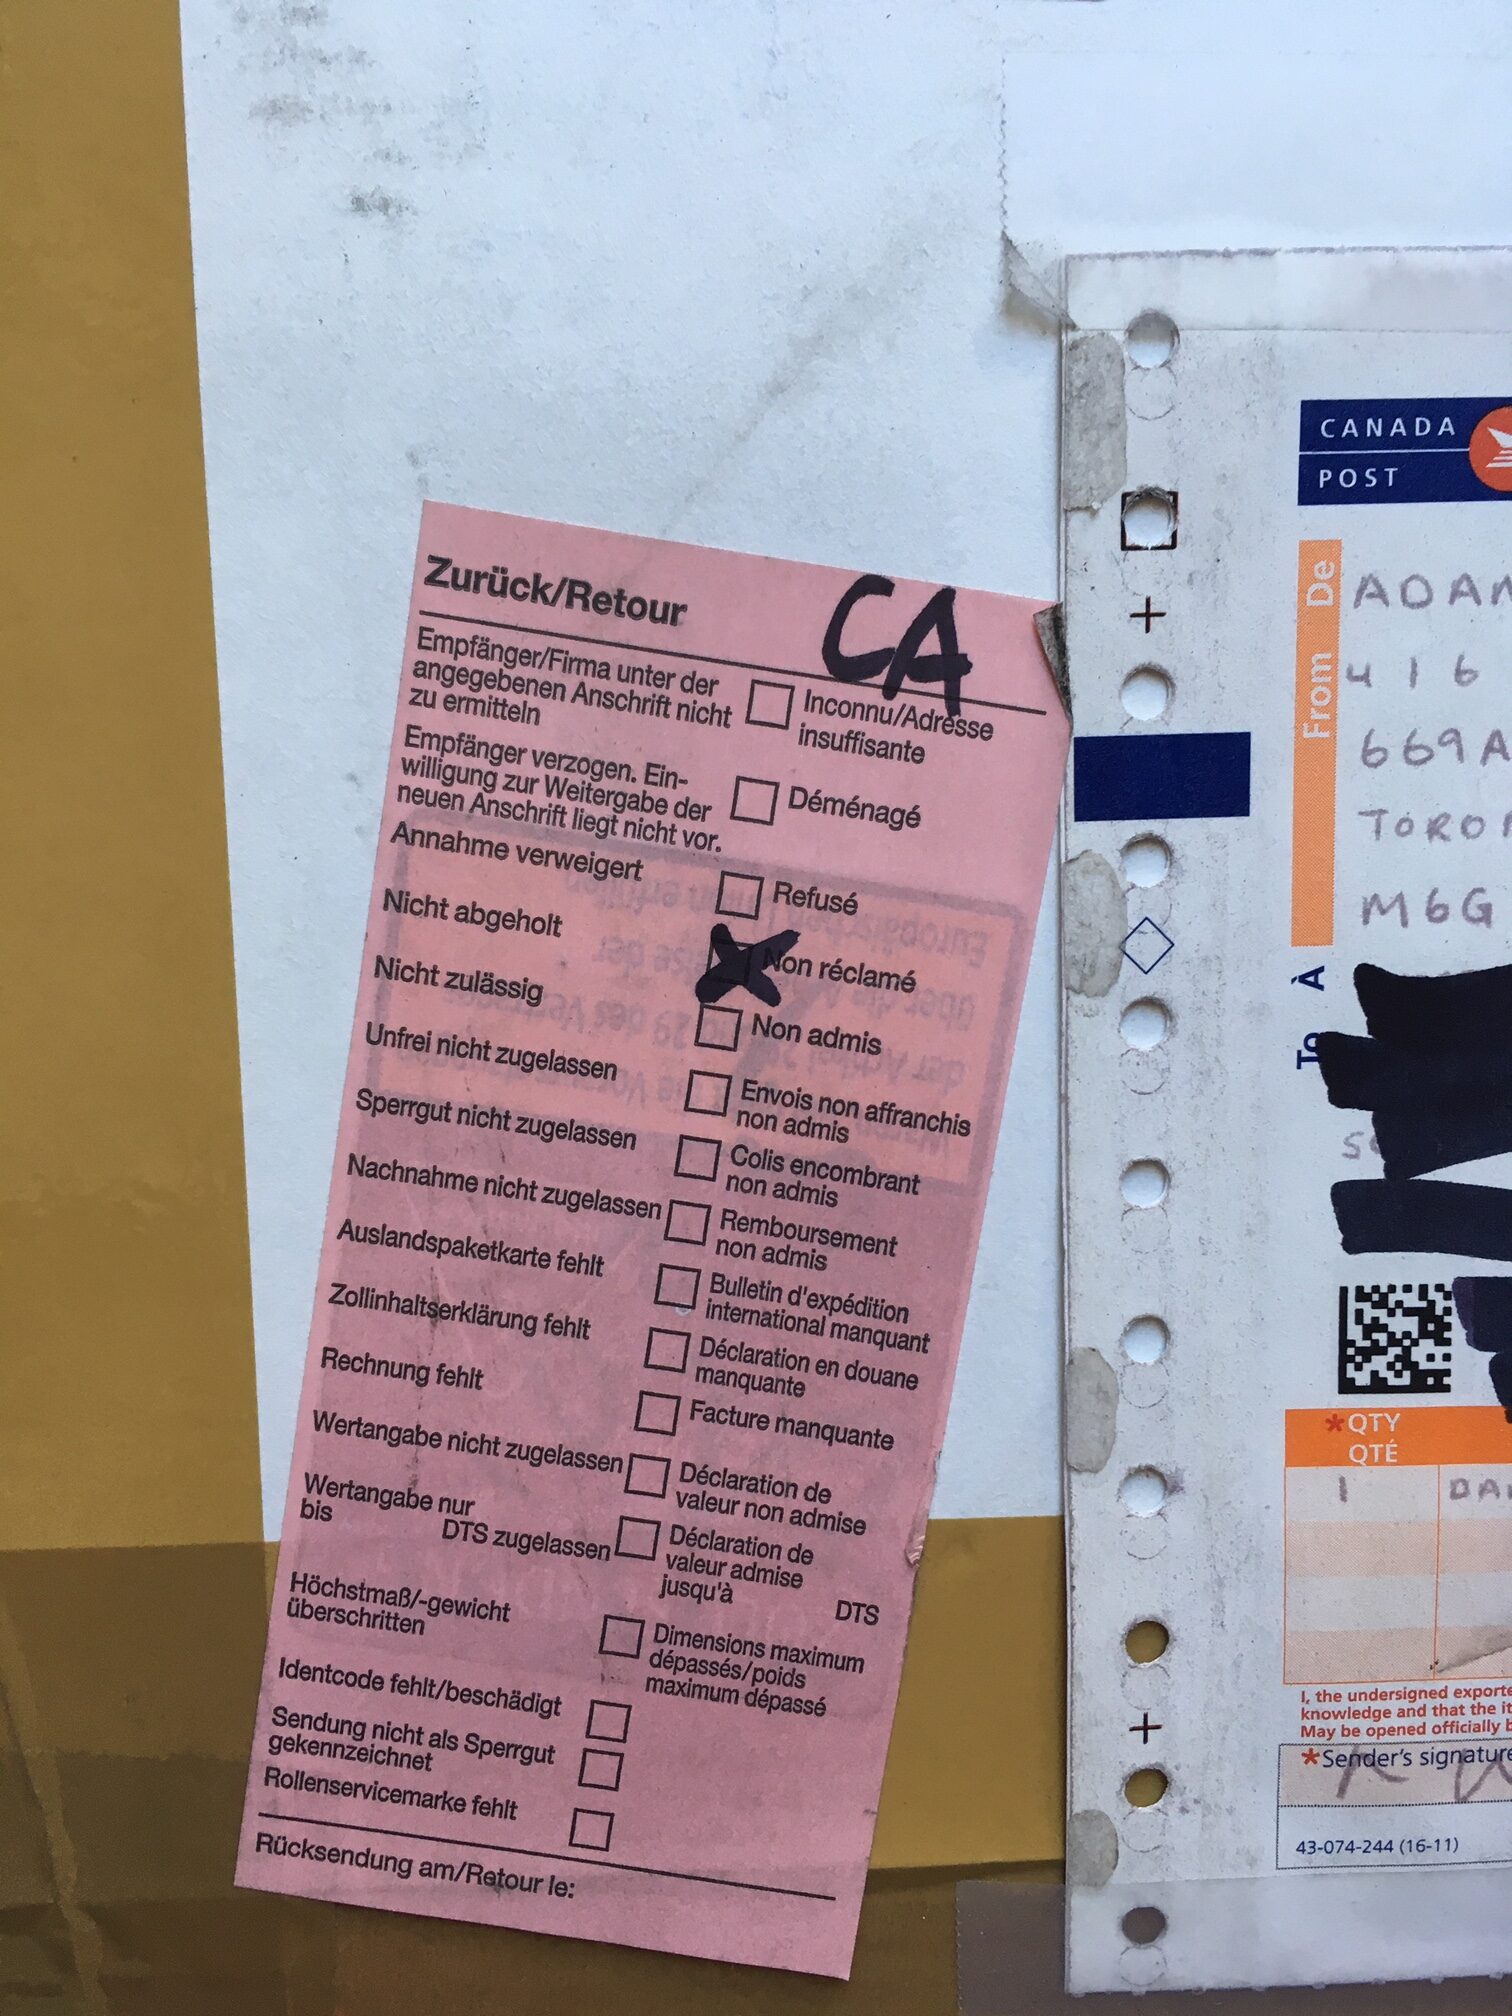
Silkscreened:
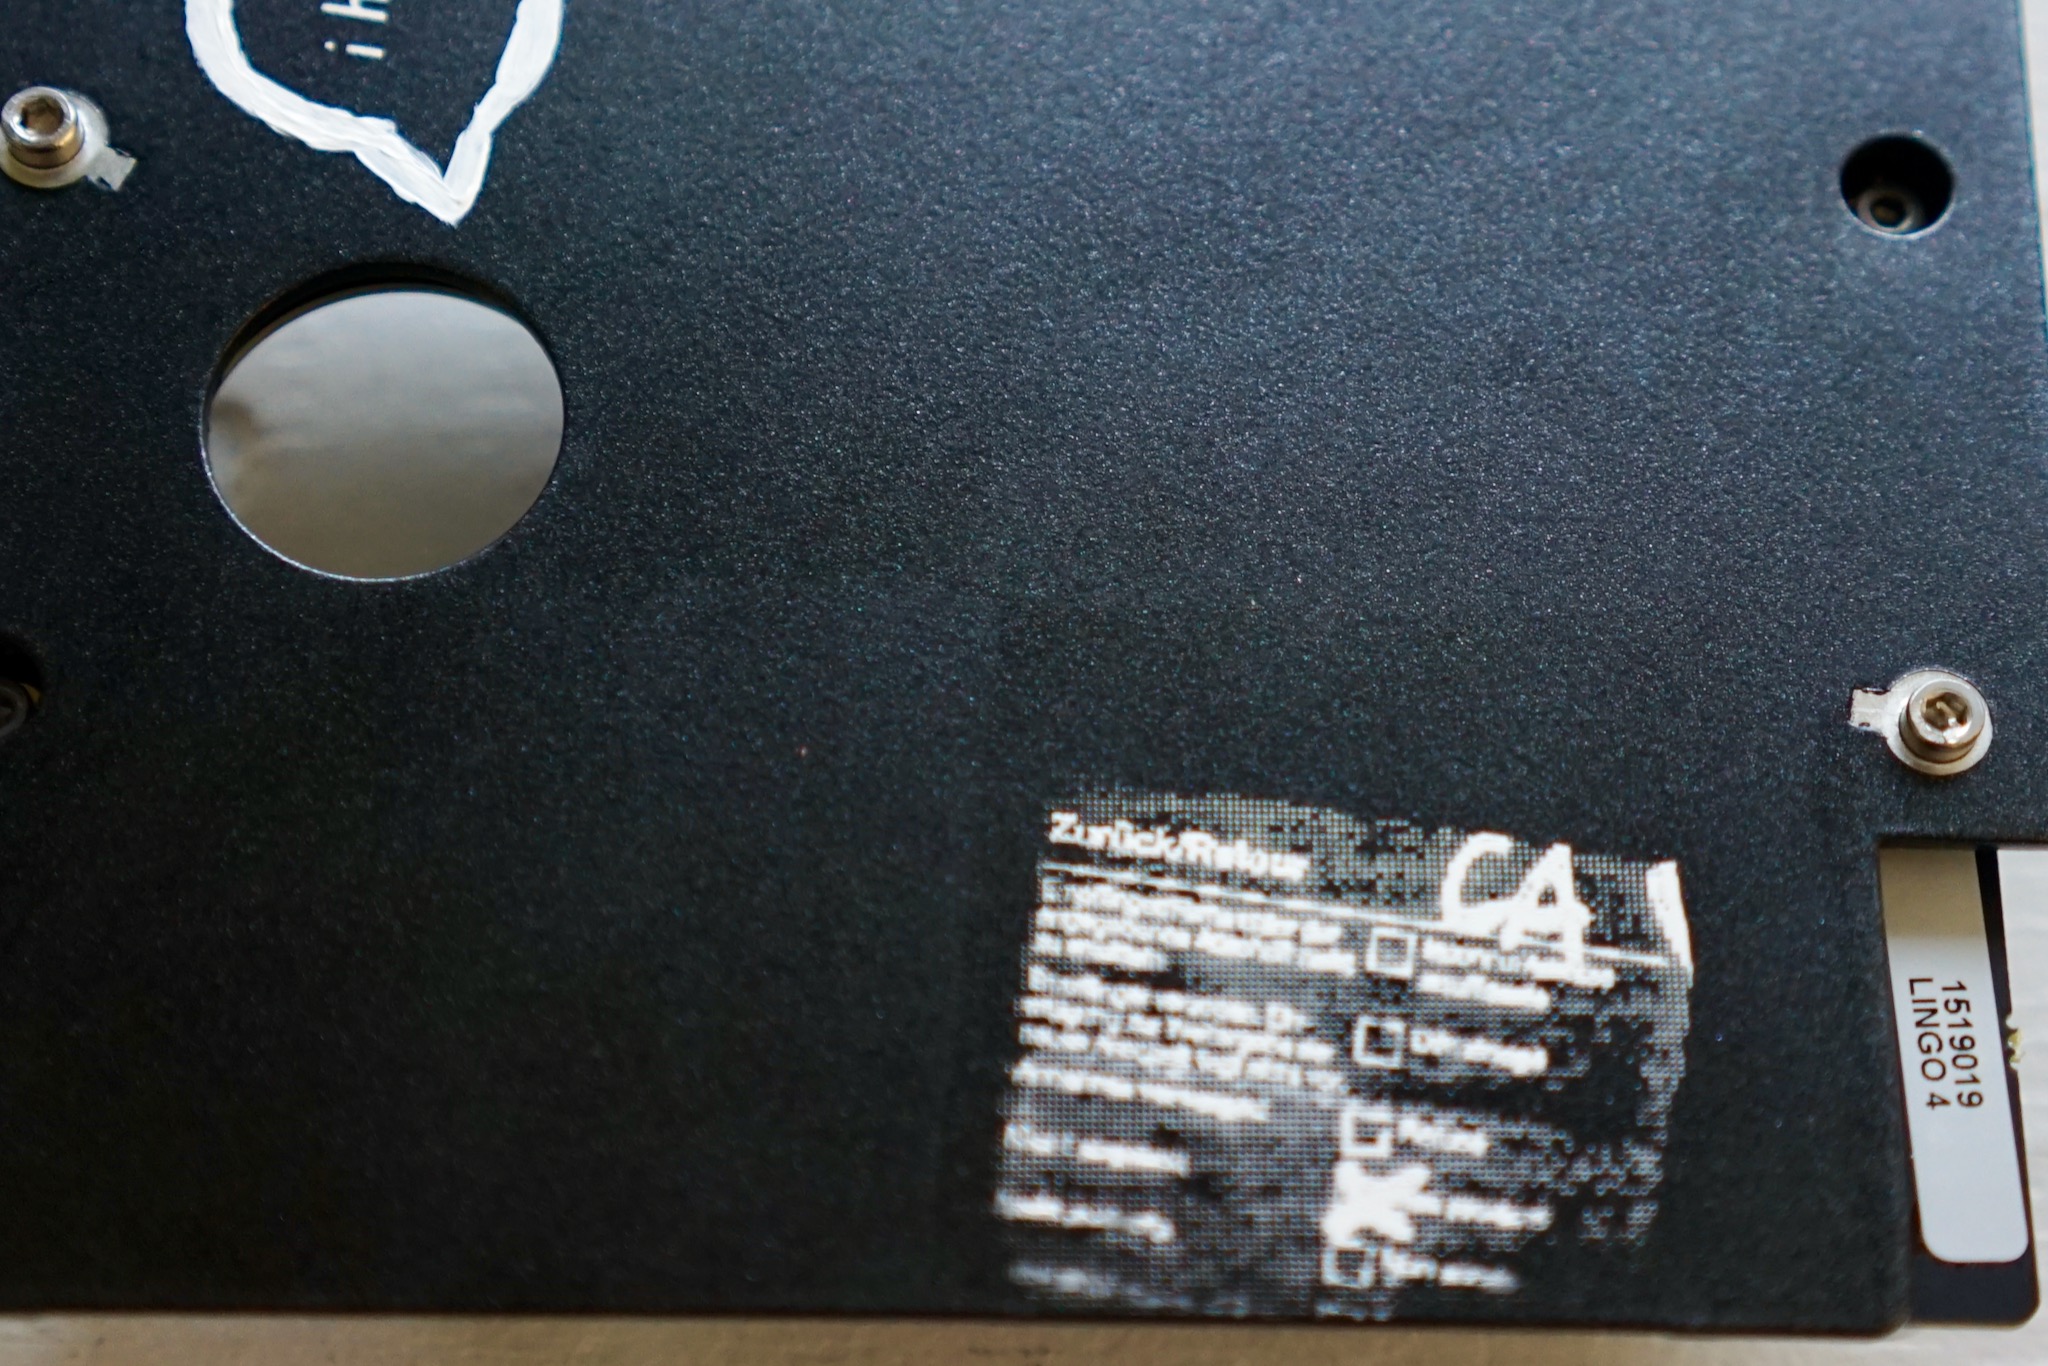
Halftone silkscreening: surprisingly legible!
Here’s what the inside of the case looked like when it was all assembled.
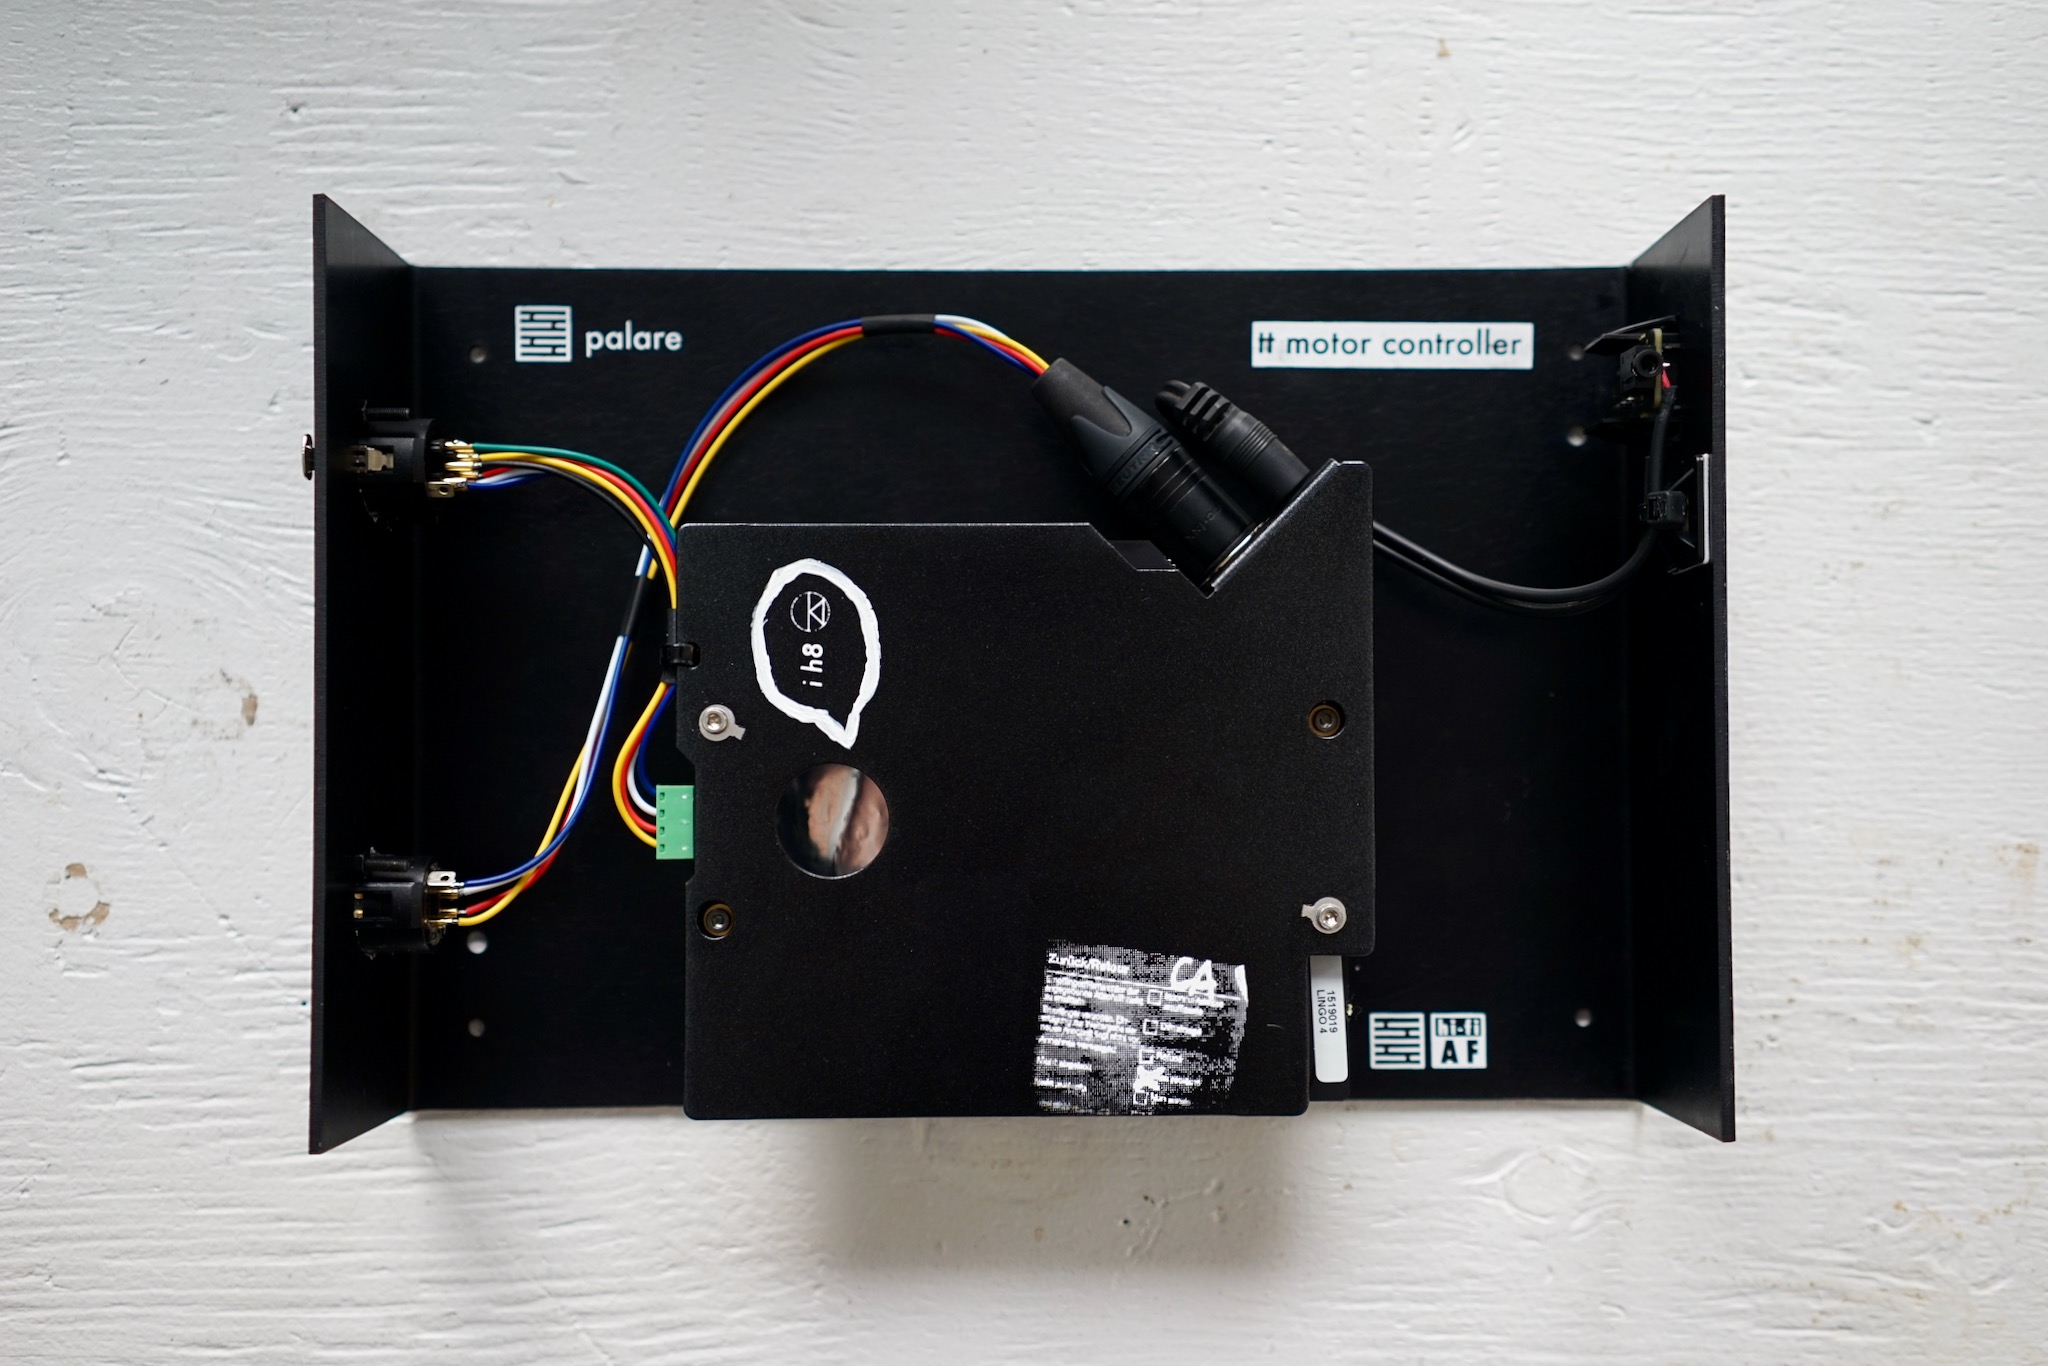
Back of the case (sled only):
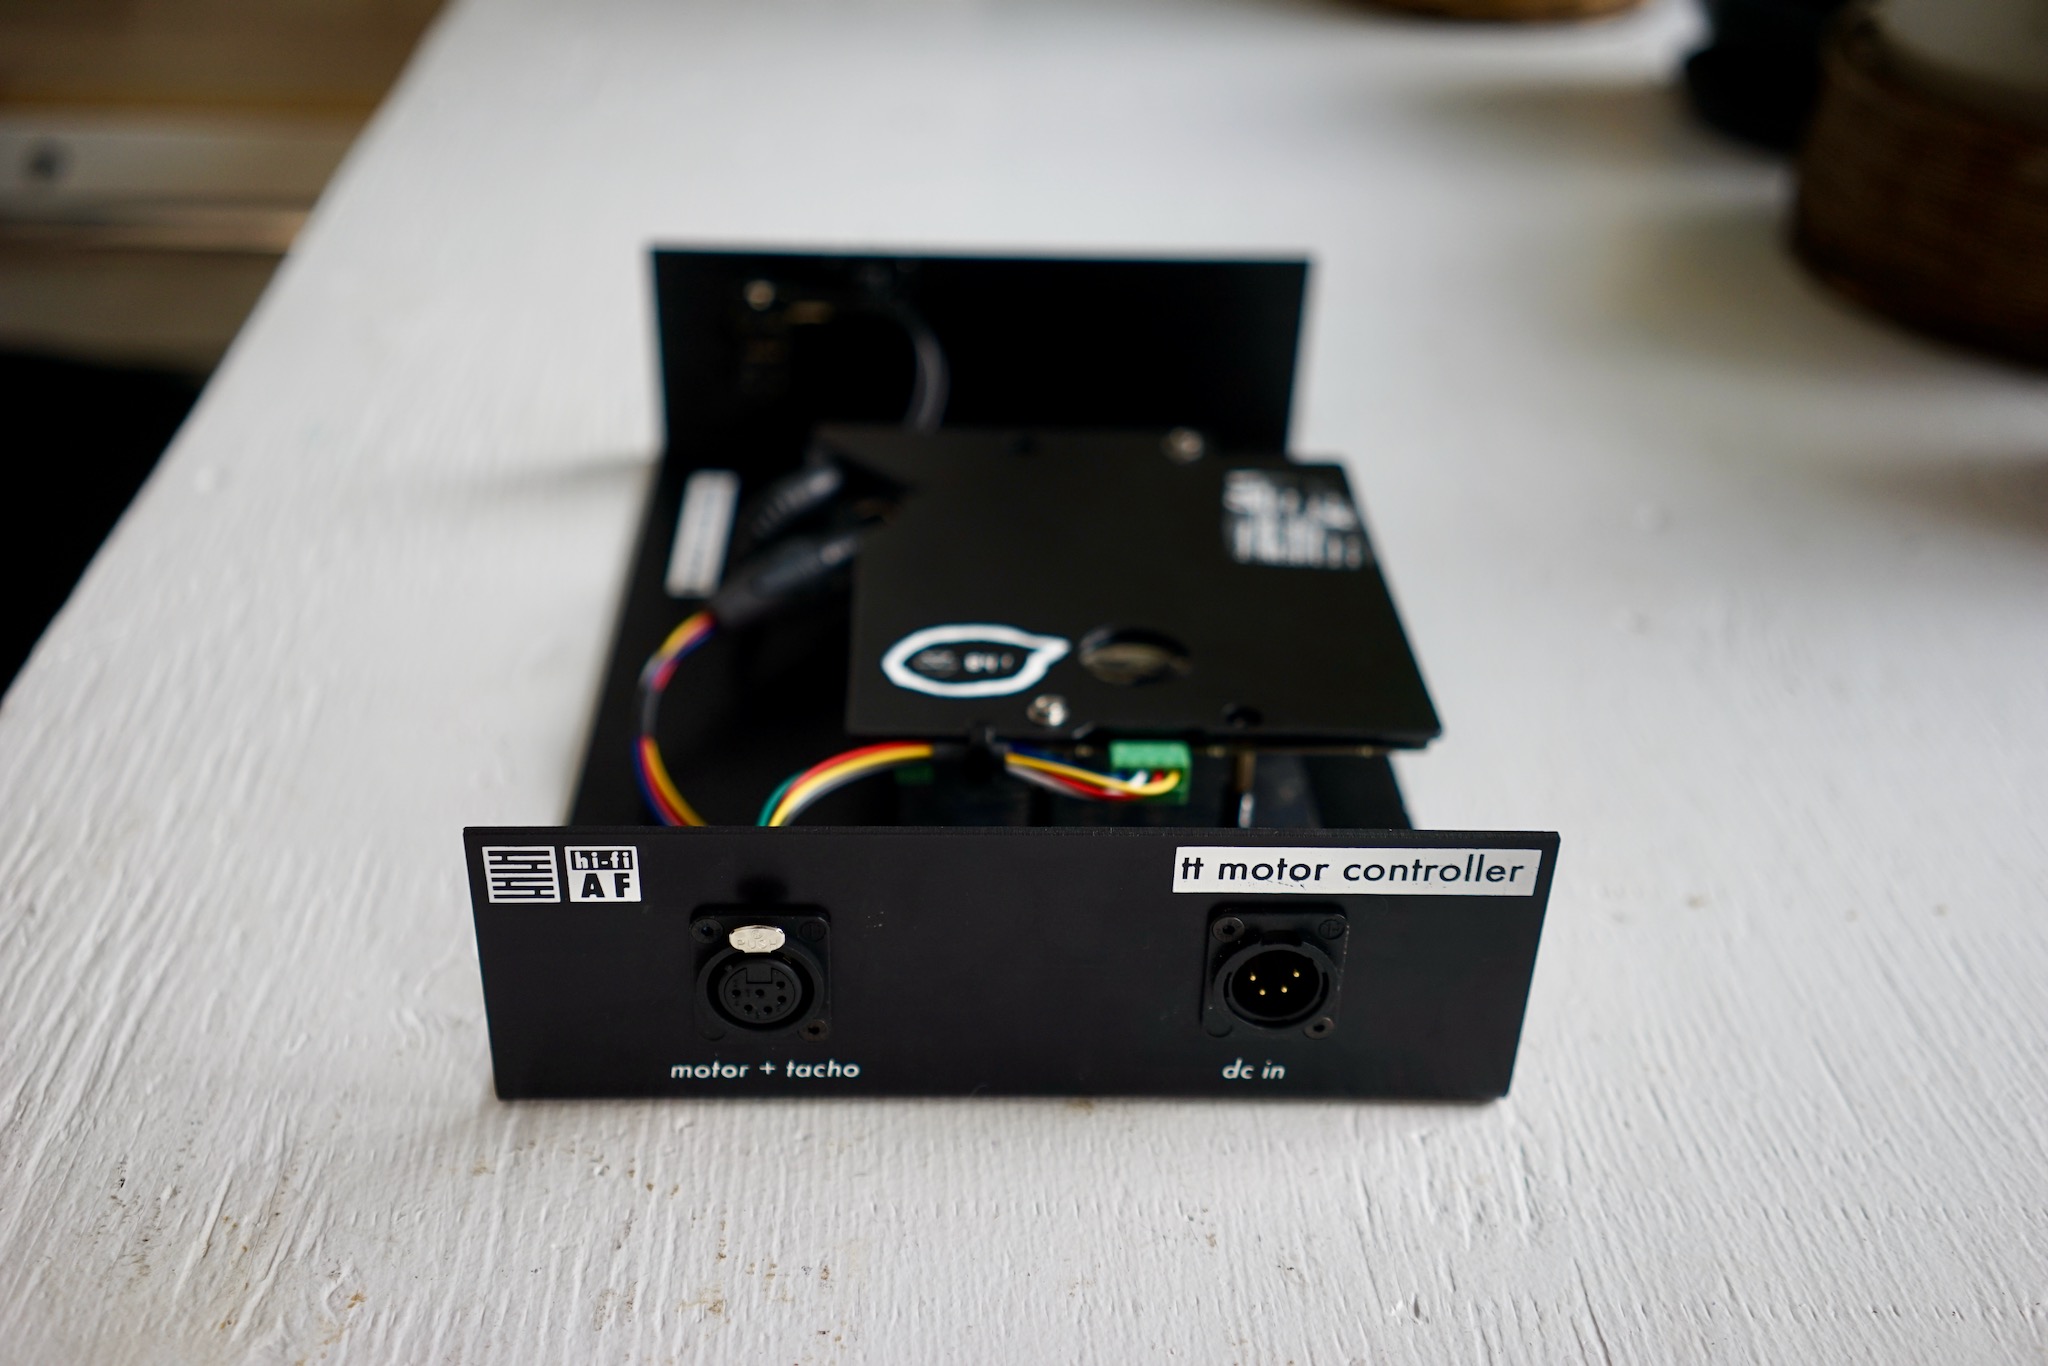
All built up and beautiful:
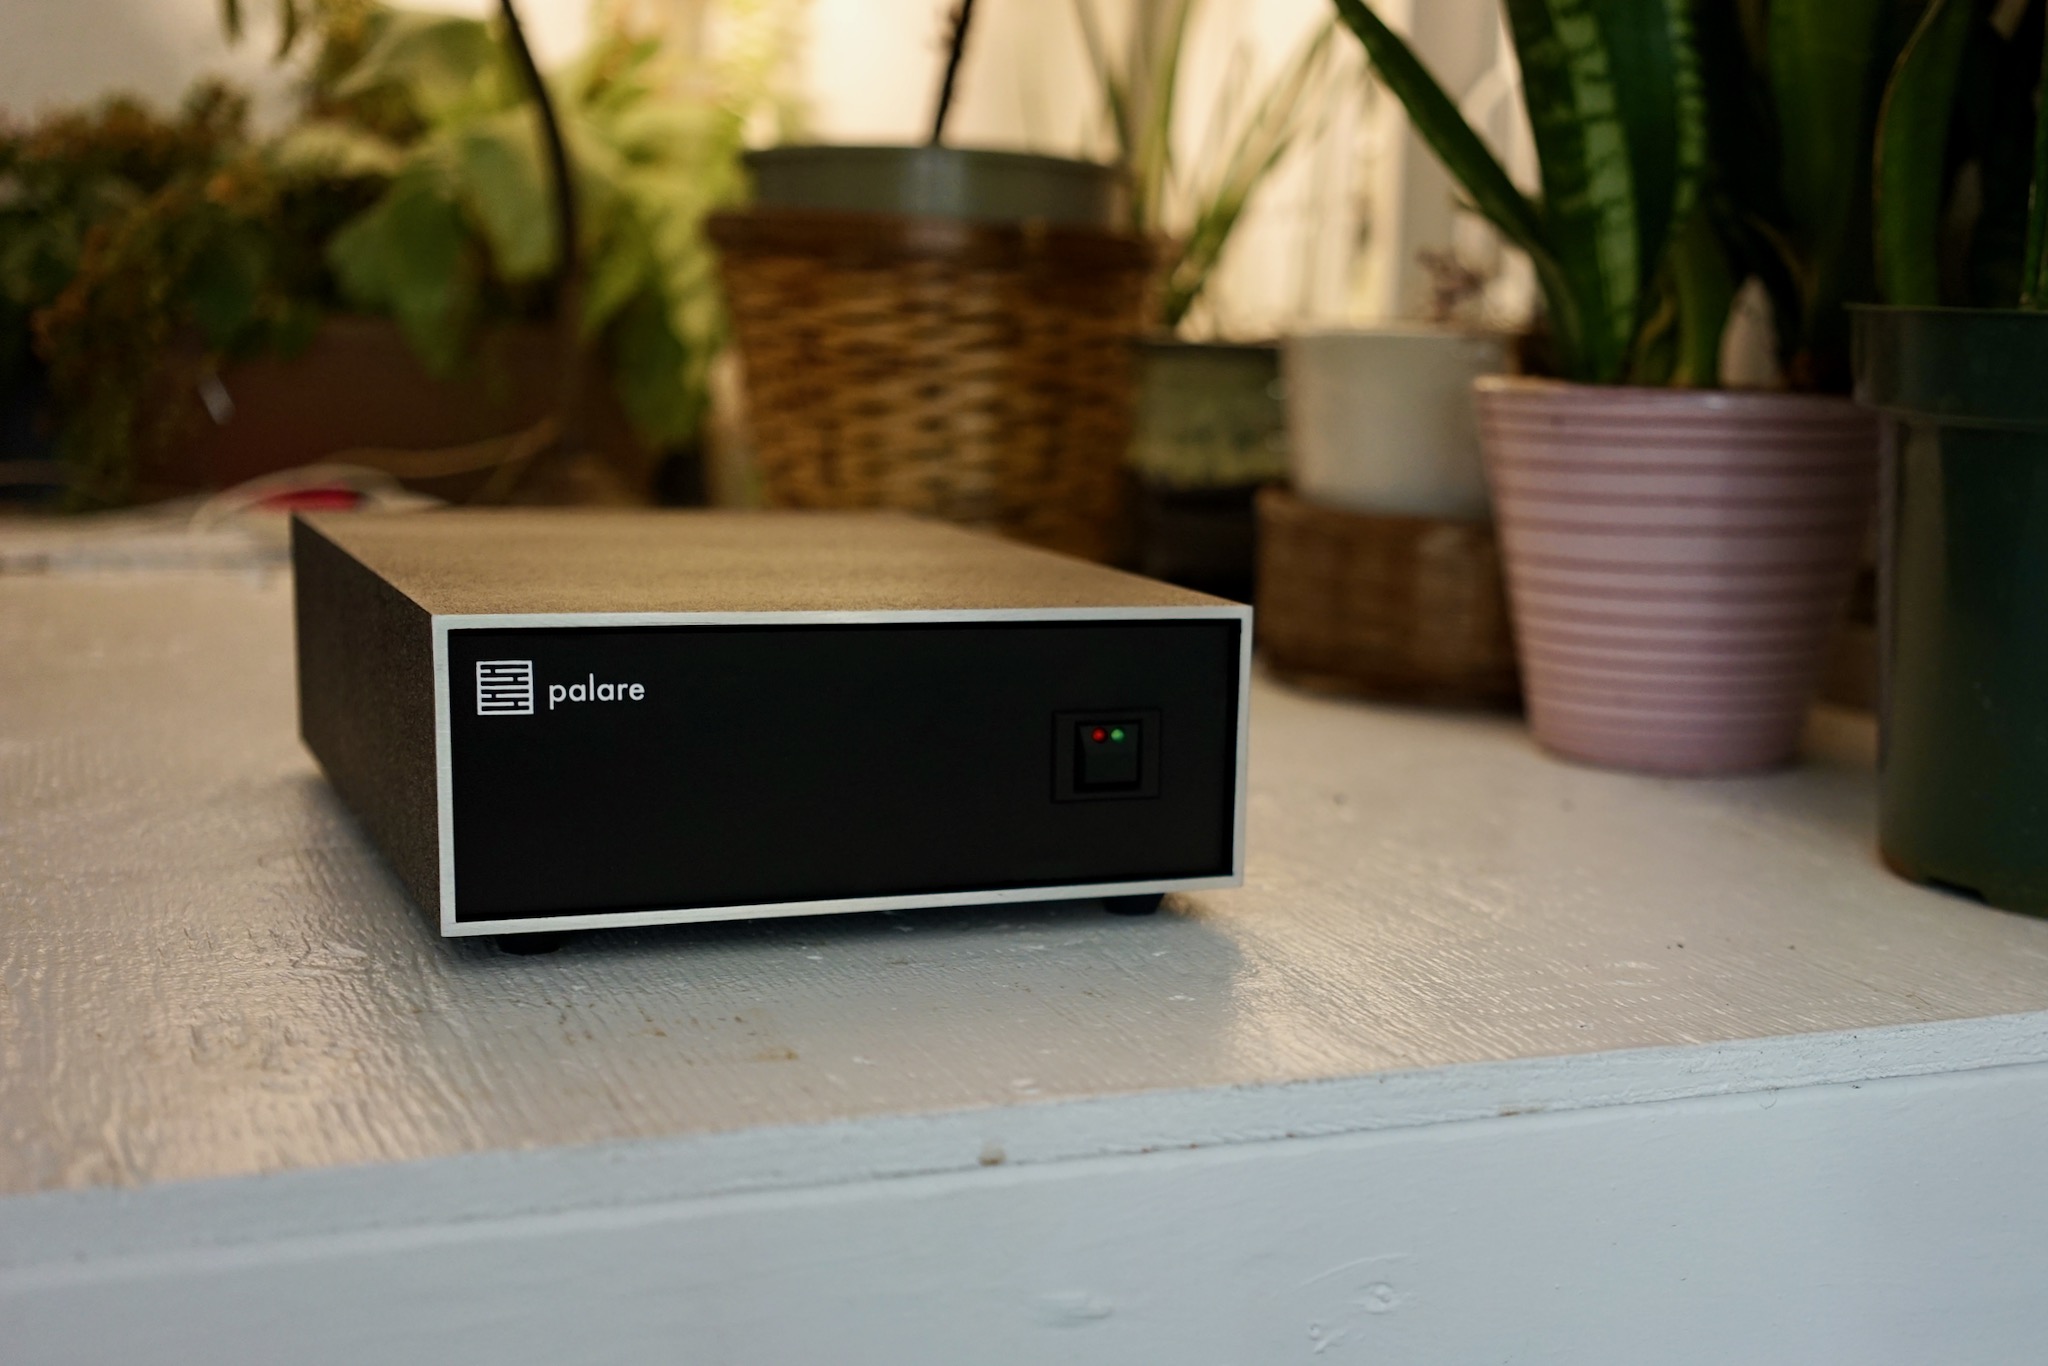
Adding an XLR Connector to my TT
I’ve always really disliked captive leads attached to turntables: phono leads and PSU wires dangling all over the place when you’re trying to move your turntable from the shelf into the jig. So I decided early on I wanted to mount an XLR socket on my Mober aluminum plinth. That was the last thing I did with the “Palare.” But I had so much fun with it, I mostly forgot to take pictures.
The photo below mostly shows the internal setup, though I did move the detachable terminal blocks a little close to the back of the TT in the end. The terminal block is attached to the cross-brace with M3 screws.
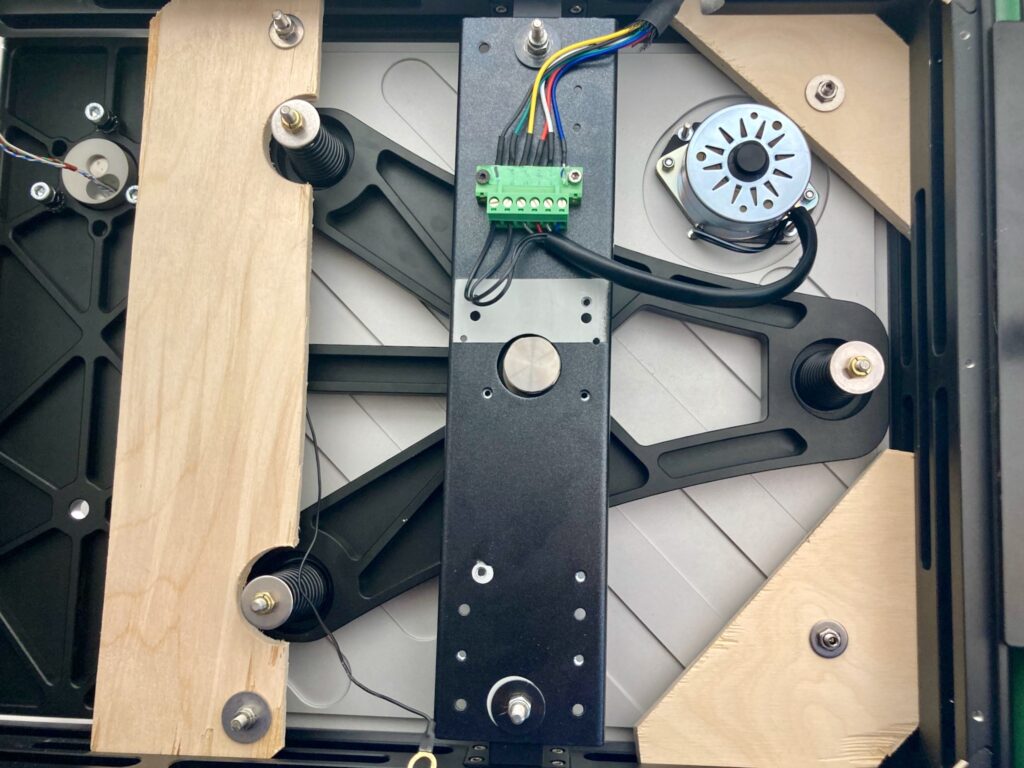
Here’s an inside look at the XLR connector mounted and wired up, though for some reason I forgot to take a pic with the terminal block actually mounted into the TT.
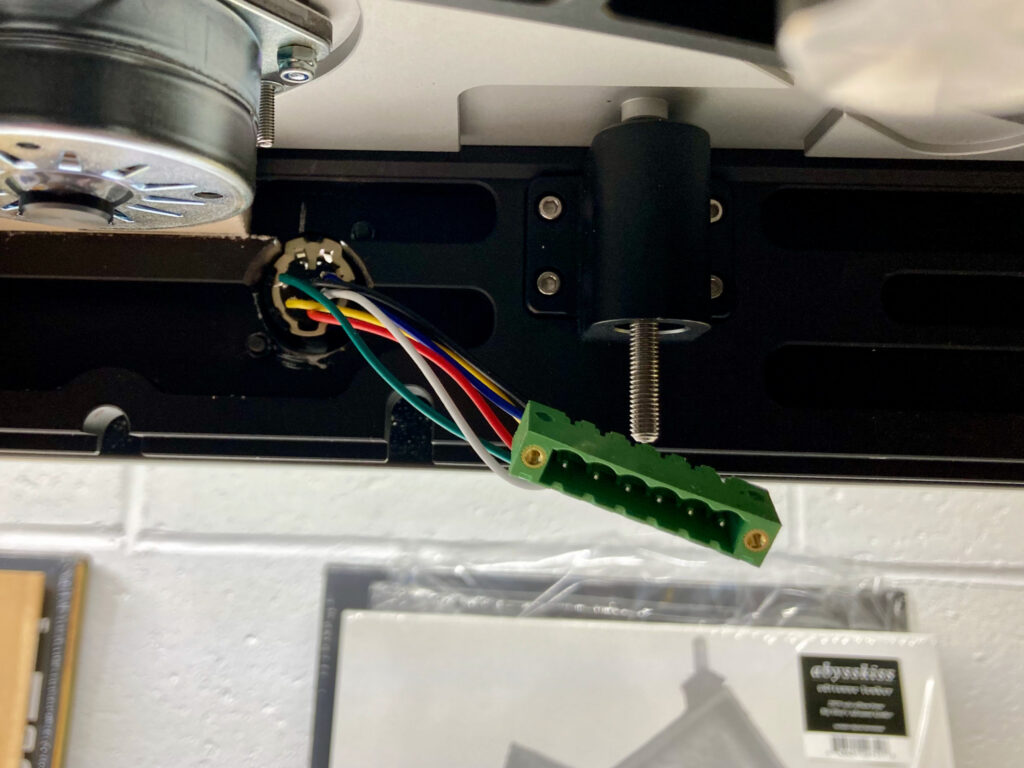
That’s how it looks from the back of the TT:
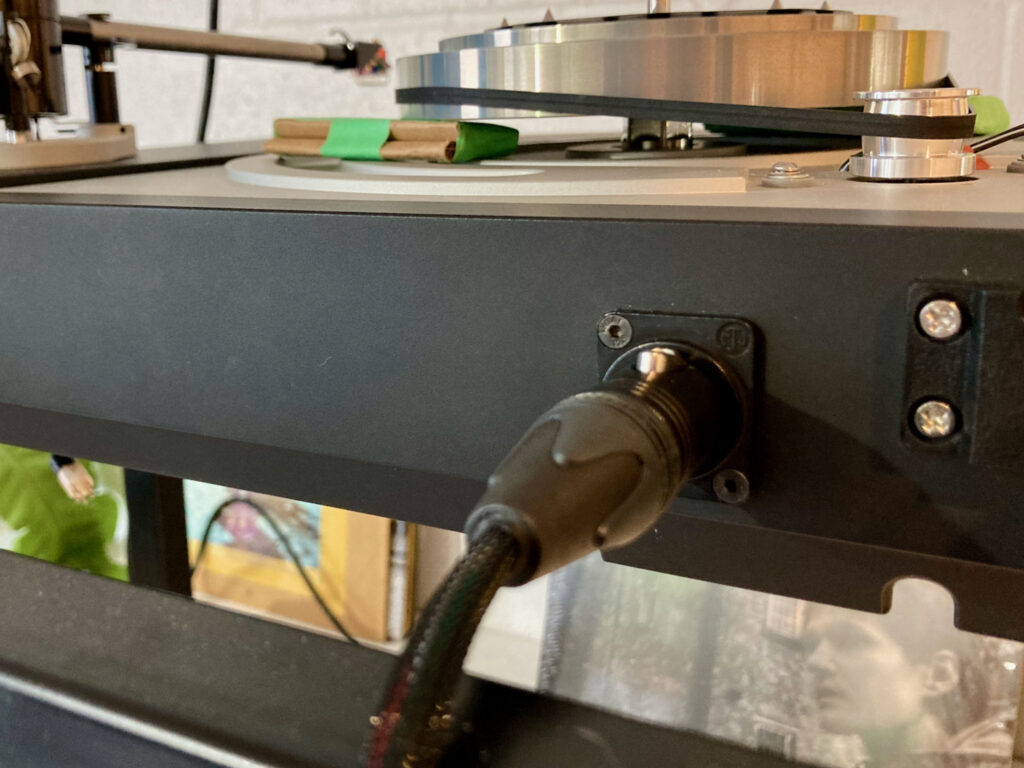
And there it is all wired up, easily detachable.
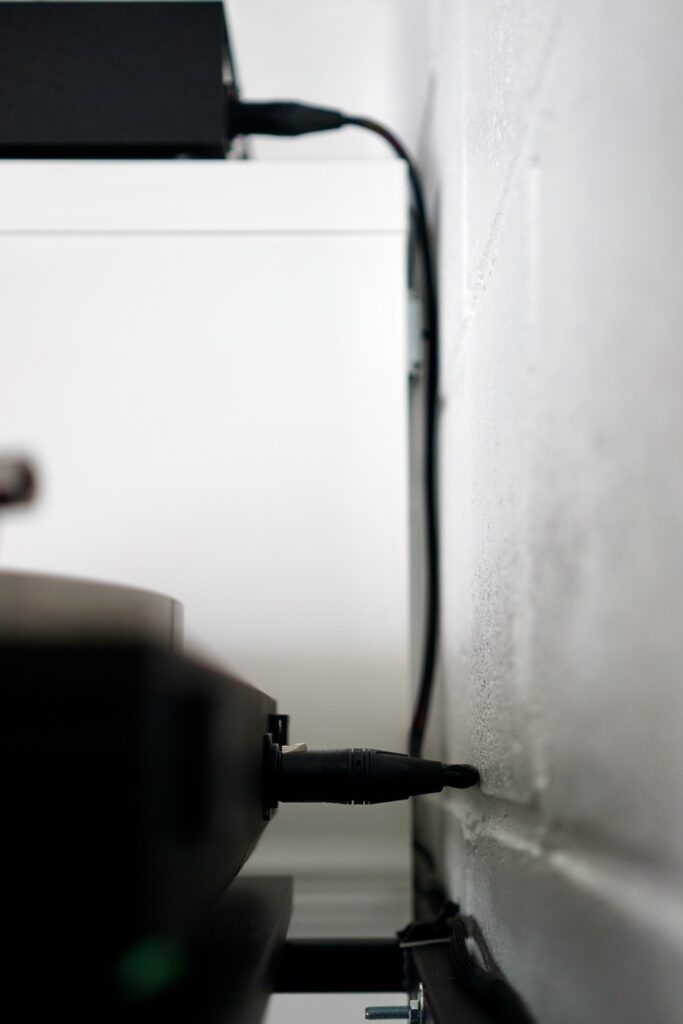
The happy system at play:
So Does It Sound Any Better?
Honestly, not that I can tell. I no longer have my crappy unshielded phono cable to repeat the experiment above in the YouTube video, so I’m not sure this setup is any quieter. I certainly could not tell any audible difference with music playing when I externalized the board — not in the “proof of concept” phase, not in the final phase.
But it definitely can’t hurt, it probably helps at least a little, the box looks cool, and it’s one less thing to get in my way when I’m opening up my turntable.
Most of all, it’s a way of marking the Lingo 4 as my own.
In the hi-fi AF universe, that counts as a win!

6 Comments
Join the discussion and tell us your opinion.
“You did it! Worlds best Lingo 4!” (Elf, 2003)
Great job, everybody! It’s great to be here!
Adam, Great work that’s the way Linn should have done it with all of the power supply outside of the LP12
Very honest! I do enjoy your projects and attention to detail.
So, Adam, what’s the latest hardware update??? (Inquiring minds want to know!) 😉
Great blog! Just found this because I’m contemplating buying an old LP12 to finally complete a Linn System I started in 1994. I’m realising there are a load of upgrades I’ve missed while my attention has been elsewhere. I felt your pain with the ticking motor – great intel. It’s clear despite it all you have a sense of humour.