LP12MF: Installing the Naim Aro Tonearm and Greenstreet Subchassis
I’ve already written a bit about the Naim Aro in relation to the Tiger Paw Javelin. Much discussion is to come about the geometry of the Aro and its compatibility with various subchassis. For now, though, how about a guided tour of the process of actually installing my Aro?
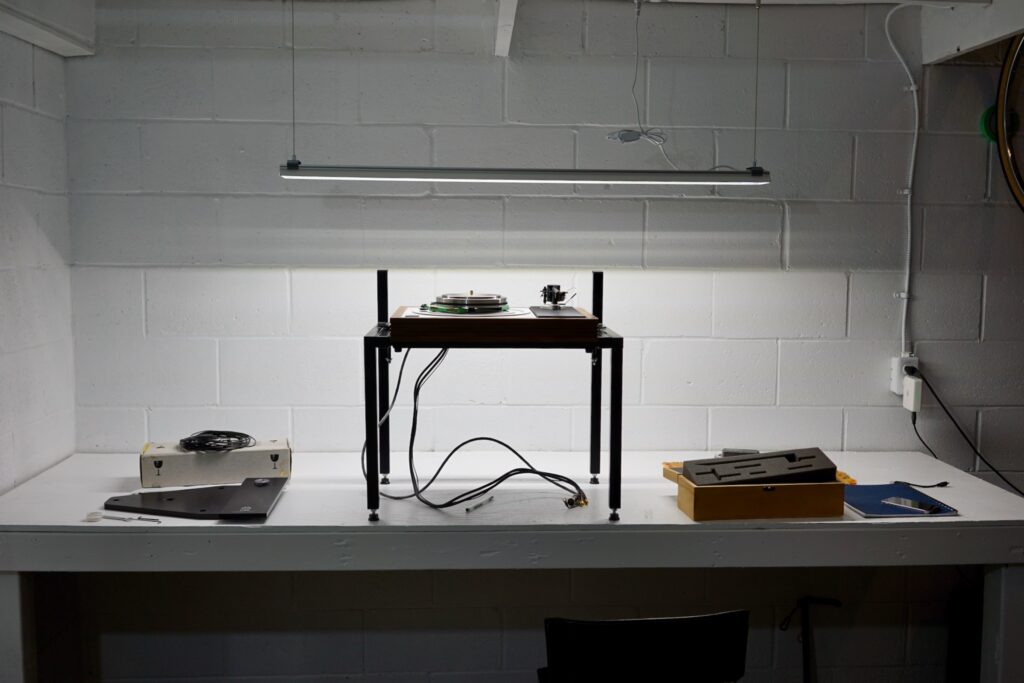
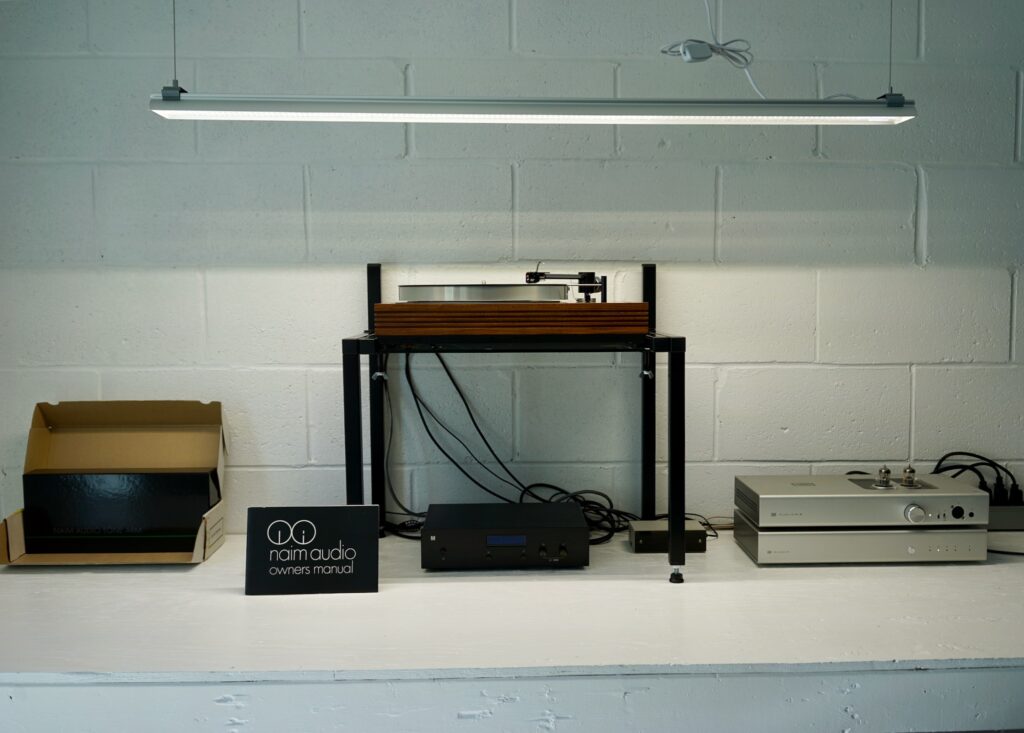
I decided to work in my newly painted and renovated garage. My partner and I are calling the garage “Sillys Place” (spelled just like that, whiteout the apostrophe), for reasons neither of us quite understands. But anyway, I worked out in Sillys Place. There are all the bits above, illuminated by my new LED shop light.
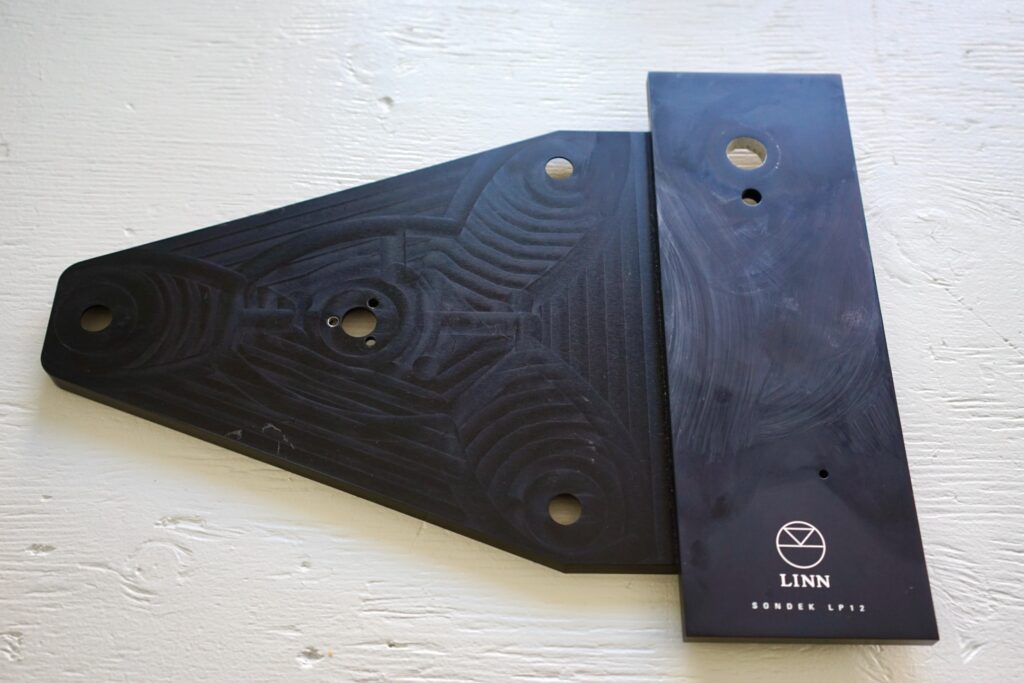
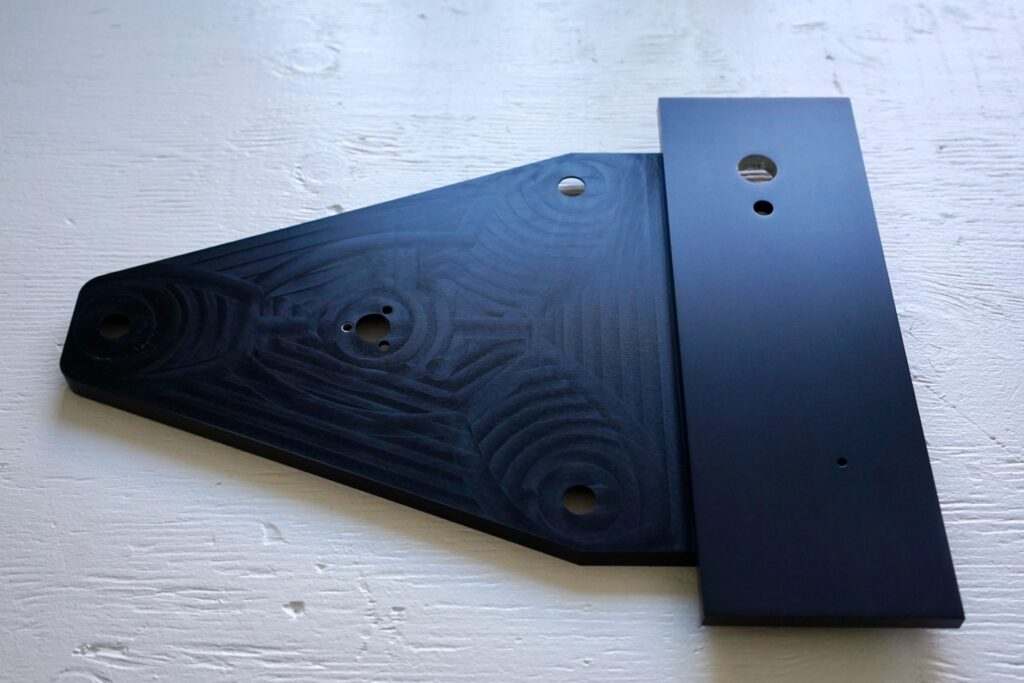
The first thing to do was clean up the Greenstreet armboard. The previous owner very skillfully applied a Linn decal, then protected it under several layers of clear coat. But then, hoping to tidy it up before sending it to me, he cleaned some finger prints with alcohol — which reacted badly with the lacquer clear coat and left the marks you see above. So it was time to strip off all of the clear coat, and the logo too. I made a trip to my local hardware store, newly reopened, and got myself some lacquer thinner. It left behind a bit of a mess of dissolved lacquer and logo, so I cleaned the surface with alcohol, then with soap and water, then with distilled water. What was left was pristine black anodizing.
Then I thought I would take the opportunity to snap a few photos of the outgoing Javelin and the incoming Aro (two projectiles flying in opposite directions!) while they were both detached from turntables and in the same room. Here they are:
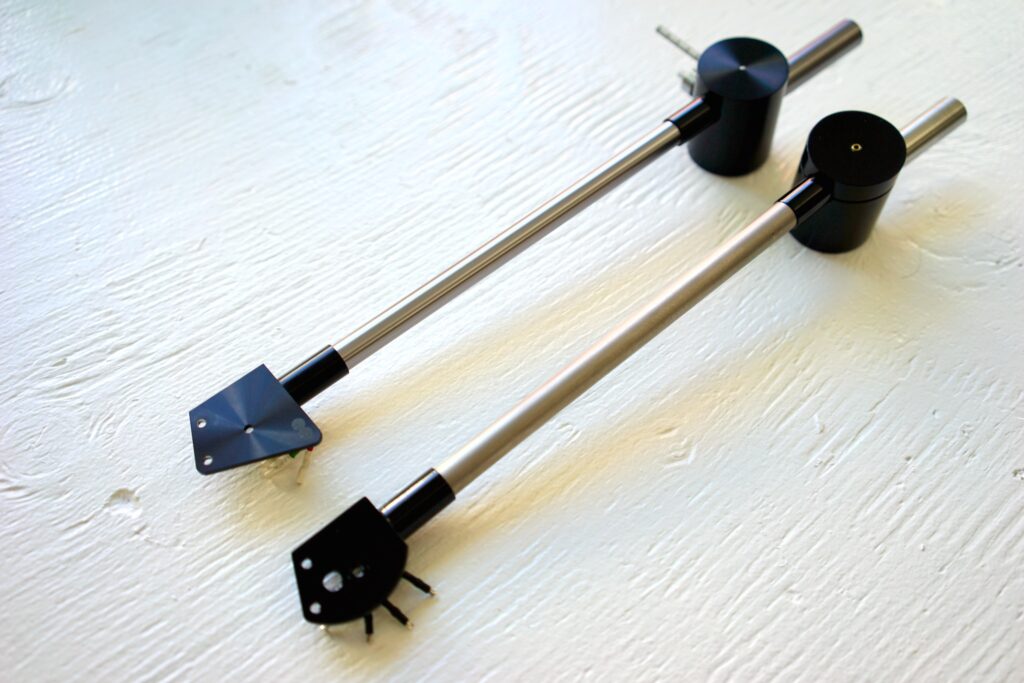
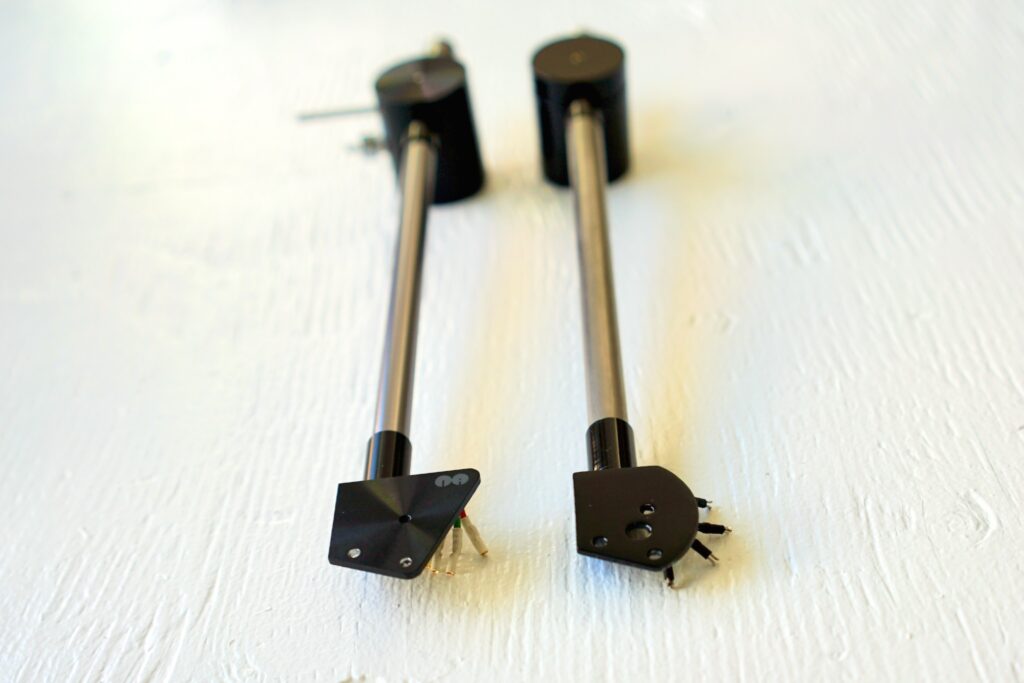
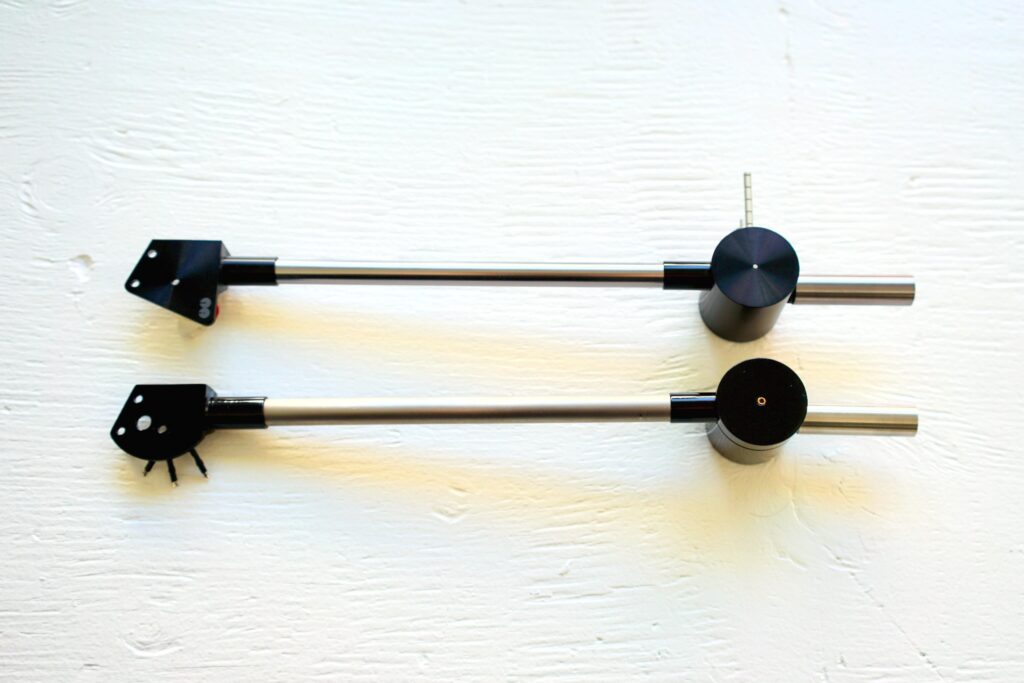
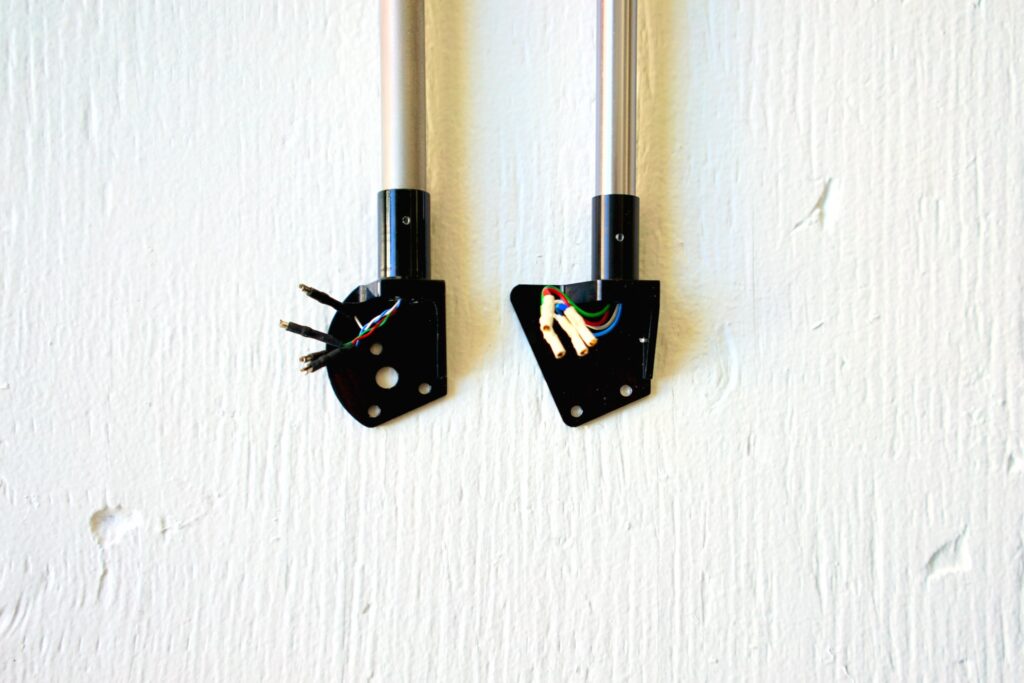
I asked my very aesthetically-inclined partner which of the two she preferred. Like me, she couldn’t decide. The anodized finish on the Aro is very pretty and reflects light in an interesting way. But the glossy painted finish on the Javelin is beautifully done. The angular Aro head shell can seem like a bit much — a bit too stylized and angular — and the more toned-down rounded Javelin a bit classier in comparison. But then the Aro shape is more original, and looks really cool with a cartridge actually installed, as you’ll see below.
They both look amazing, is my conclusion — and it will be very hard to ever sell either of these. It would be worth the cost just to be able to take either out of a box and stare at it occasionally.
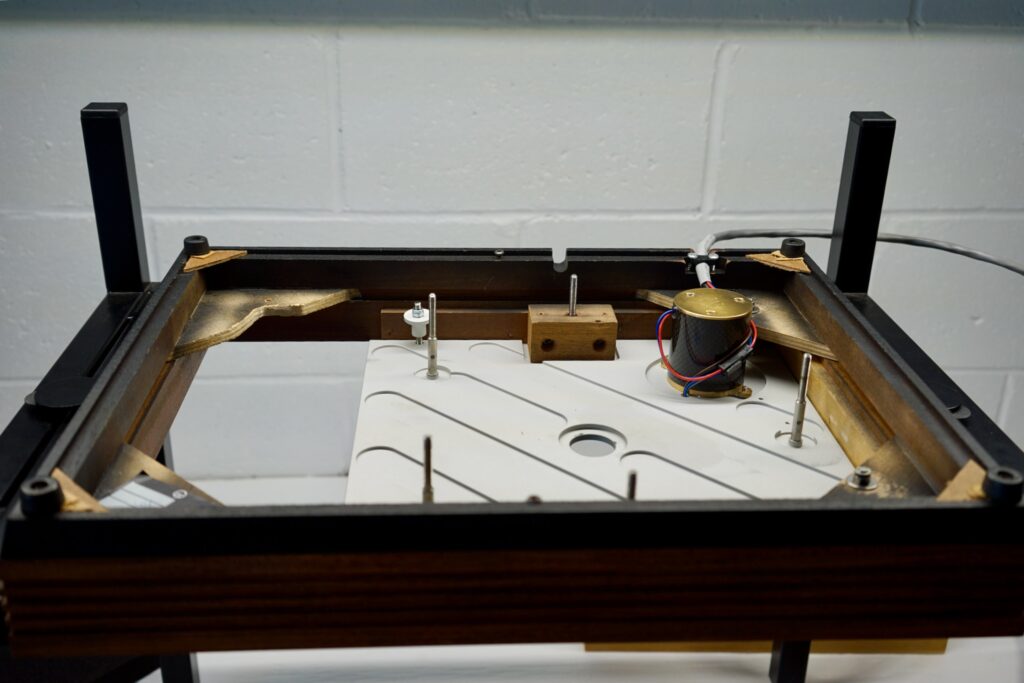
Anyway, it was time to stop focusing on surfaces and get to work. There’s my blank canvas. It was the first time I’d had the deck stripped and upside down since I’d installed the Mober DC motor. The first thing I did was use a zip tie to secure its wires a bit more neatly. You can (sort of) see my efforts below.
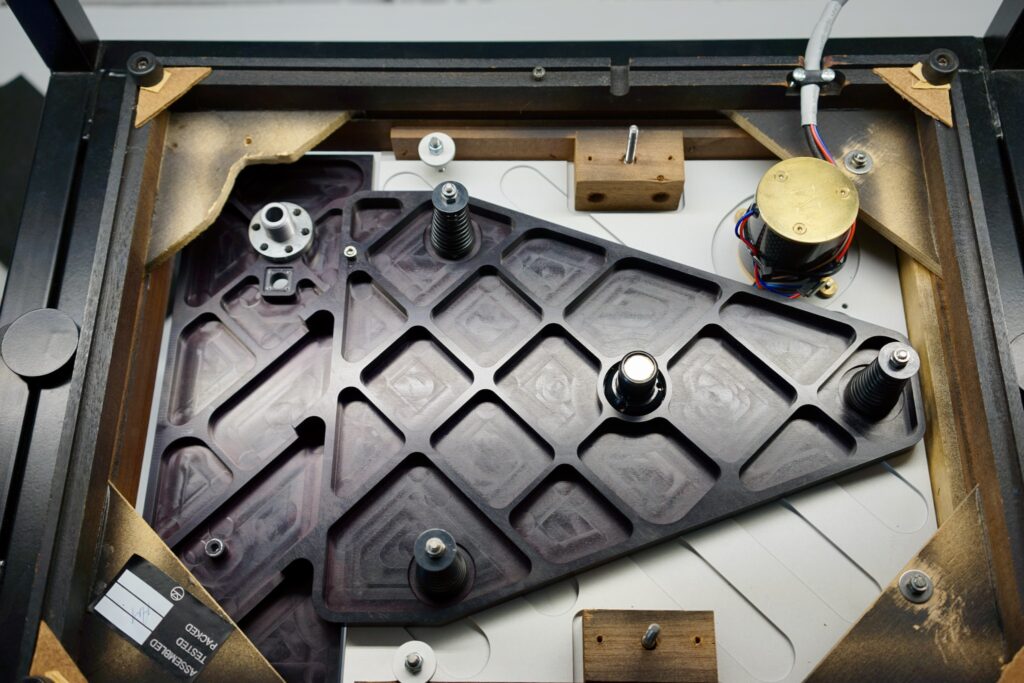
Then it was time to plop in the Greenstreet, with the Aro’s arm collar attached. The Greenstreet looks gorgeous from below: too bad it will be invisible in operation. I definitely appreciate that it (or, well, the Keel that it Klones) leaves room for twisting grommets. That’s my one beef with the Mober subchassis, which has high ridges around the grommets that make it difficult or impossible to twist grommets.
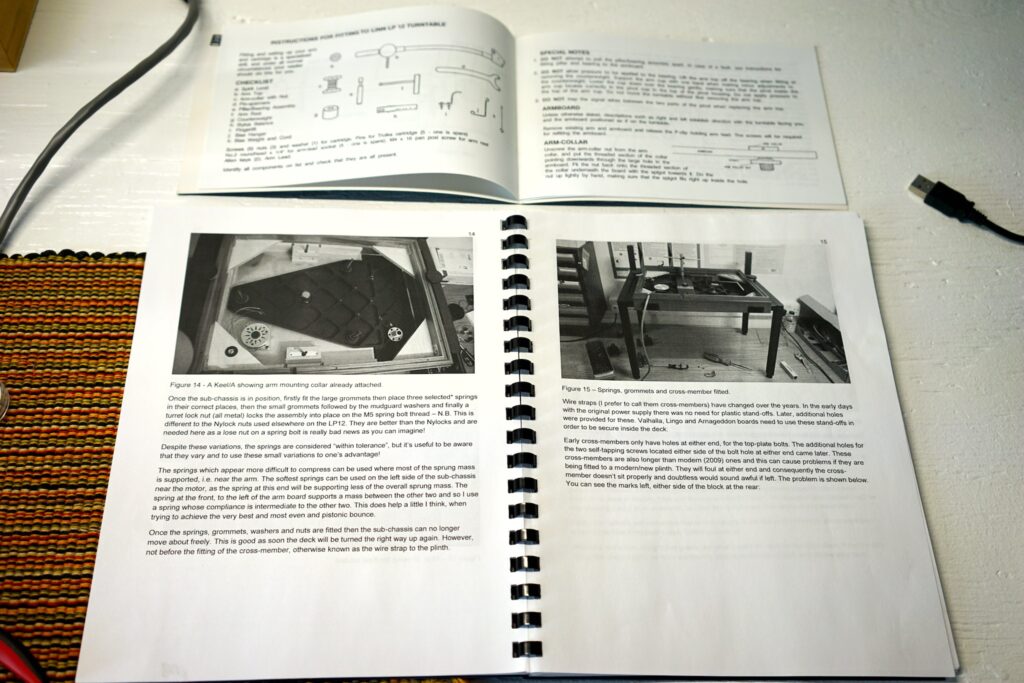
I had the advantage of following two excellent manuals on this installation. Peter Swain’s setup guide (spiral bound par moi) does its usual excellent job, and has lots of information for Aro users. The Naim manual — that’s it open above the Swain manual — is also very thorough and well written. I used both and appreciate each. Certainly very nice after working in the dark with the manual-less and somewhat more complicated Javelin… (I’m planning to remedy this with my own Javelin setup guide, which is forthcoming…)
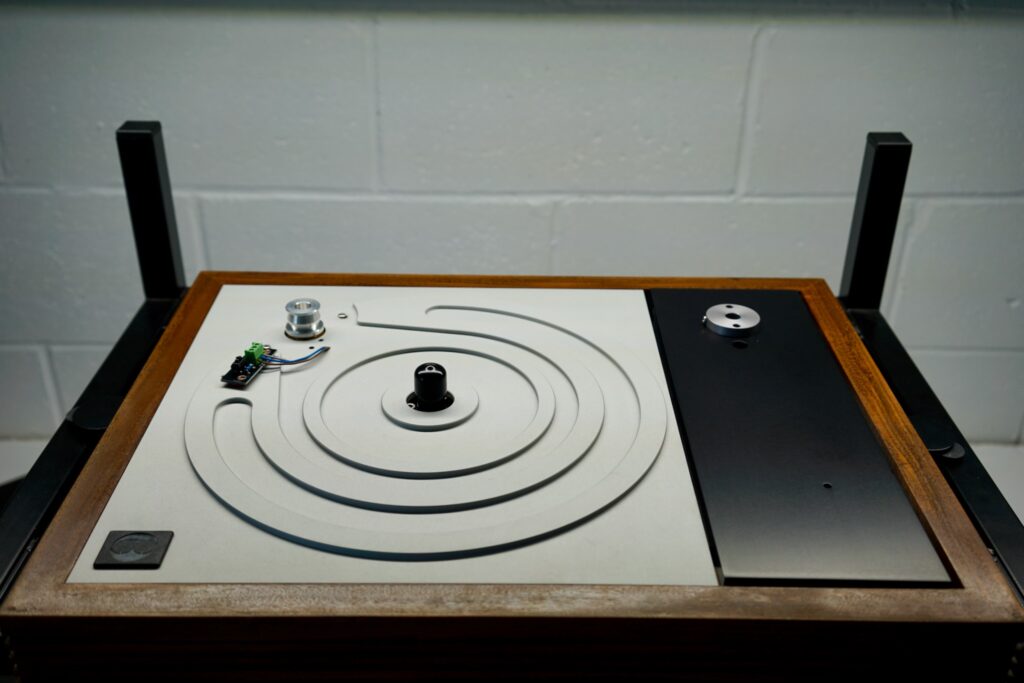
There it is back upright. You can get a good sense for the nice finish on the Greenstreet armboard there: a nice matte black, totally smooth unlike the bead-blasted Mober.
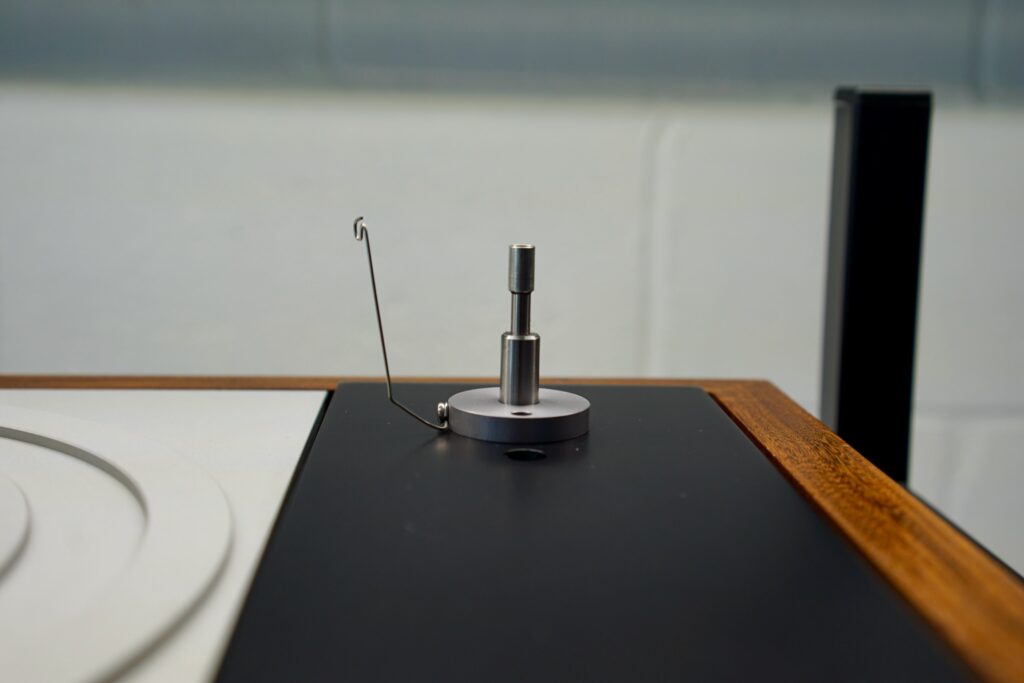
Here I’ve attached the bias (anti-skate) pillar and the pillar/bearing assembly. I was about to do something that is not mentioned in either manual, but which I would definitely advise against…
I proceeded from here to flip the deck upside down in the jig to work on the somewhat complicated Aro cable dressing. While it was upside down, I heard a “plonk” as something fell off the deck and landed (safely, thankfully) on my Peter Swain setup manual. I didn’t recognize it at first: it looked like half the pillar/bearing assembly — which I thought was one solid piece of metal. I was wrong!
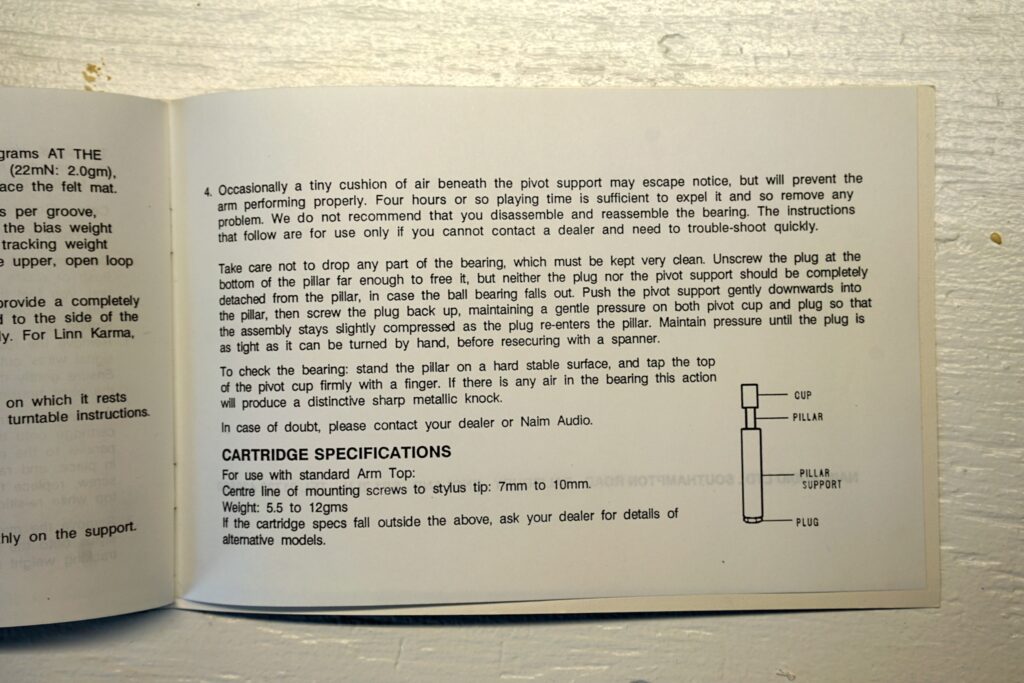
As you can see in the above page from the Aro manual, the pillar is a three part affair, with 1) a pillar support, then 2) a ball bearing, then 3) the pillar/cup assembly. I’d read about there being a ball bearing somehow involved, but I couldn’t visualize it until I saw the pillar/bearing assembly come loose before me. Thankfully the pillar and the ball bearing landed on a clean piece of paper and didn’t roll off anywhere. I followed the instructions and got it all back in place once I’d turned the table around again.
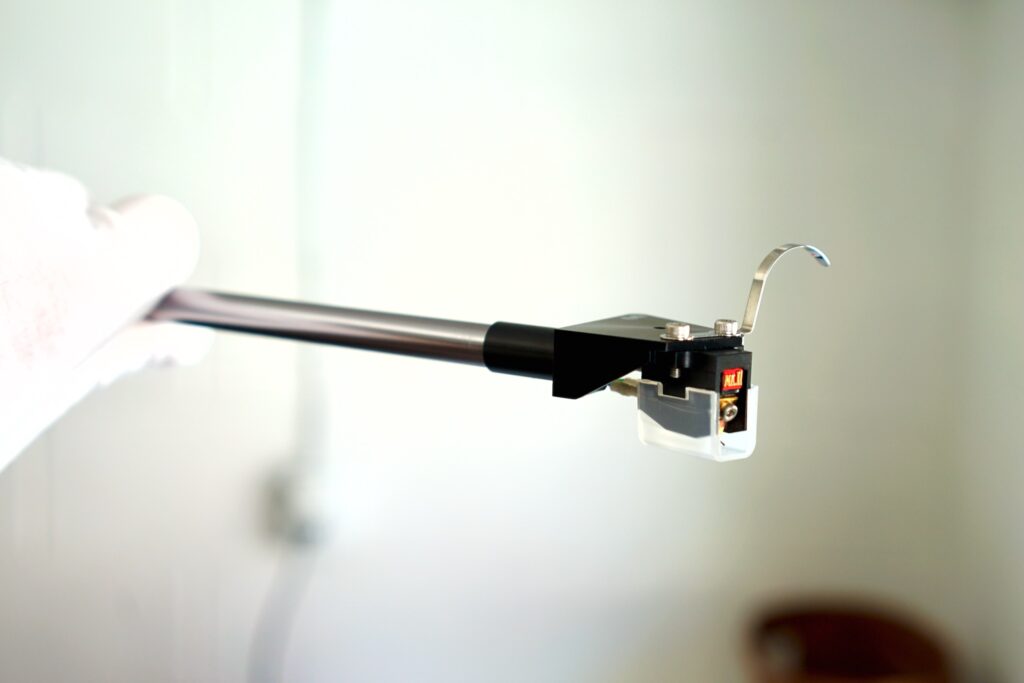
Then it was time to get the XX-2 cartridge installed in the headshell, which was of course a snap. I absolutely love the finger lift that the Aro comes with. I don’t know if that was custom-designed or a commercially available option… but it’s beautiful and I haven’t seen it anywhere else.
You’ll also notice in the above photo that I have bought myself some cotton gloves for working on the LP12, a much more sensible option than the latex ones I’d previously been using. A good tip from Andrew/flatpopely on this AudioFlat thread.
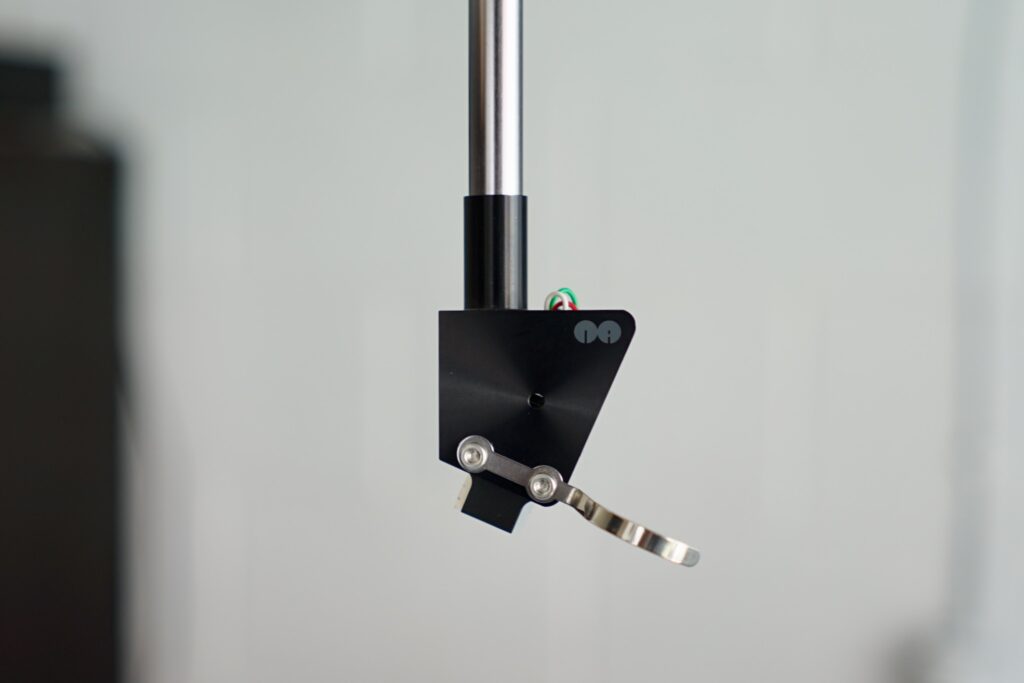
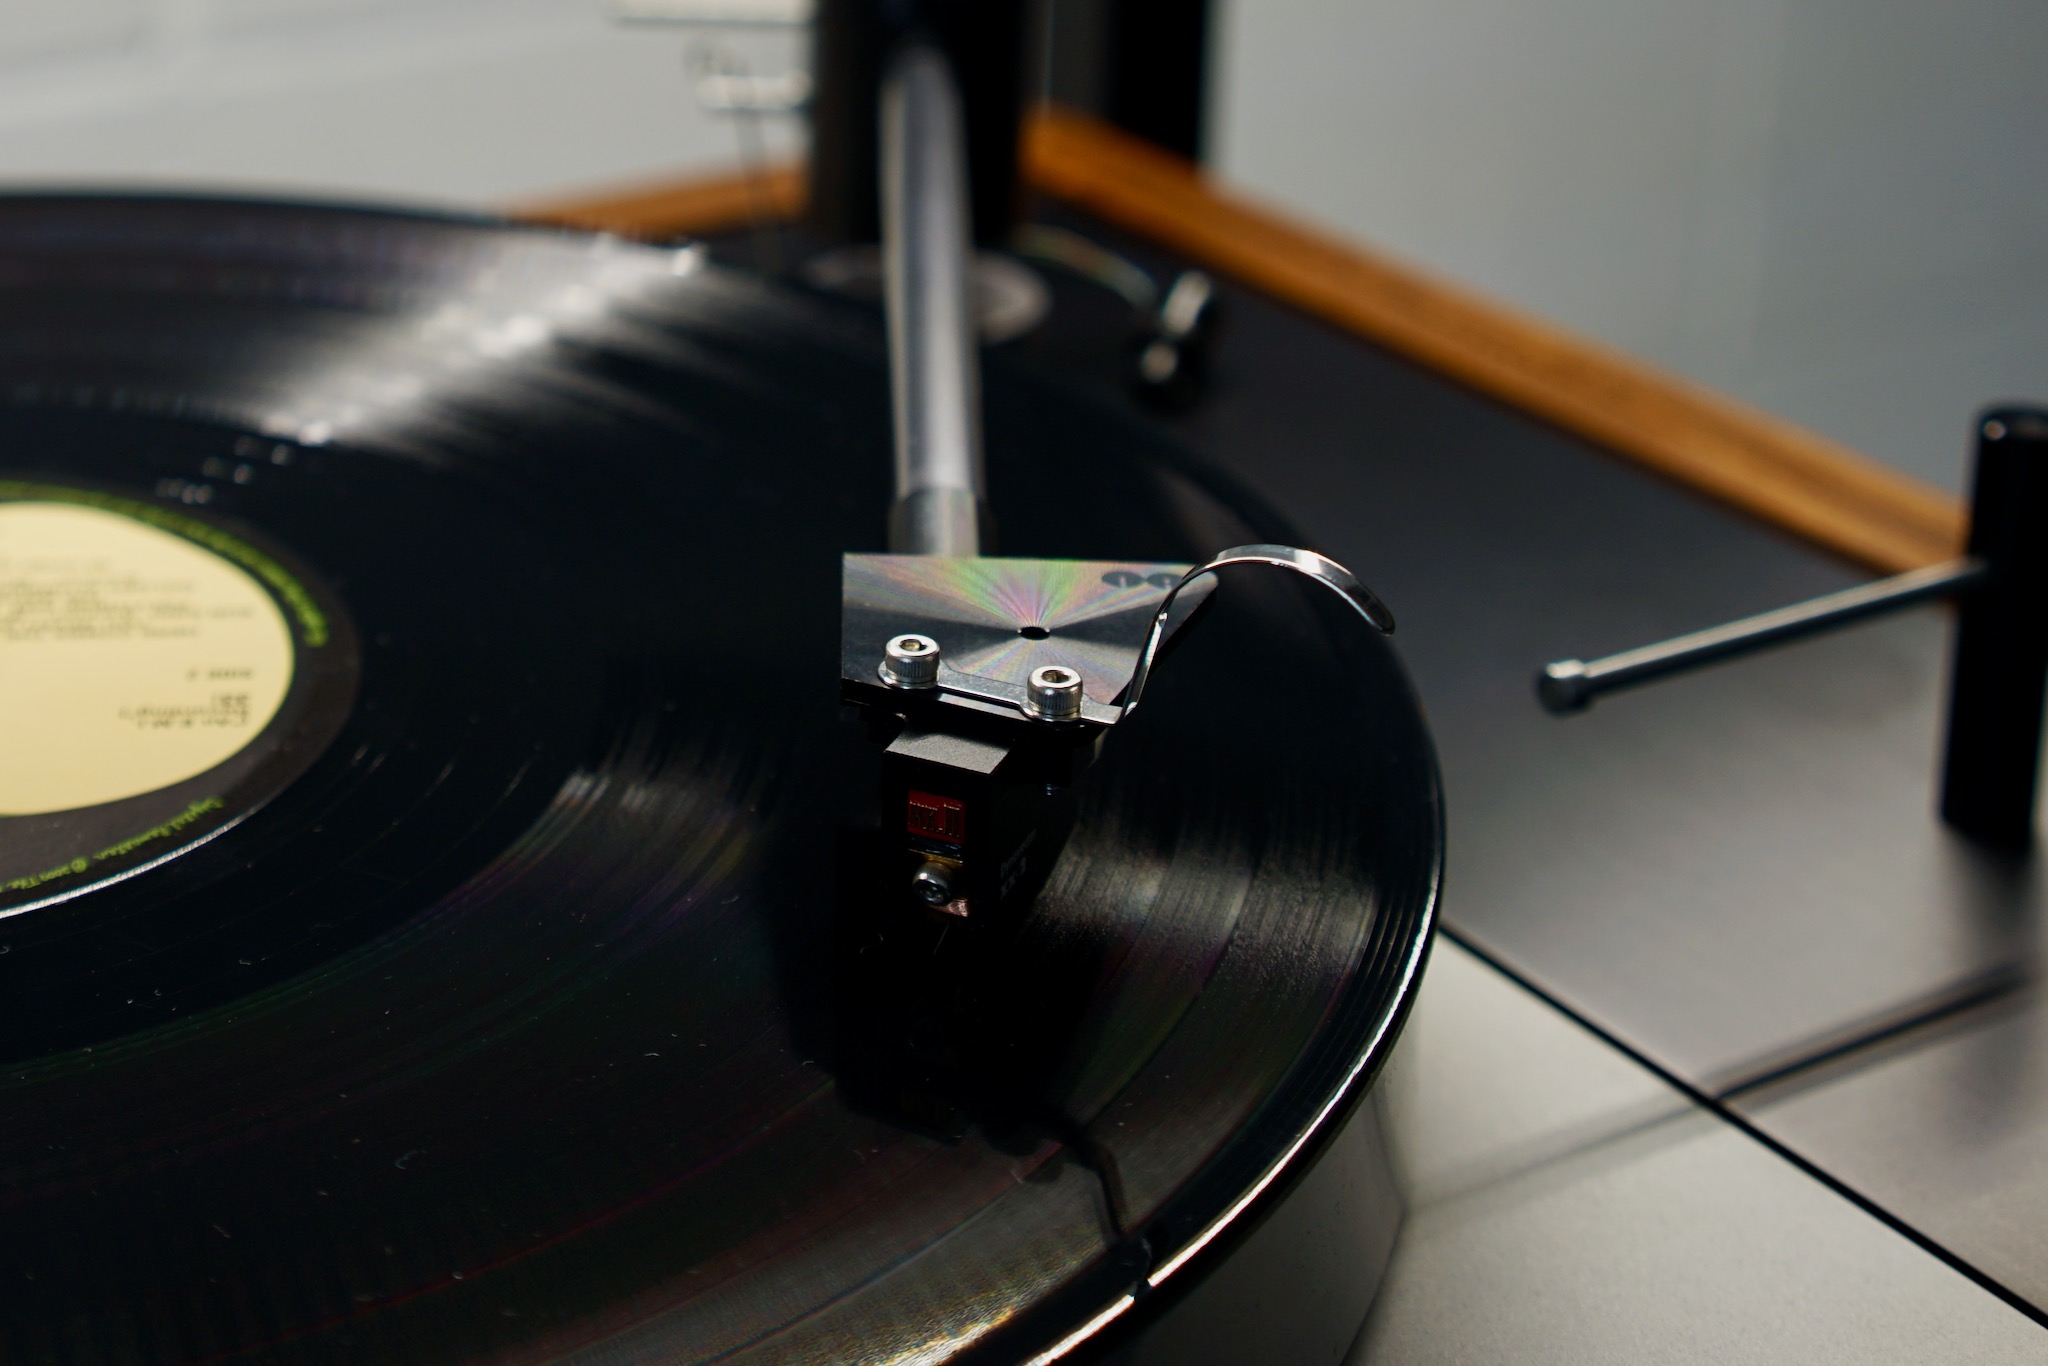
Another gratuitous beauty shot. See how the Aro head shell can seem a little over-the-top on its own, but suddenly looks perfect with a cartridge installed? The shape and colour of the XX-2 work particularly well with the Aro…
There isn’t much to note about the actual setup — well, I mean, there’s lots to say, but Peter Swain and the Aro manual have already said it. But I will make a few notes about the adjustment of the bias/anti-skate hanger. Out of the box, it was not bent in a useful way, so I needed to spend some time getting it into a decent shape. I then consulted my friend and Aro enthusiast (also, onetime Naim employee) Nobeone on AudioFlat about how to get it set up properly. You can read his advice here.
The basic idea is that, as he puts it, is “with the stylus more or less in the middle of a record you want the bias weight filament to be parallel to the arm.” Here’s my attempt to get that right:
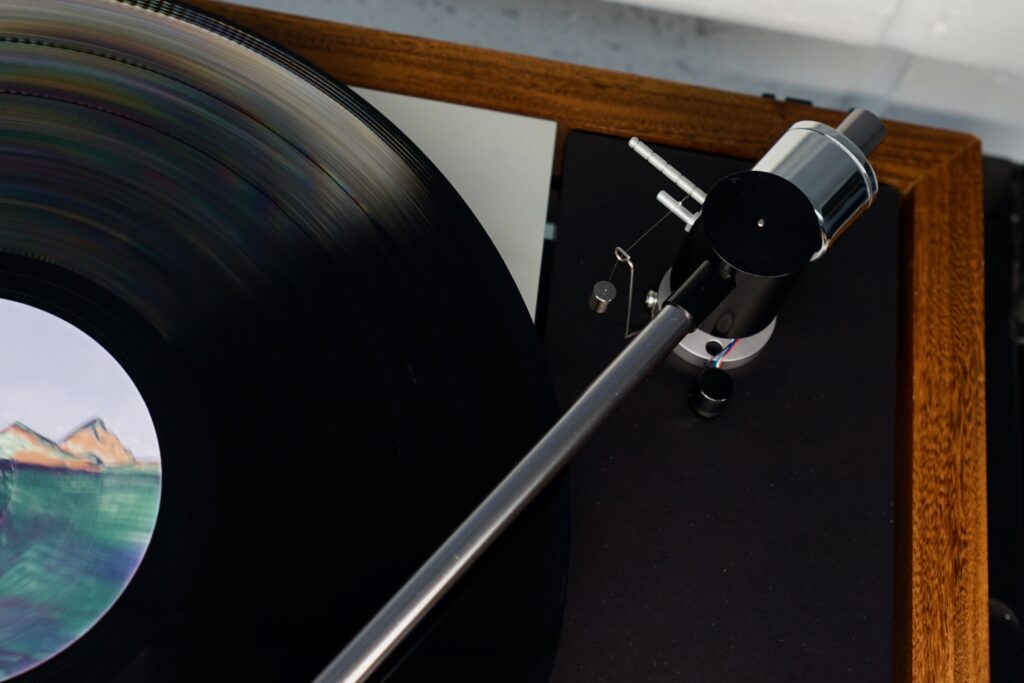
Next, says Nobeone, “from the side you want the bias weight filament to be horizontal in line with the arm.” Mine is almost there in this shot:
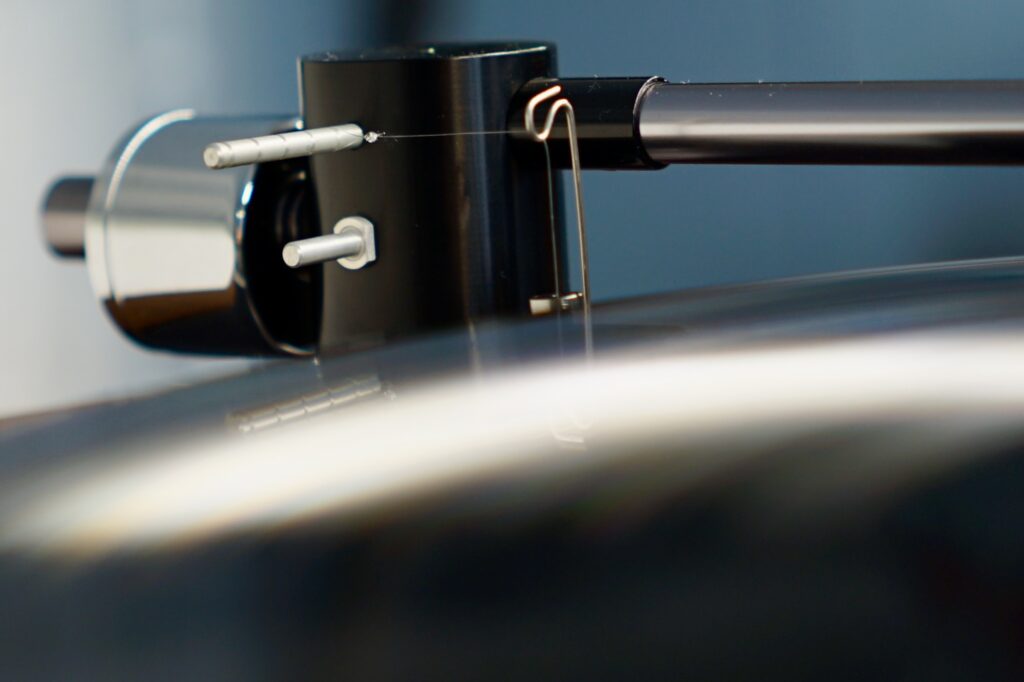
The discussion continues on this thread, with some input from YNWaN about adding a bit of mass to the weight. I’ll pursue that and update here as as I go.
You’ll notice in the above photo that I’m not using the Aro’s azimuth weight, which would go on the little pillar pointed over your left shoulder. Indeed, I’m not using the Aro’s counterweight, either. Instead, I’m using the Javelin’s counterweight — effectively a Tiger Paw sKale for Aro — which has an offset mount to allow for setting of VTF and azimuth with one piece. I thought using this weight would make things more comparable, and also save me having to learn how to use the Aro’s azimuth system.
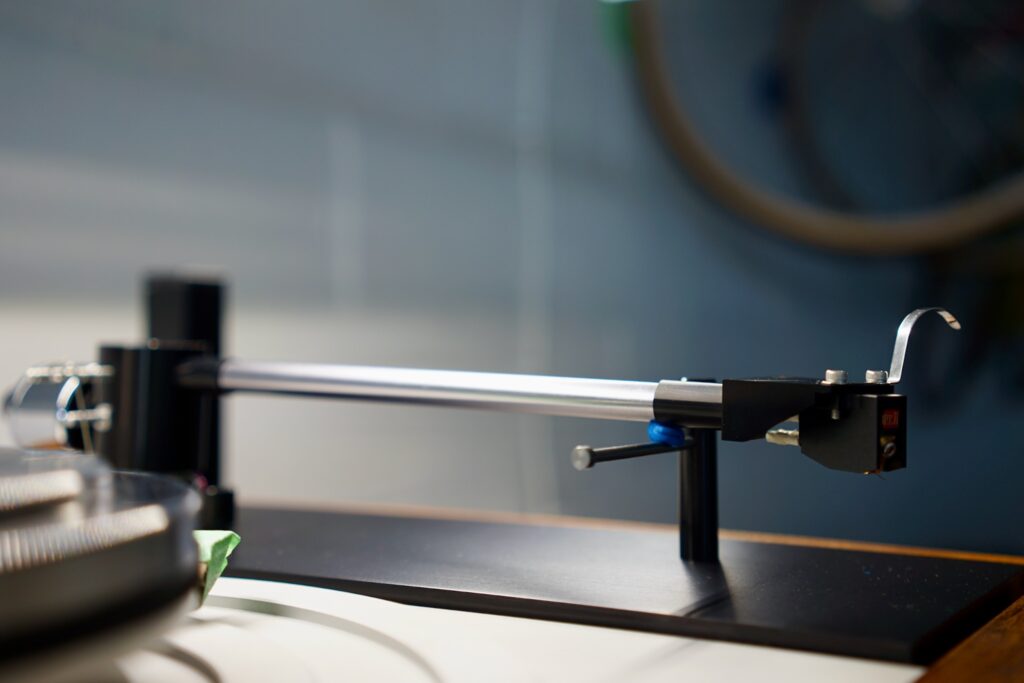
Following Peter Swain’s advice, I compensated for the Aro’s lack of an arm lift by using blue tack to hold it in place when moving it and testing the bounce.
I’ll end this post with a bunch of pretty photos of the very photogenic Aro.
Here’s one that captures the cool rainbow effect produced on the Aro headshell under my LED shop light:
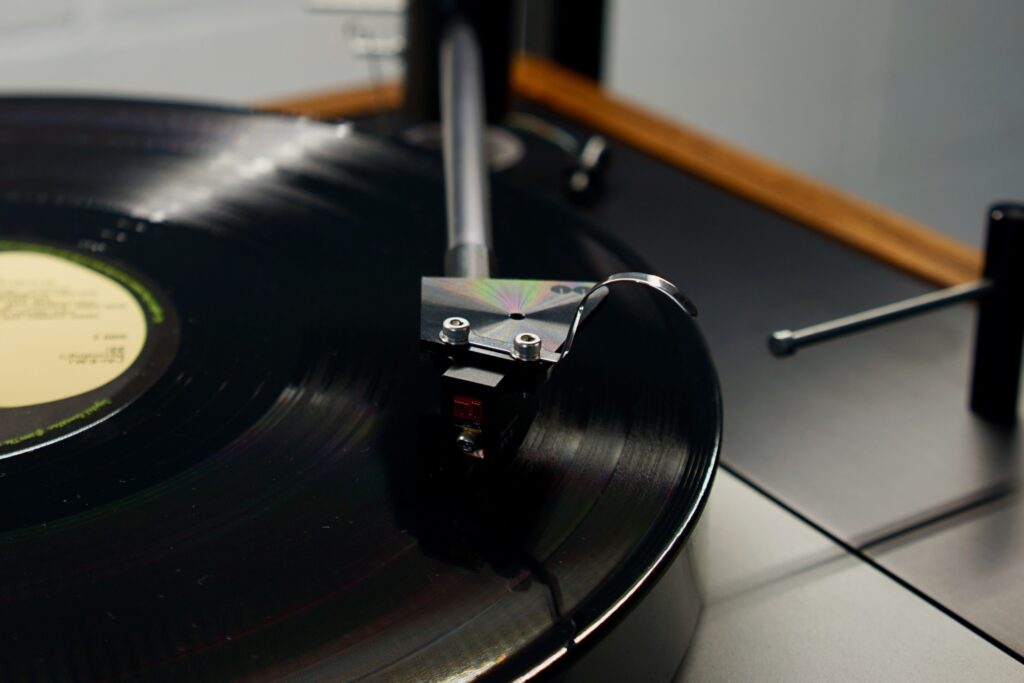
Some more beauty shots:
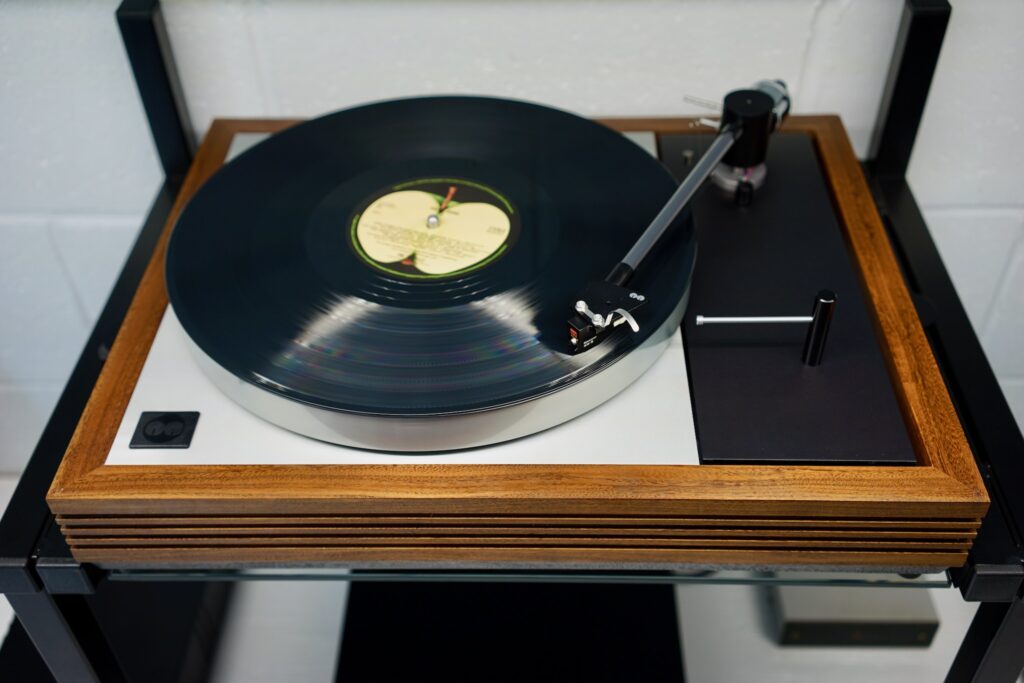
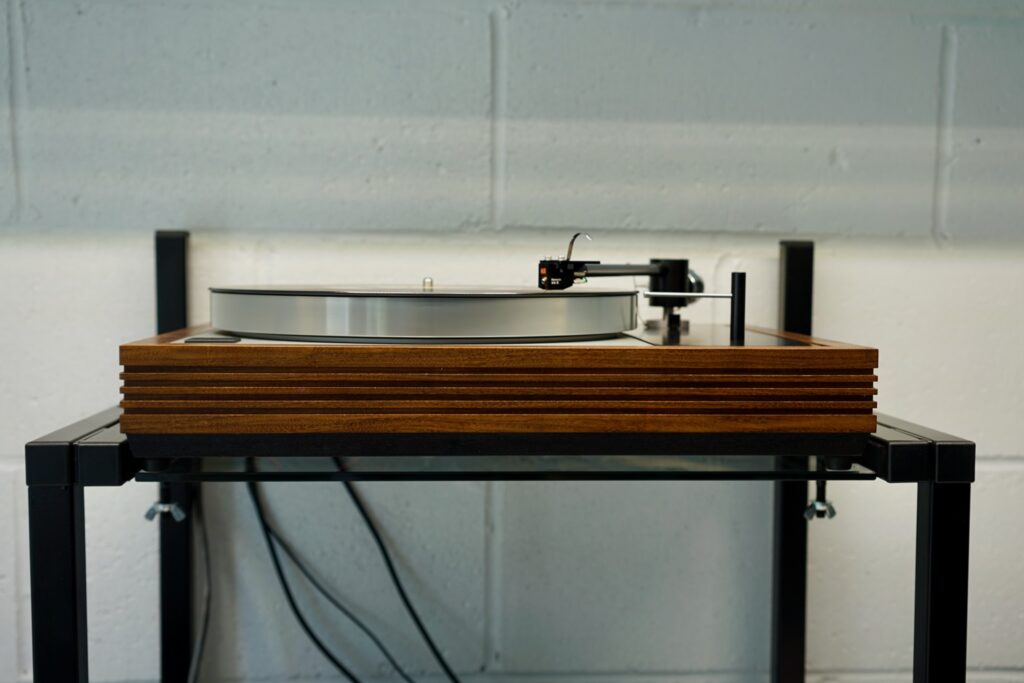
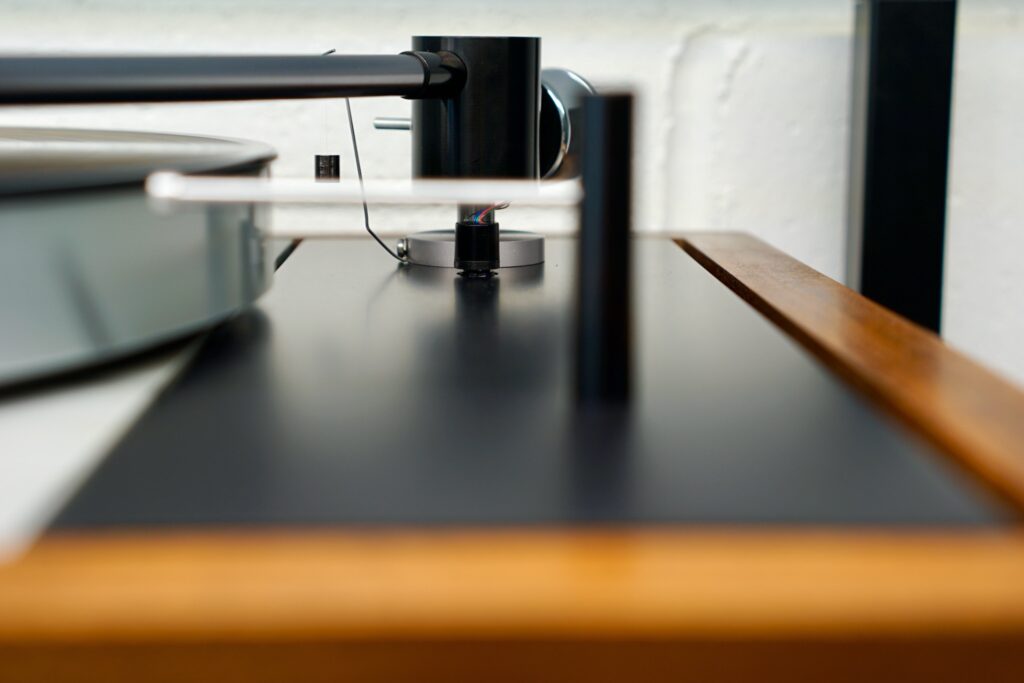
I especially like that one above.
Now try to Where’s-Waldo the three Naim logos in this shot:
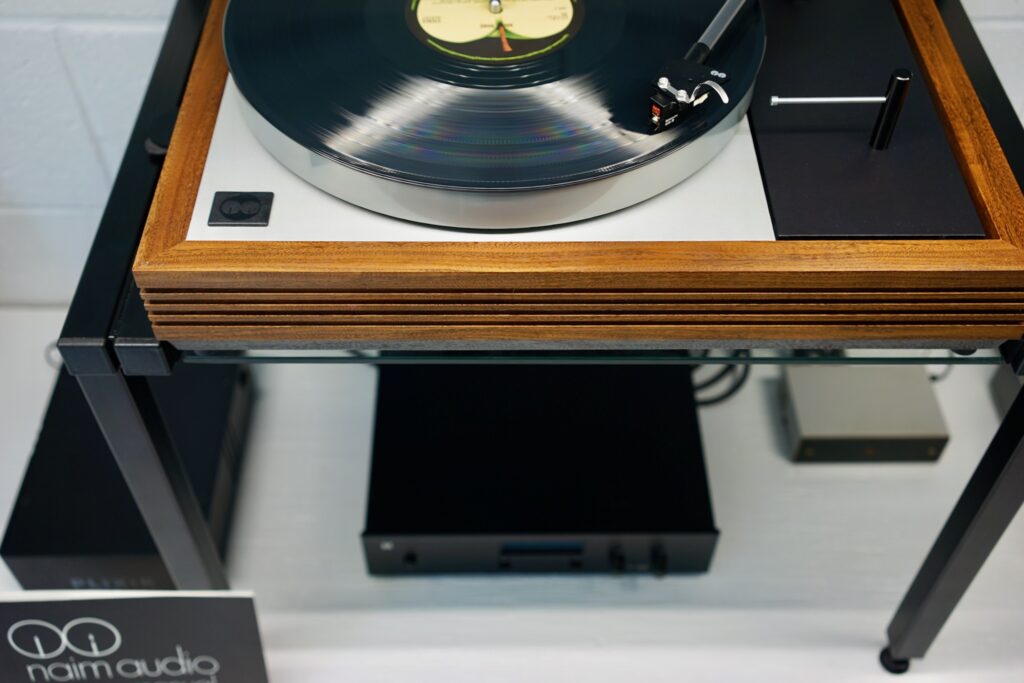
Here’s one showing the turntable as I currently have it set up in my garage, temporarily mounted on… well, on my LP12 setup jig, with a glass shelf inserted to hold it aloft:
Not an ideal turntable support, but it’ll do for now, as I await the arrival of a second Tiger Paw Vulkan wall bracket that fellow TP enthusiast @VTA helped me track down.
I’ll have much more to say about my garage (aka Sillys Place!) in a future post…
In the meantime, it’s time to get to work on the Javelin setup guide.

