Reaching Paradise
I write this post while listening to music coming out of my Paradise.
Which is to say: I (Adam) am back in the Garden…
Finishing the Build
All of the hard work was done by the time I made my last post. It was then a matter of waiting for a few more pieces to arrive from Mouser and getting everything properly assembled.
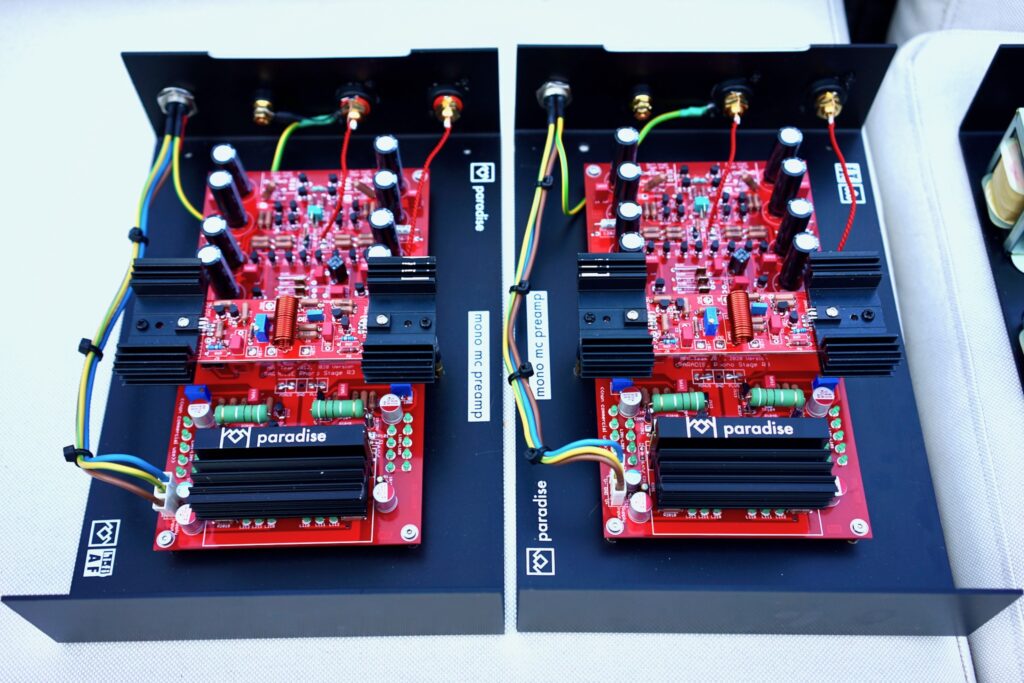
First and foremost, this involved drilling a lot of holes — to mount the PCBs and other components to the cases (of which there are four, I will remind you…) and to add some ventilation.
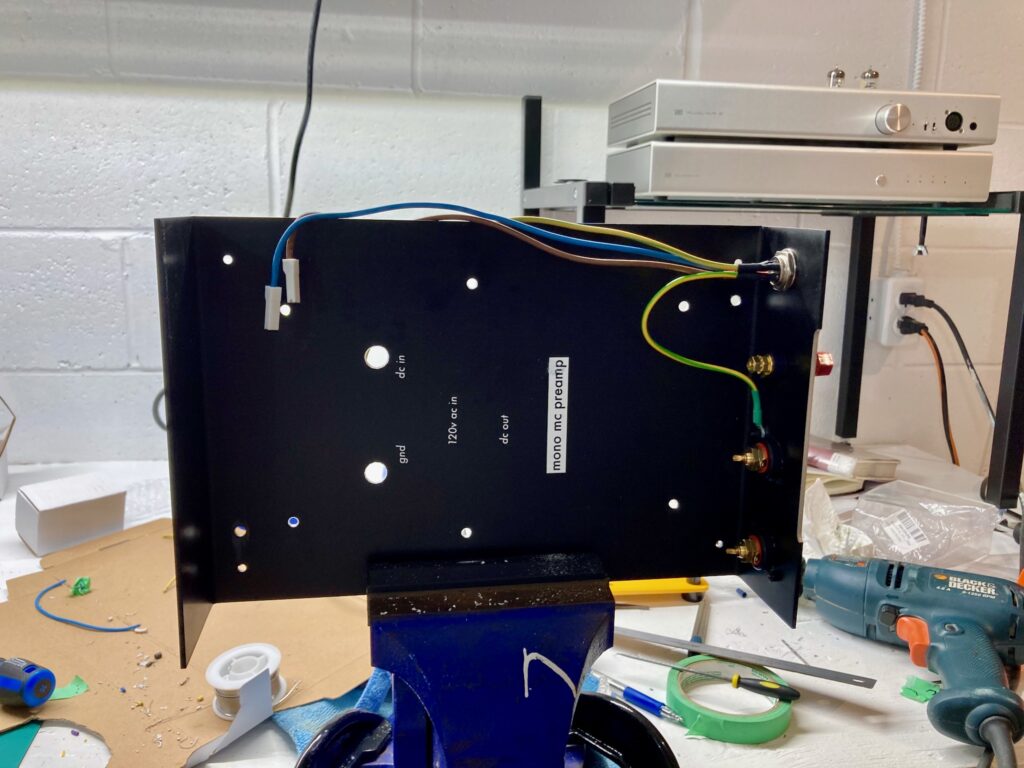
The vent holes under the main board were drilled right through the bottom of the case.
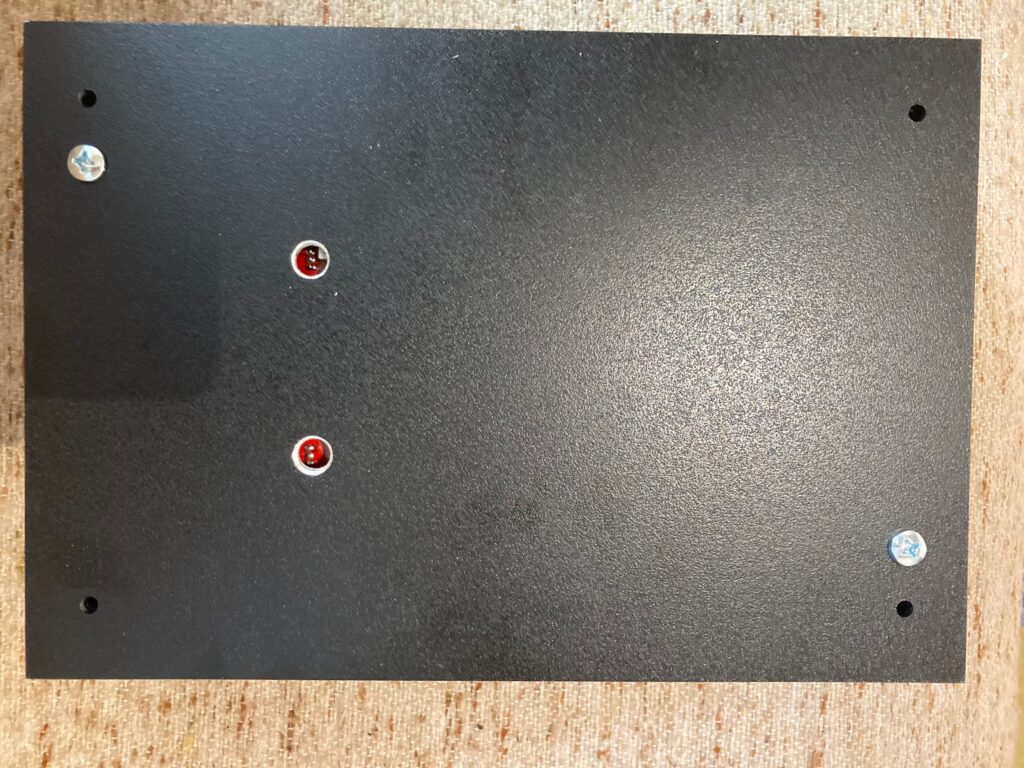
Then I decided it would be fun to go a little crazy silkscreening onto the bottoms of the sleds (somewhere no one will ever see… except in this post, of course). This culminated in my silkscreening the Paradise logo onto the big heatsink in the main boards… and the hi-fi AF logo onto the fins of the little heatsinks on the Calvin buffers — left heatsink for the left channel, right heatsink for the right. As I said, I went a bit crazy with it.
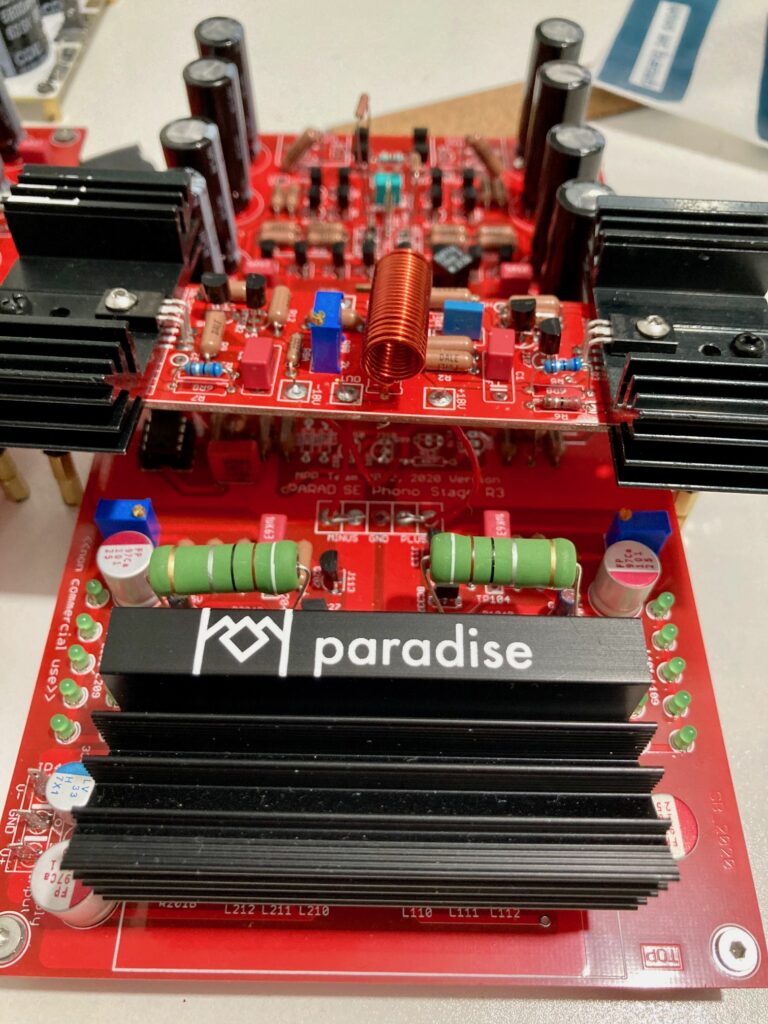
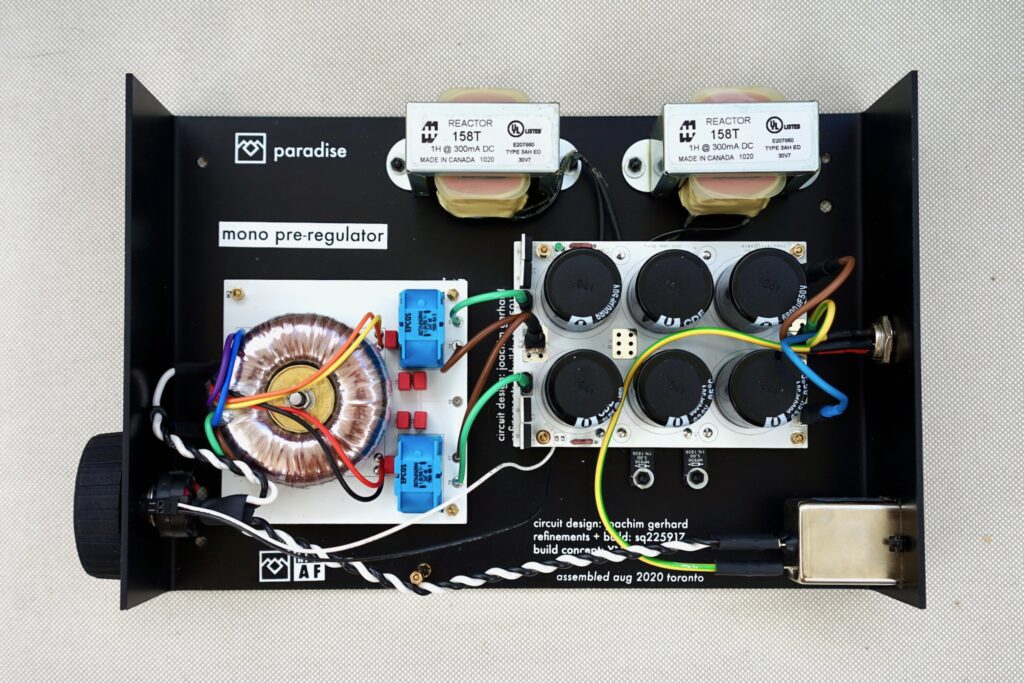
After shortening all the cables for the components (chokes, power resistors, etc.) it was time to mount the PCBs and test that everything was working within the required voltage ranges. All good in that respect — although, as you can see, my work area had become a complete mess by this point.
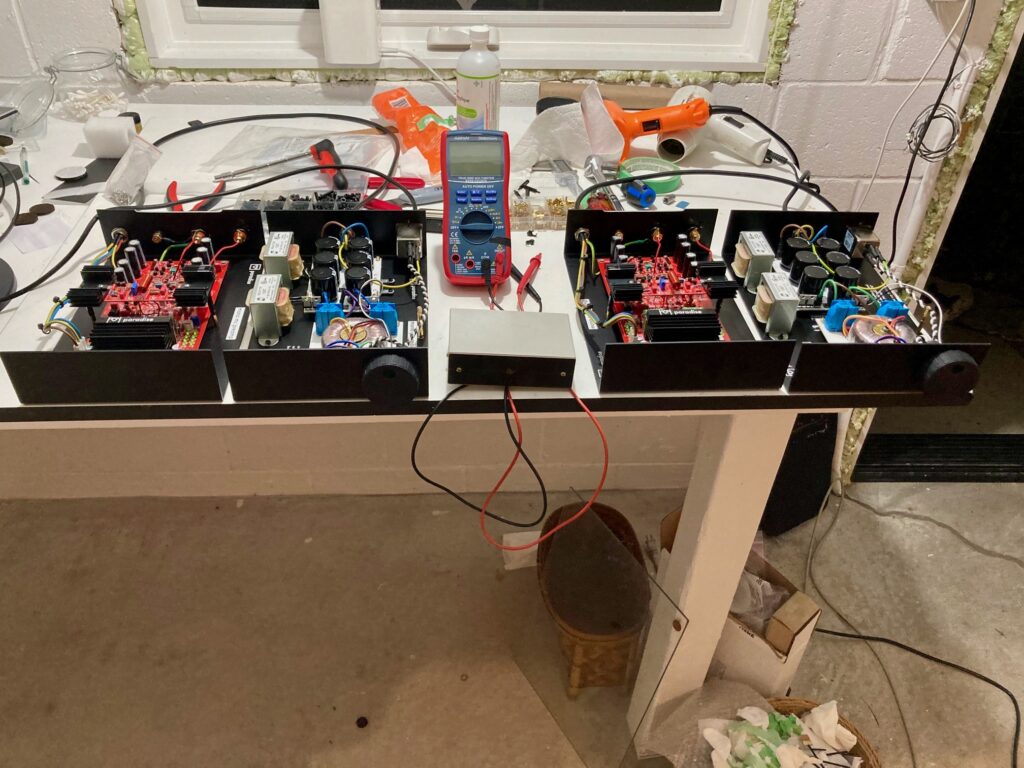
(Note the presence in the above of the tiny Dynavector P75 phono stage I’ve been using for the past decade. One small box about to be replaced by four large ones…)
Then it was time to make the final solder connections: the input and output signal cables.
This required lots of twisted hookup wire — in my case, 24awg solid core Neotech OCC copper wire with teflon jacket. Solid core is nice because it stays where you want it to and twists very nicely (I clamped the ends of two wires in a vise, then put the other in the chuck of my drill, pulled tight and drilled away until they were nicely braided). Teflon is apparently a great dielectric but it’s a huge PITA to strip. Oh well.
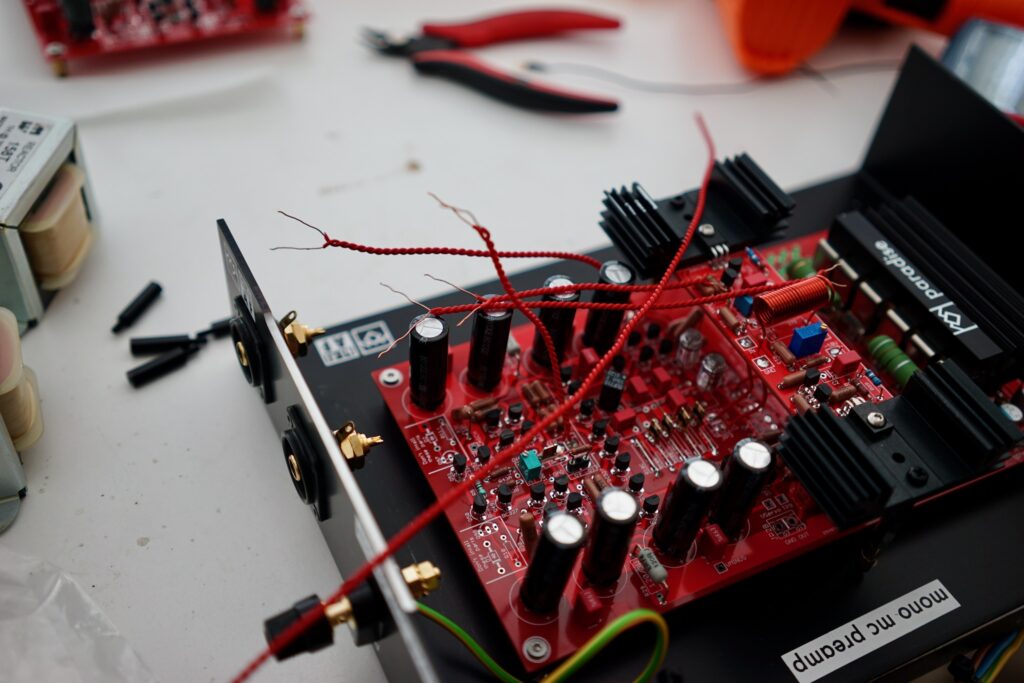
A very pretty process shot showing input and output wiring soldered to the boards, rising from them like springtime shoots…
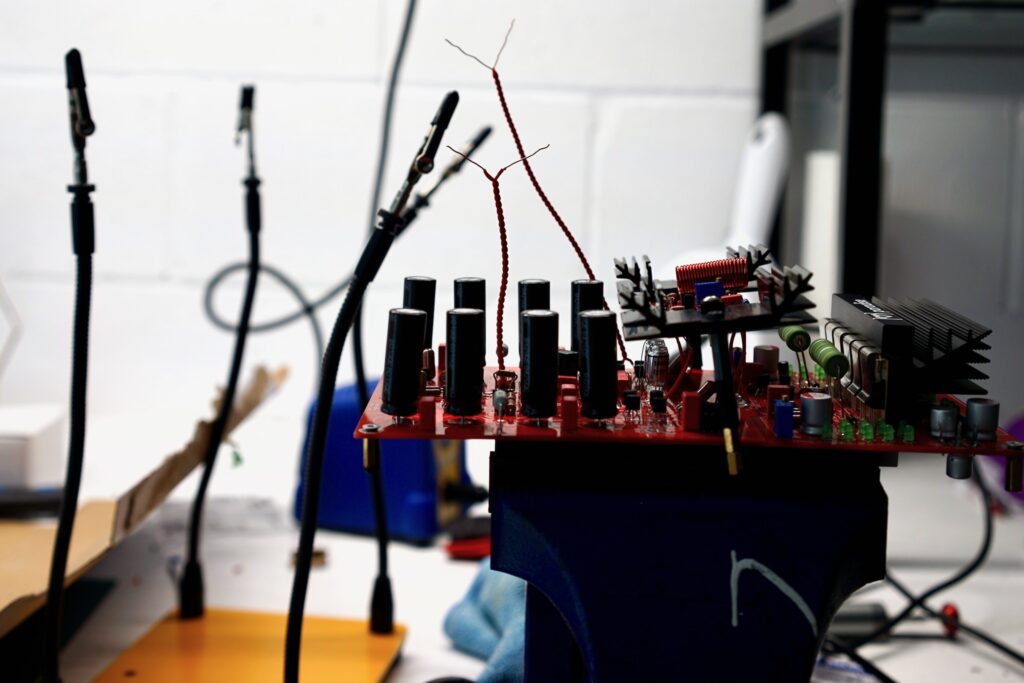
This was the final solder joint:
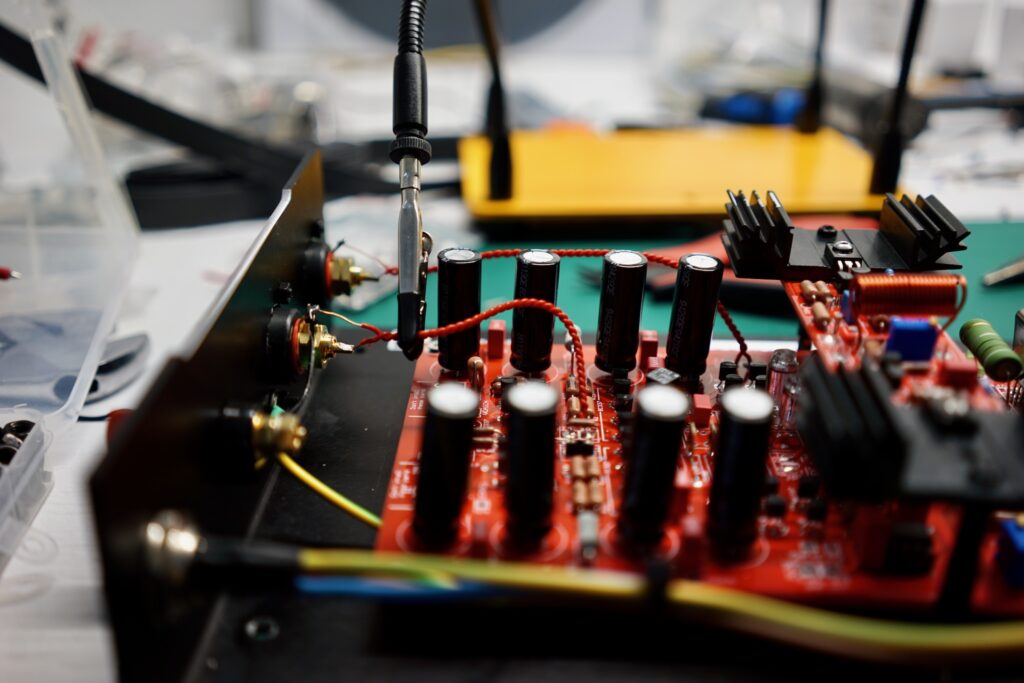
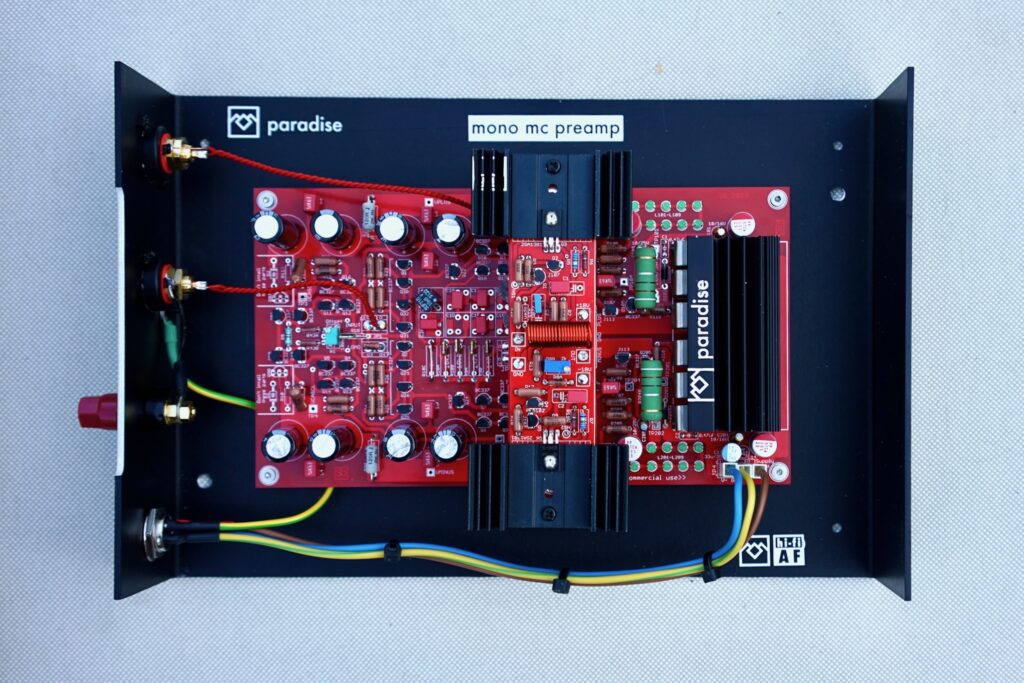
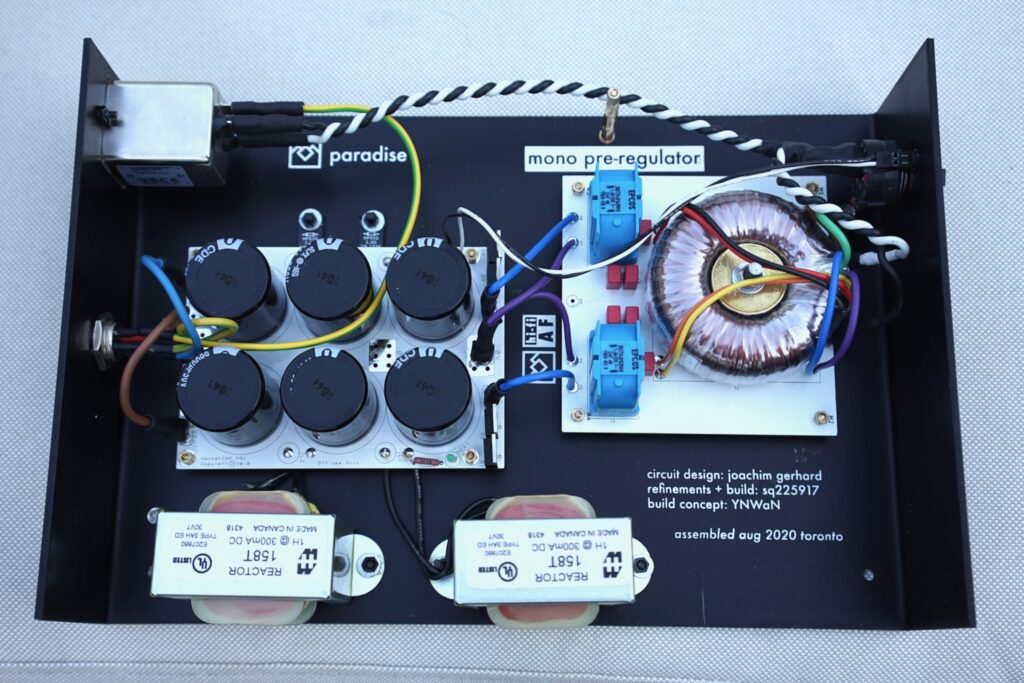
Then everything was ready and it was time to take some pretty pictures of the insides of my cases before they were forever hidden from the world.
Making Music
After everything was assembled, it was time to check that it, you know, made music. I must say I was pretty nervous to try this out. I was worried that no sound would come out, that a horrible buzzing would emerge… or, worst of all, that it would work but not sound very good, no better than the P75, that all my enormous effort would have been a waste…
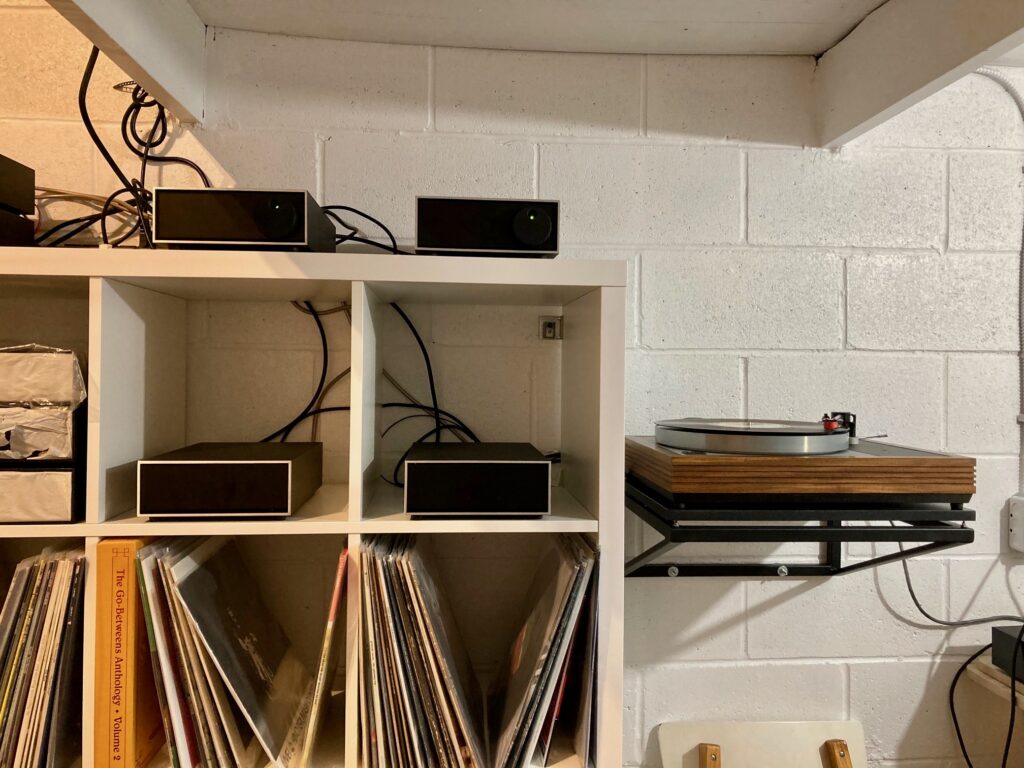
But they worked. Here they are making music for the first time.
Simon had a final test procedure for me, involving listening to music for an hour and adjusting certain parameters as the boards warmed up in their cases. I tried not to get too ahead of myself and make detailed listening notes, but I did at least jot down my impressions, which I posted to the AudioFlat forum:
So my first impressions of the Paradise:
Practical stuff: grounding seems fine, no extra hums. Amusingly given the size differential, the output of the Paradise is MUCH lower than the P75 — I’m at 12 o’clock on the volume dial to get to where I would be on 9 o’clock with the P75. No complaints, though, 9 o’clock was ear-splitting, so now I have more useable volume range.
Sound impressions: texture and clarity. Cymbals and snares are sounding terrific. Music is “fast.” I’m getting that “black background” feeling that I think just means everything is placed really clearly in the soundstage. I’ve had the “well that’s an instrument I’ve never noticed before” experience a few times tonight, but mostly I’m just perking up at clarity and nice textures. I have lost some bass heft, which probably means I need to adjust my VTA and tracking weight on my tonearm once again. I have read the P75 exaggerates bass… but then it’s literally the only phono stage I’ve ever owned before today, so I’ve not had anything to compare it to…
Records I’ve listened to: Low, The Invisible Way; Bill Callahan, Dream River; Prince Lasha, The Cry!; Little Scream, Speed Queen; Pentangle, s/t; Can, Ege Bamyasi.
So I was happy, but knew there was setup work to do to get that low end heft back.
Experimenting with Cartridge Loading
The next step, then, was to play around a bit with cartridge loading — something I’d never had to do with the P75 because it’s a current-mode amplifier and doesn’t have provisions for setting loading. I started with an 860 ohm resistor, which Mark/YNWaN uses in his very similar (Javelin/Troika/Paradise) setup, which is the value that was in place when I made the above notes.
I then went way down to 500 ohms, which is what Si recommended I try next — and it had lots more bass, which was a relief.
My thoughts on the effect of loading resistors were also posted on AudioFlat:
Deciding between resistor values seems to be a pretty straightforward tradeoff between euphonic presentation and clarity. My test album was Side 1 of Pet Sounds (I truly love that album, and the Analoge Productions pressing is really good). With a 500 ohm resistor, it was round and warm and gave me a tickle in my belly and I thought it was perfect. But there was a bit of bass bloom in the bowed bass in “You Still Believe in Me.” With a 600 ohm resistor, things snapped into much clearer focus, making me realize I was in fact missing something at 500 ohms. But now I was missing the tickle in the belly, and the bowed bass was too hollowed out. At 550, goldilocks scenario, liveliness, richness, clarity, everything. I thought I liked 600 a bit better than 500 all things told, so tried 575 next, but no, it was missing the richness. 525 next, and it was better than 575 but just a touch too syrupy. So 550 seems just about perfect, leaning lower if I had to choose.
I have subsequently adjusted tonearm settings like VTA and VTF and may experiment again with loading. But around 550 seems about right. I’ll order some fancy Vishay Z-foil resistors in that value once I’ve fully decided it’s best.
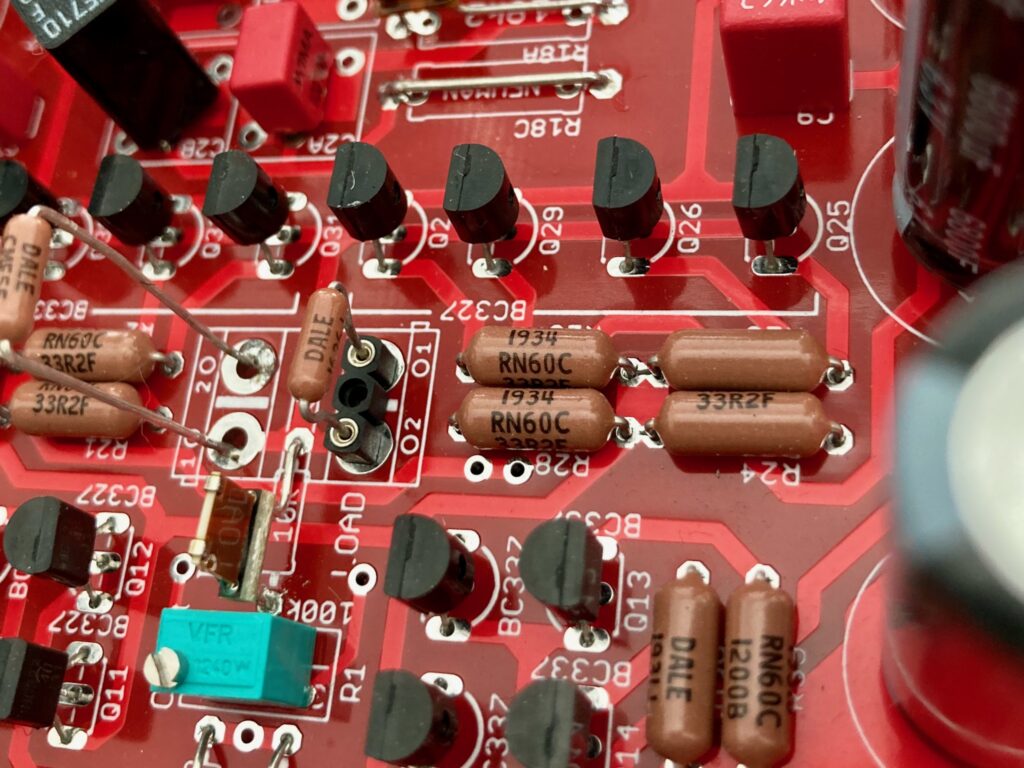
By the way, here’s the spot on the board where I’m swapping resistors (where it says LOAD, then 02 01). It’s a “Single In Line Socket” that allows me to swap resistors without desoldering. Still, it’s a fairly “purist” approach compared to most setups, which would let you select loading with a DIP switch, dial, or even a menu interface…
Getting the Fasciae On
Having confirmed that the Paradise could make music, and having tailored it a bit to my preferences, it was time to finalize assembly by attaching the fascia.
This was, like everything else, trickier than expected. The tape I used — Scotch ATG Adhesive Transfer Tape 976 — is, well, extraordinarily sticky on both its sides, so if you put it in the wrong place, or attach something to it too soon, you’re in trouble. Also, the fasciae want to be the exact right size or else they’ll push against the bottom or sides of the “sleeve” and deform.
Worst of all, my silk screened logos have proven to be extremely fragile. Even lightly touching them seems to be enough to rub them off. Of course I did this to one of the logos (the PSU logo on the left below) during assembly.
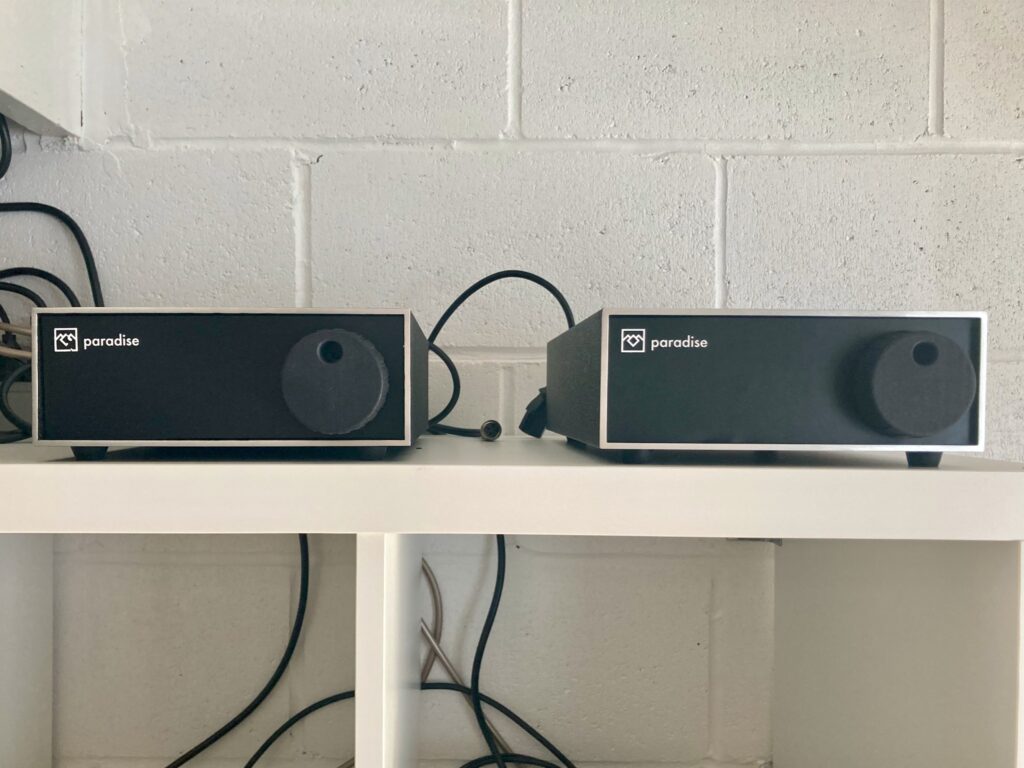
But I just got right back on the horse, printed another, and finished assembly the next day. (I will of course have to find a better method/ink at some point and re-do all the silkscreening.)
Here they are all assembled:
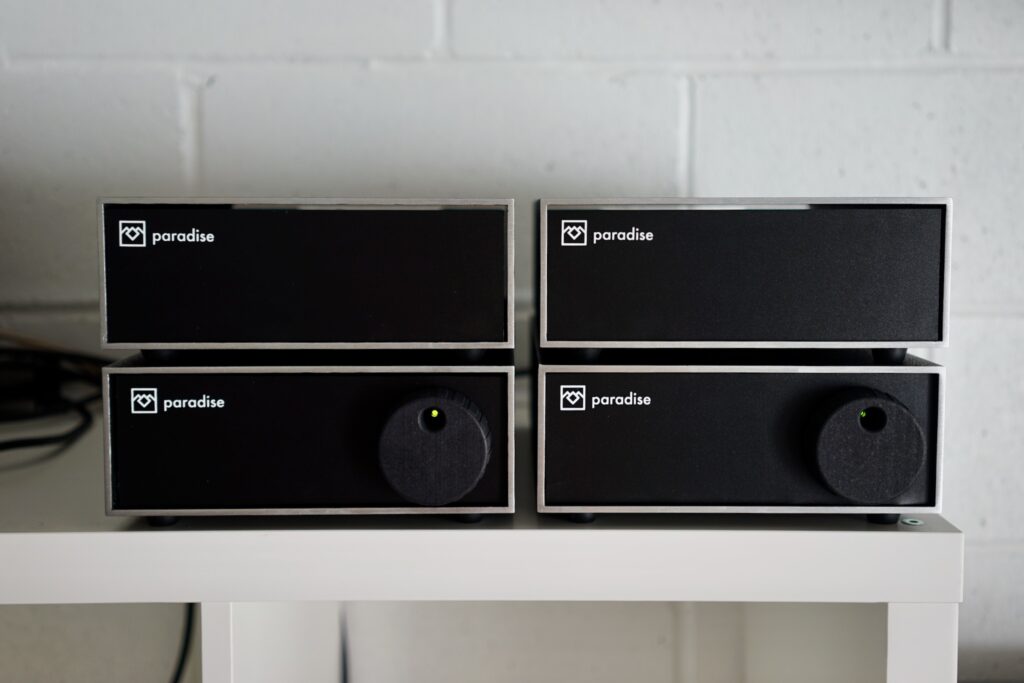
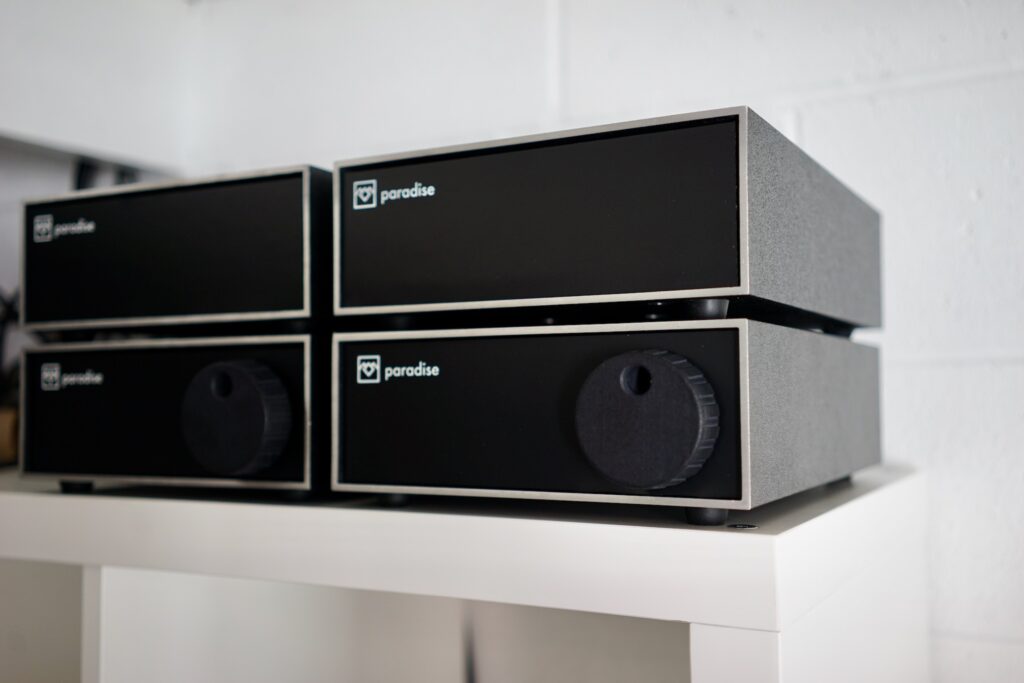
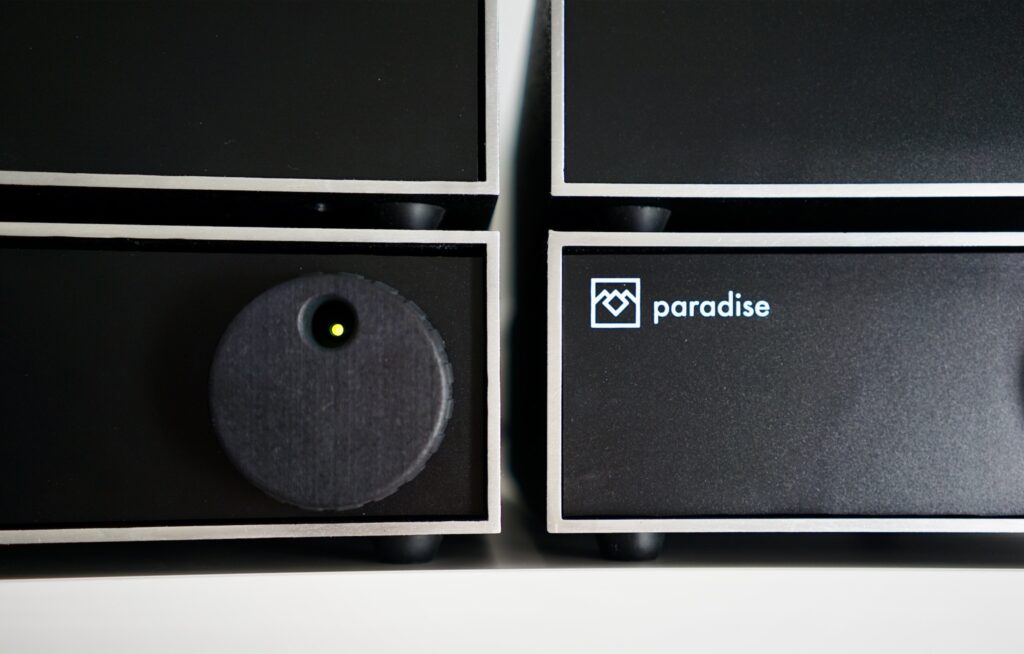
The “peekaboo” power LEDs in those big tractor wheel dials are probably my single favourite Chrome Bumper Naim design element. So I was happy to be able to reproduce it here. Best of all, that little green LED is one of the exact variety used on the main Paradise PCB boards. So there’s some nice design coherence going on there. Also, the LEDs play an actual role in the PSU box, helping to dial in the output voltage. Form and function…
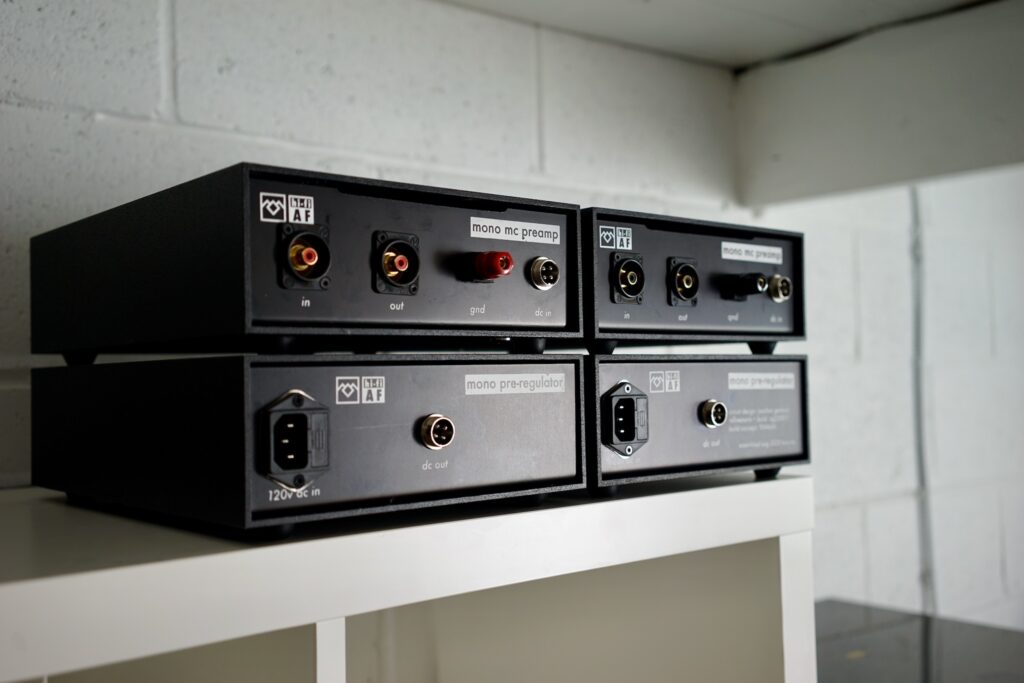
The Garden of Eden
Then it was time to get the boxes into my garden for the obligatory “Garden of Eden” themed photo shoot.
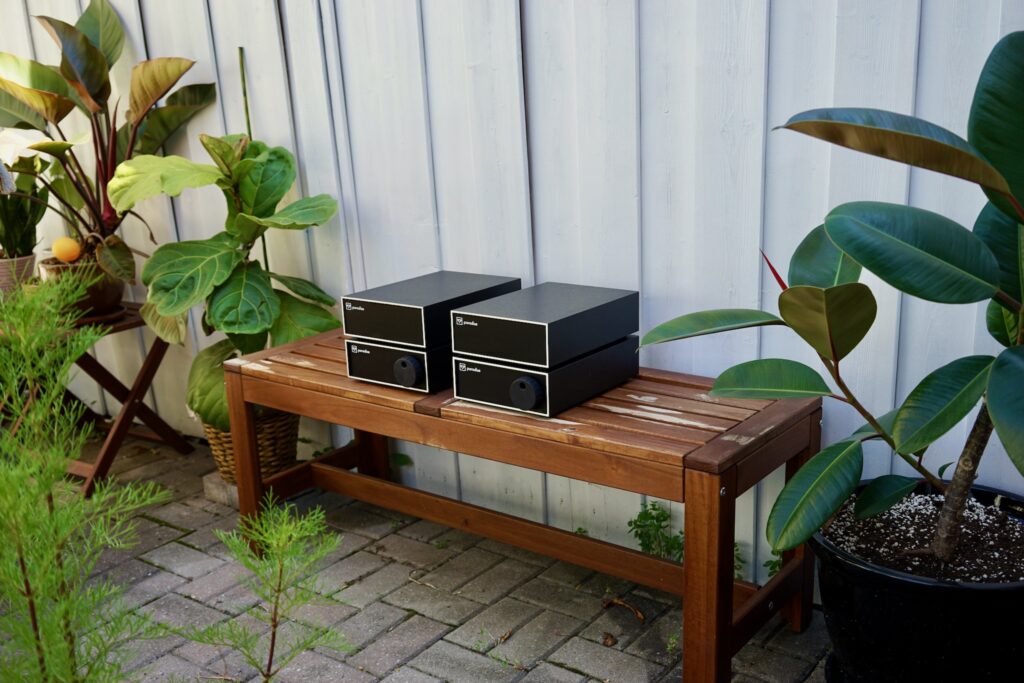
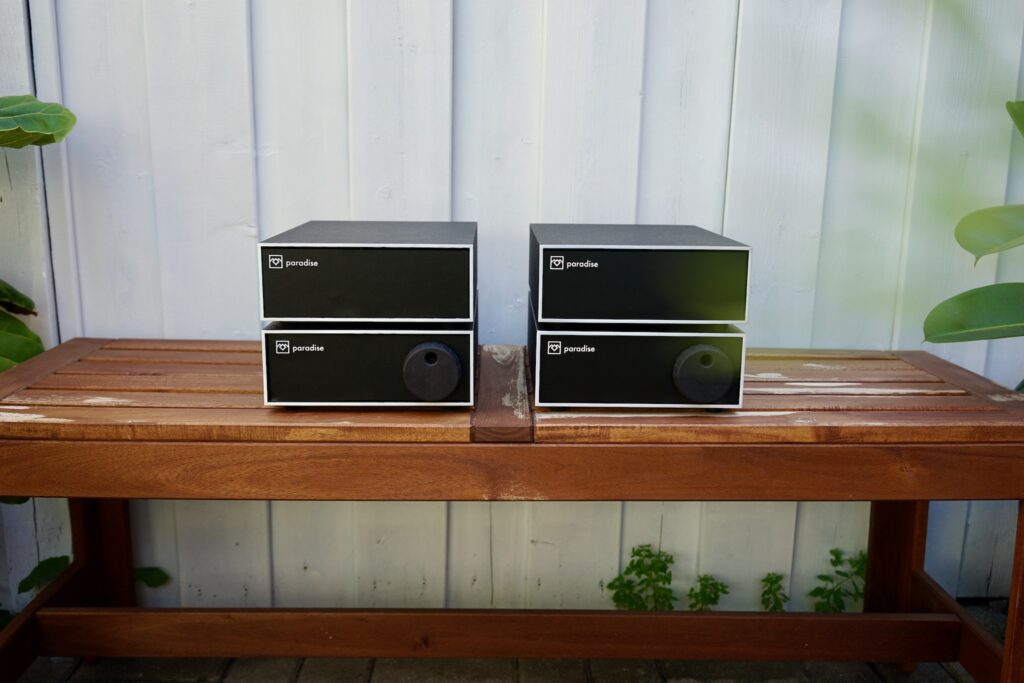
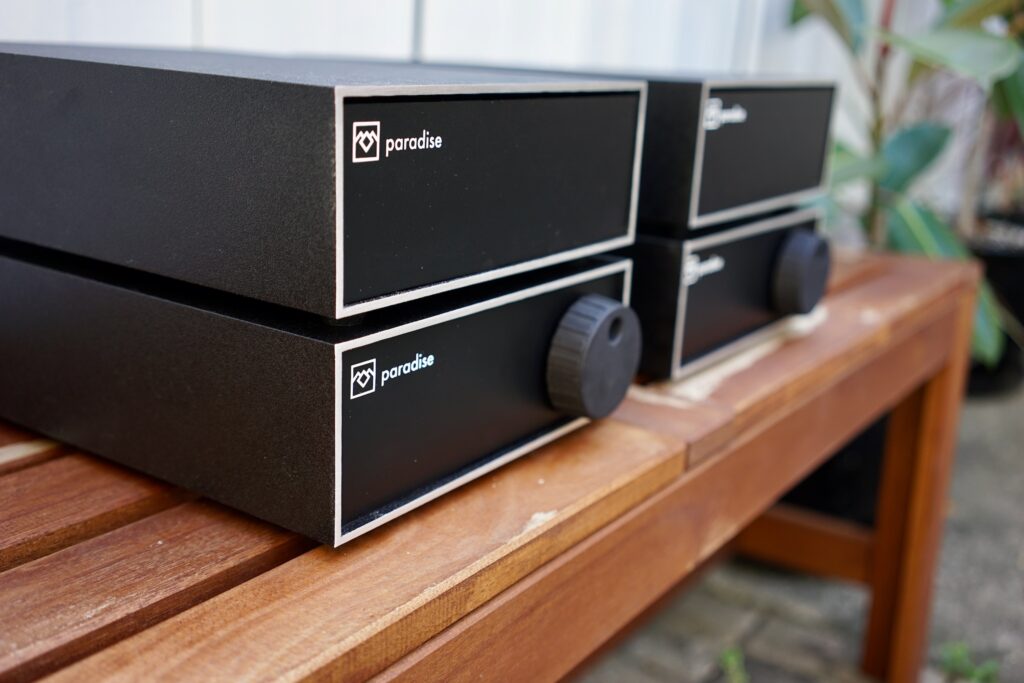
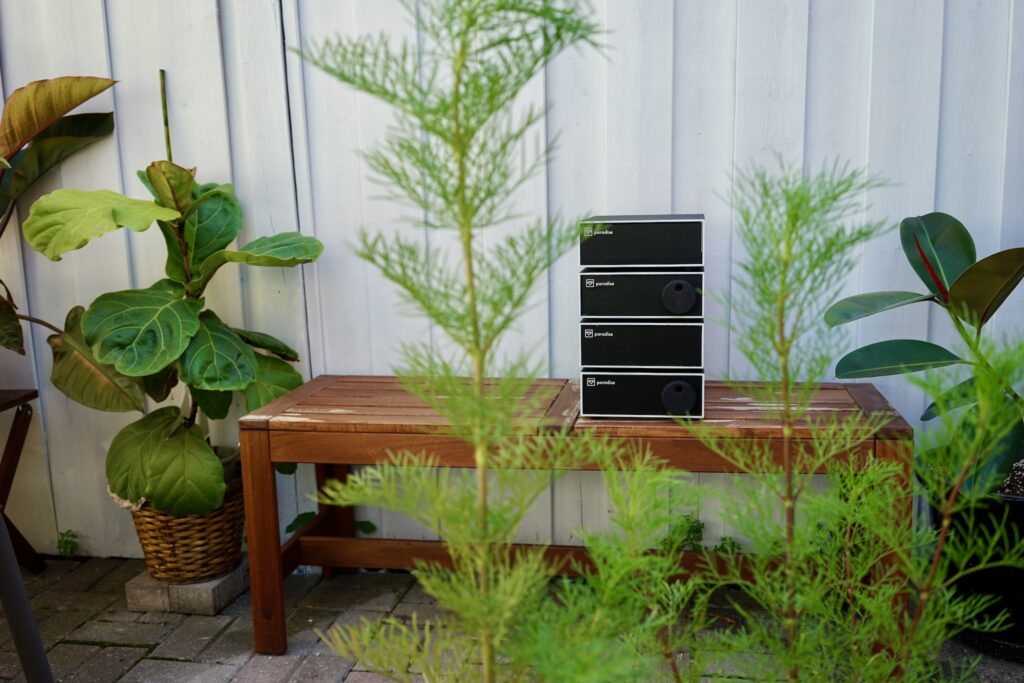
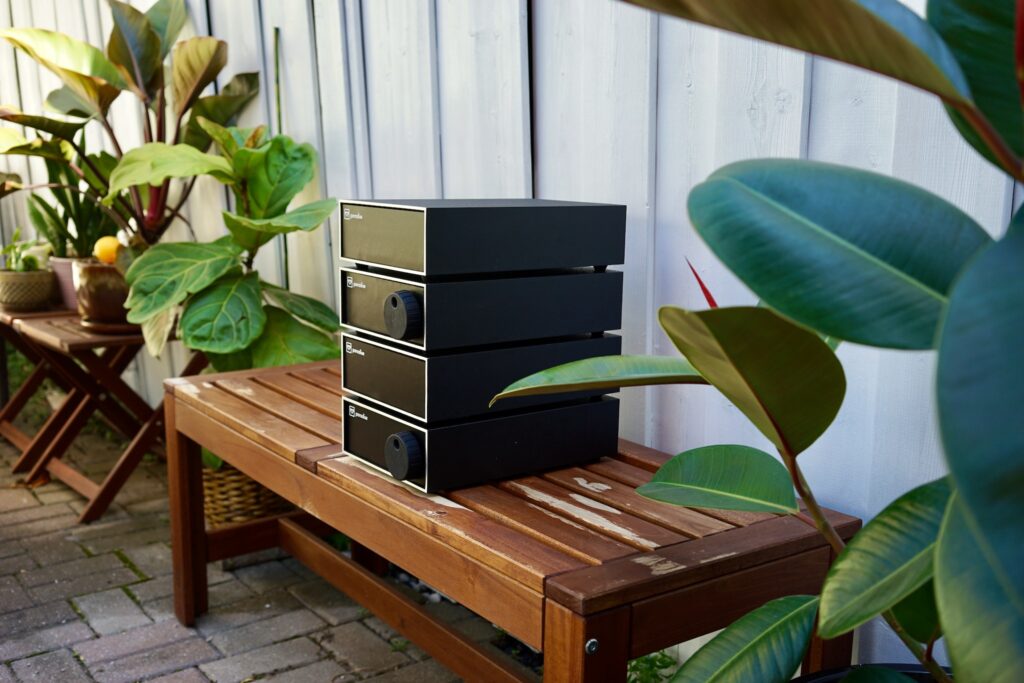
And with that it was time to bring them back inside and set them up to do their job of amplifying phono signals for the rest of my days. (Naturally, they will ascend with me to Paradise when my days on earth are done.)
More listening impressions to follow in due course, once I finally get a bunch of updates about a bunch of already-finished-but-not-yet-written-about upgrades (principally, the Tranquility bearing support).


2 Comments
Join the discussion and tell us your opinion.
That has to be the best looking four box Paradise there is.
Thank you Simon! That means a lot coming from you!!