Further Progress to Paradise
I have been busy this week working on my Paradise. All of the nitty gritty details can be found on the “Adam’s Paradise” thread on Audio Flat. Here, I will present a fairly quick overview, focusing on pretty pictures.
Case work
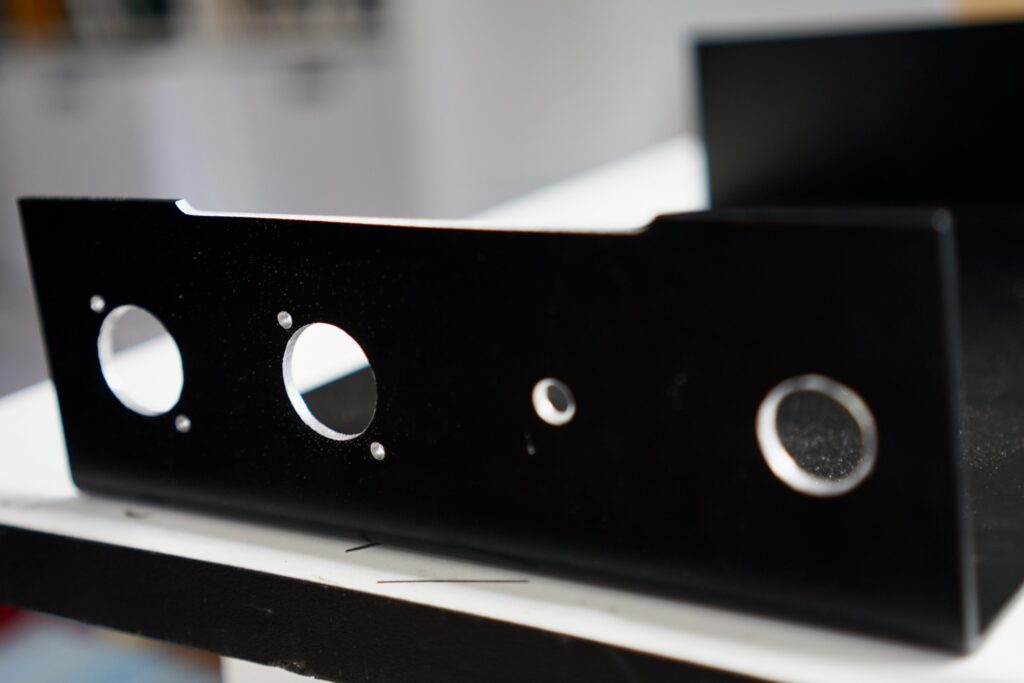
I’d been thinking about and dreading this aspect of the project for months: how to cut the holes in the cases for power sockets, RCA jacks, and grounding posts. I won’t bore you with all the details, and it wasn’t terribly photogenic, but suffice it to say that it was fiddly work — and I loved every second of it. I really felt like a bicycle framebuilder again (that was my hobby/obsession for years), filing, drilling, and tapping away…
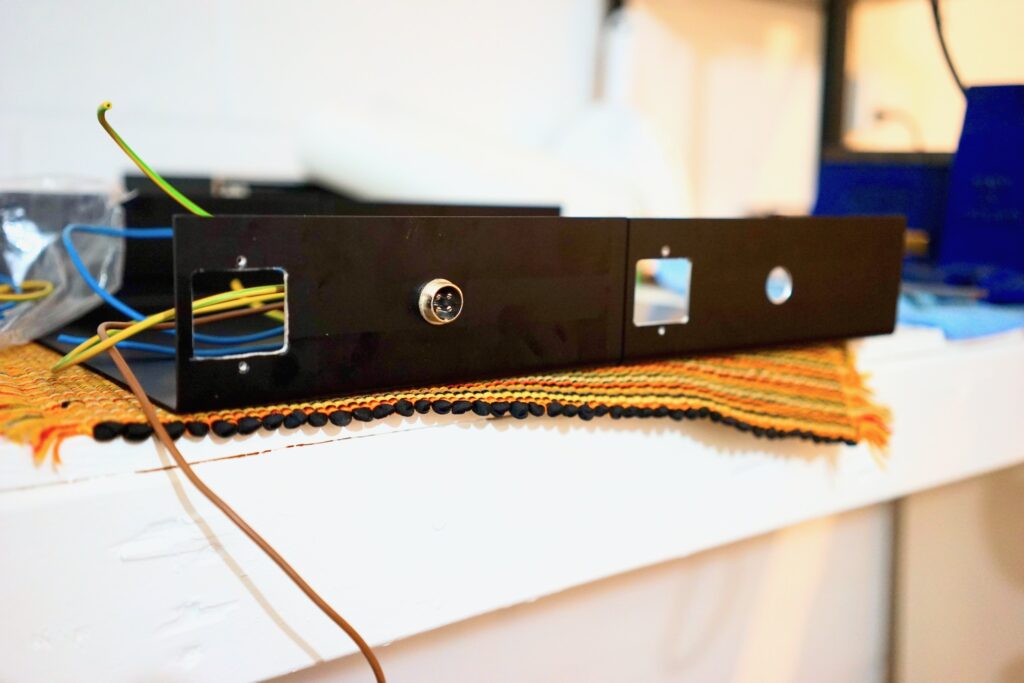
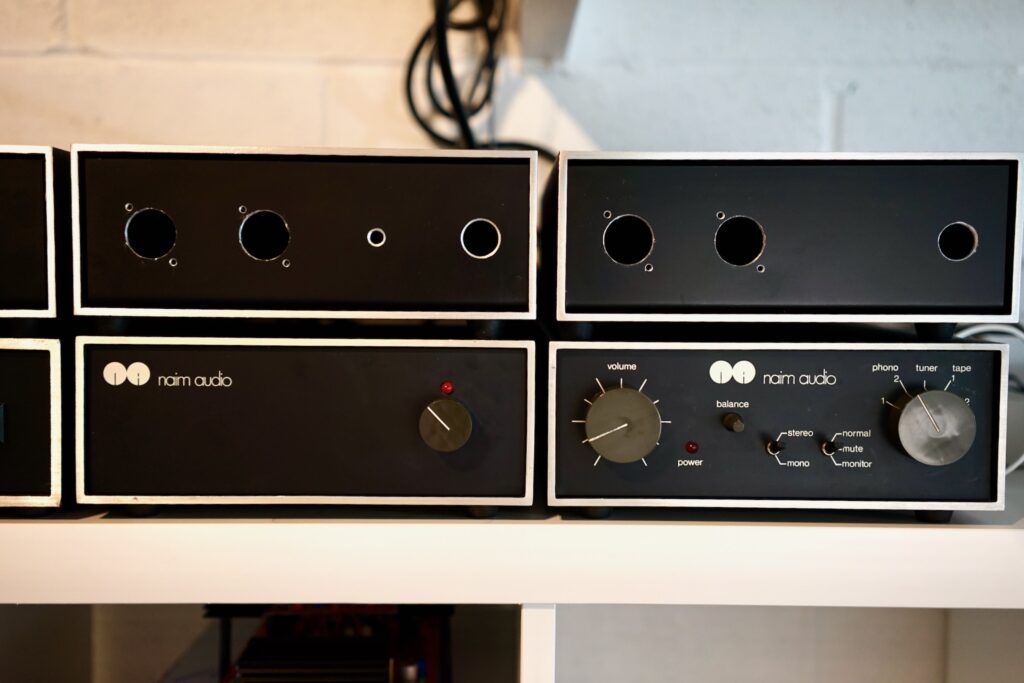
One of Simon’s instructions was to add a 2mm slot at the back of the main board cases to act as a heat vent. This sounded like a boring little detail, but it turned out to be very fun. I spent a lot of time on this extra, subtle “chrome bumper” edge. I love the little rounded edges I put on them…
Silkscreening the rear panels
Of course I didn’t want to be cutting holes all week. I wanted to be actually building the damned thing (hmm, yep, that counts as a pun, too). But UPS continued to mishandle my Mouser order, so I kept having to find other things to do.
This was the most fun of them.
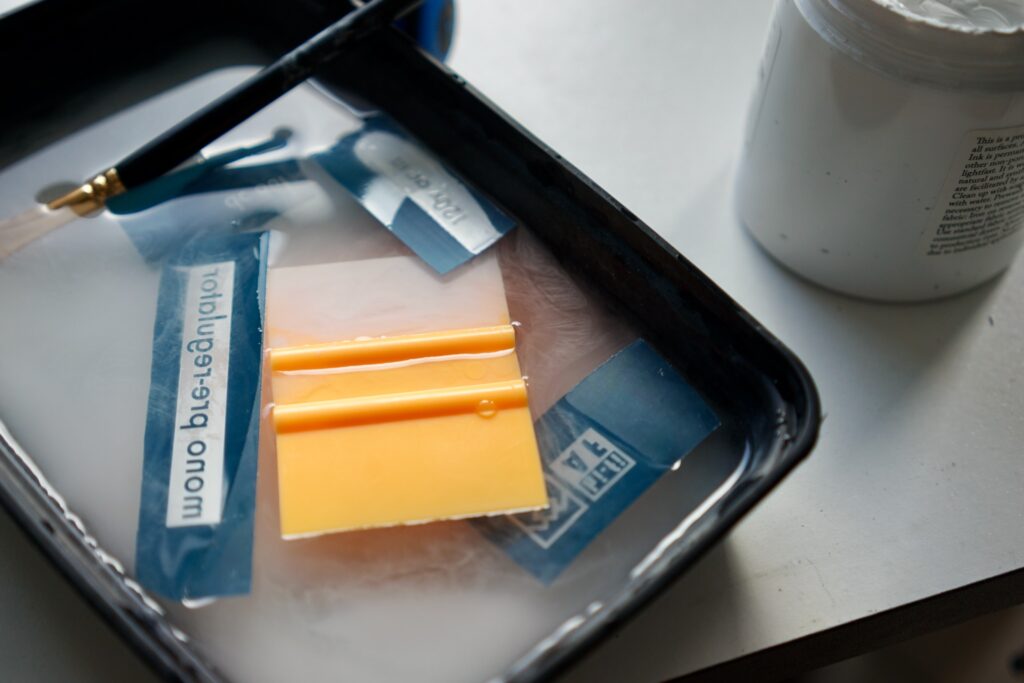
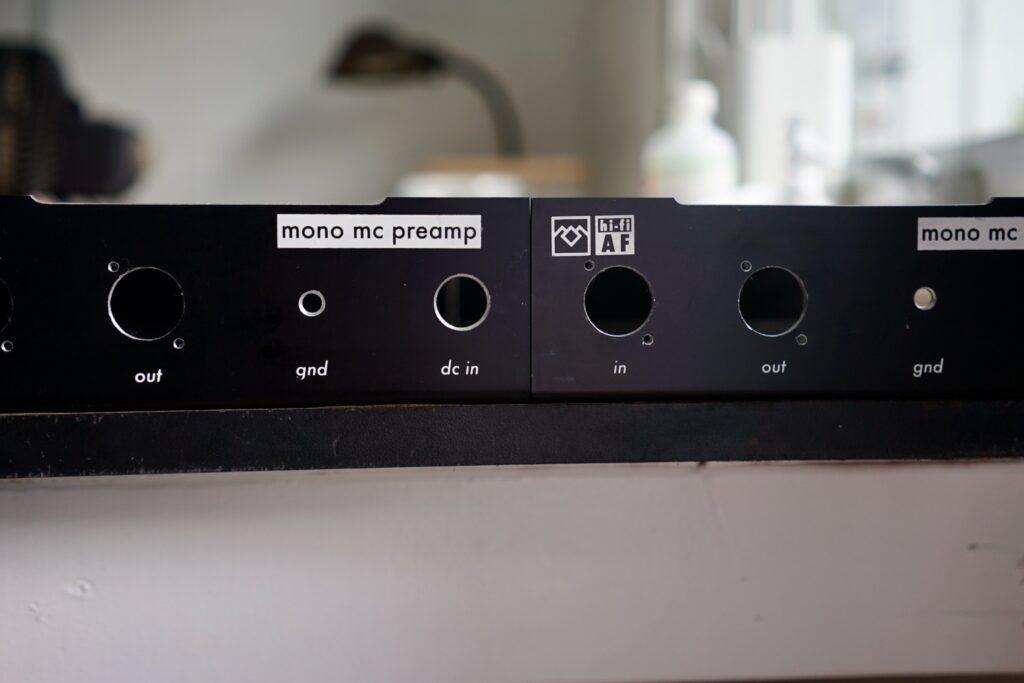
I hadn’t been planning on silkscreening the rear panels. But with some time to kill, why not? I mean, I’d more or less got the hang of it for the fasciae, and printing directly onto the anodized aluminum “sleds” of the Naim shoebox cases promised to be a little easier, since the surface was smoother and more even.
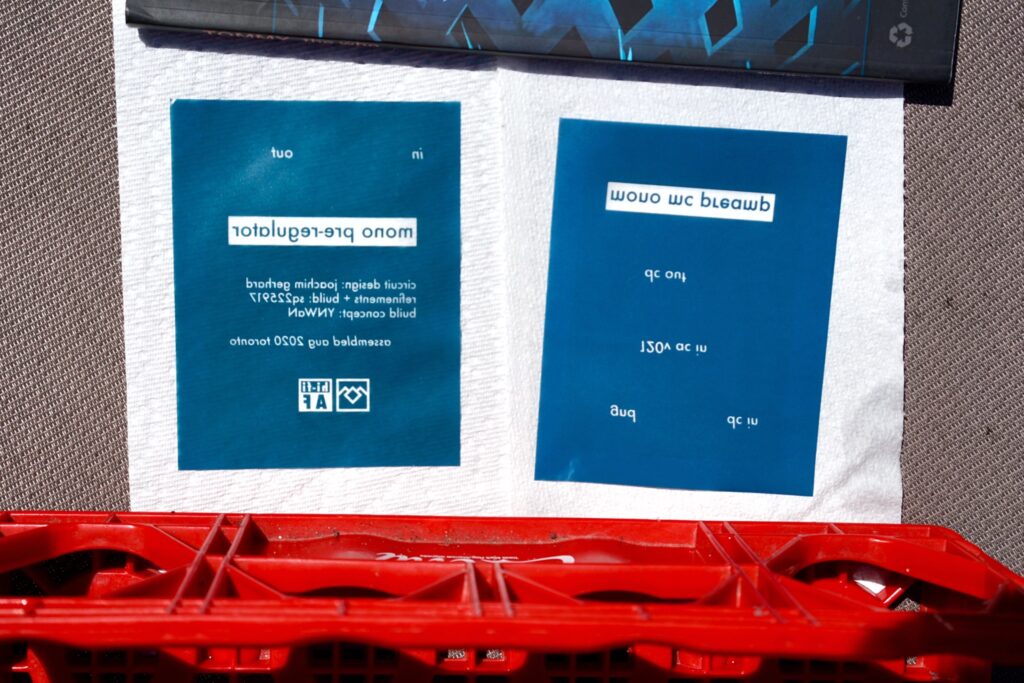
Following the same process as with the fasciae, I exposed two emulsions using sunlight in my back yard. Then I test-printed them on the bottom of the sleds. They looked really good.
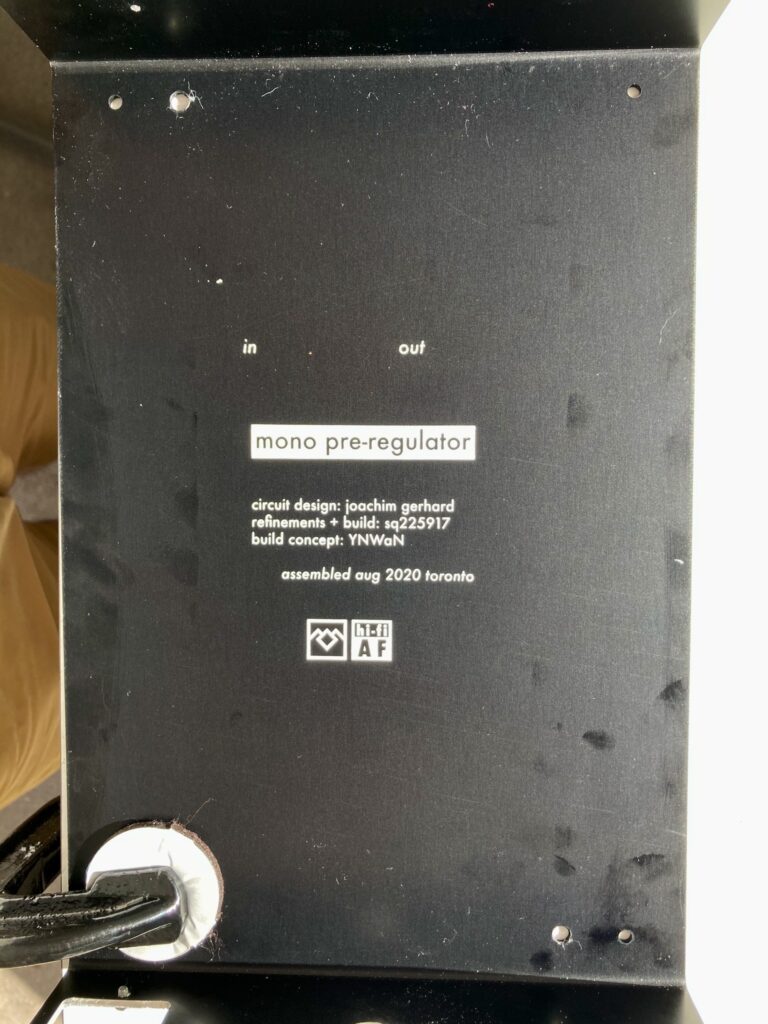
Then I got to work putting the logos and labels on the back panels. My silkscreening wasn’t absolutely perfect, but the roughness is kind of nice, and I’m proud of myself for not getting too obsessive and allowing myself to live with my first try on every single panel…
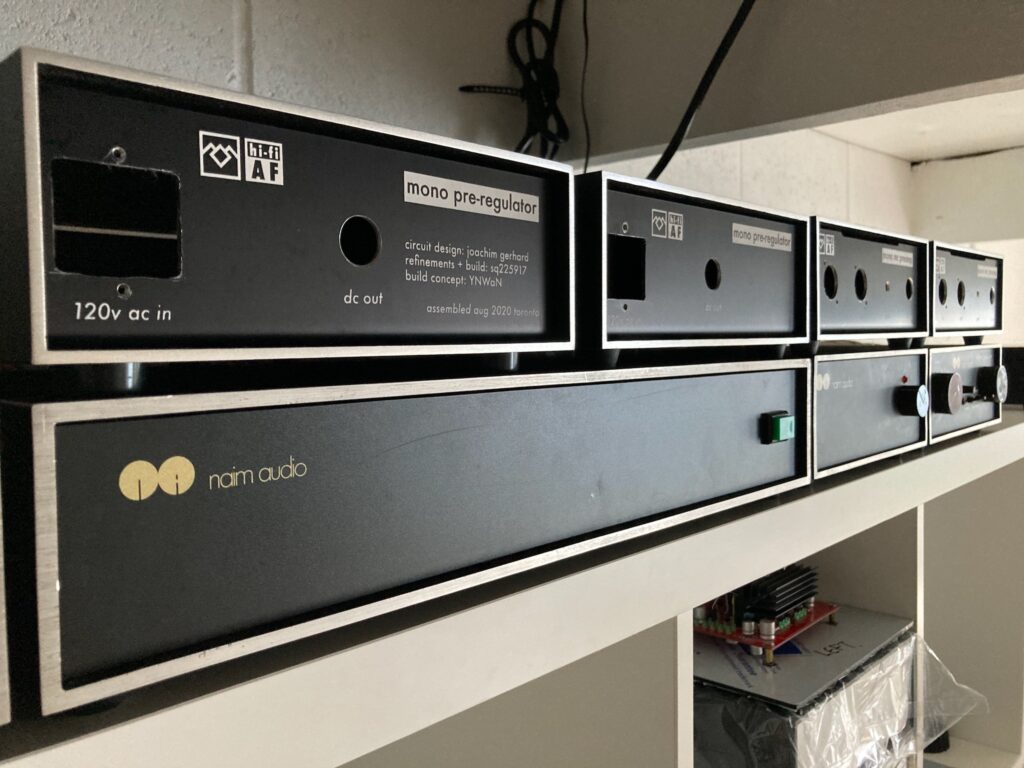
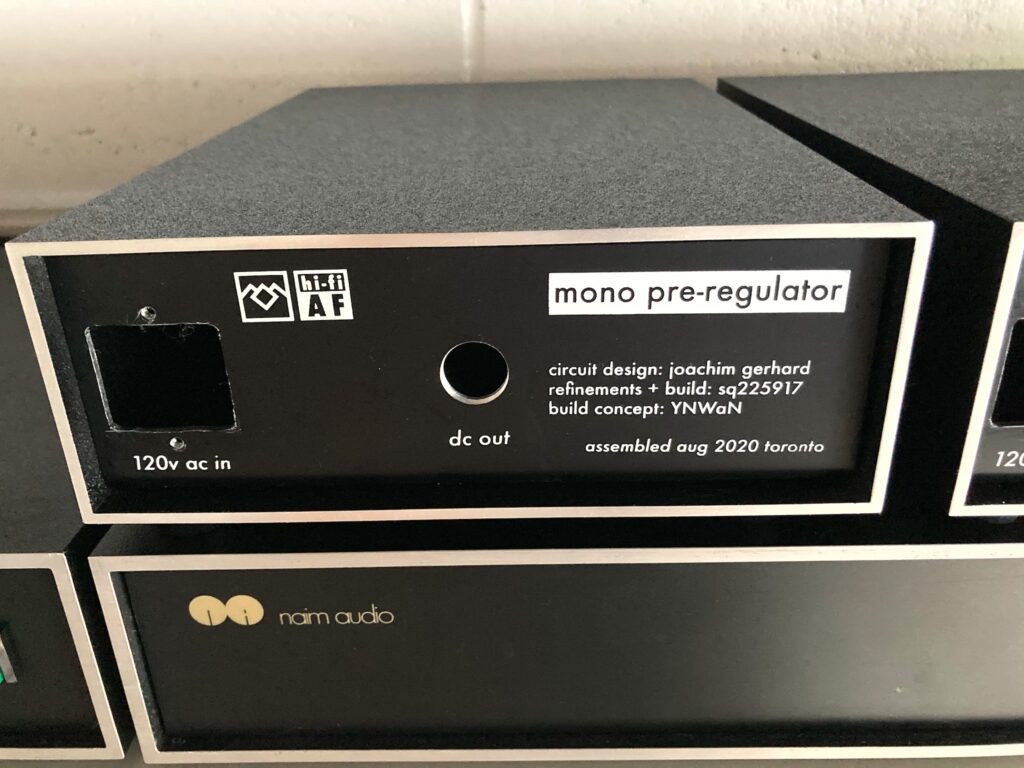
The right PSU (“pre-regulator”) box contains a little credits stencil.
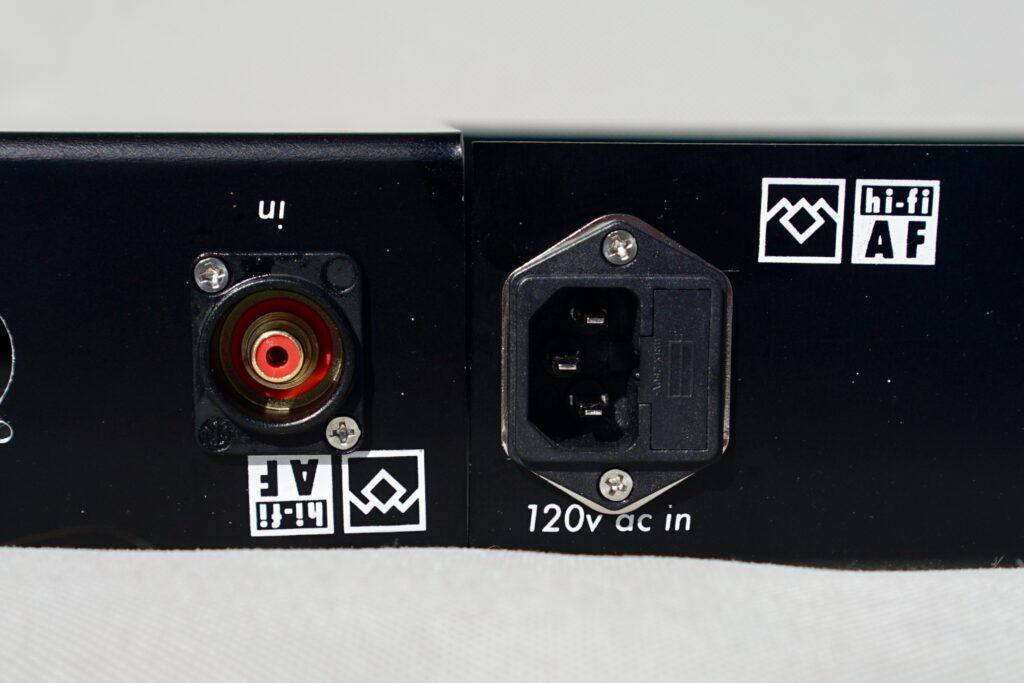
As the week continued I test-fitted various sockets and was happy with what I saw.
Starting the build
Finally, just in time for the weekend, my Mouser order — the original UPS order, and the replacement FedEx order that Mouser sent me! — arrived on Friday. Almost non-stop since 5pm on Friday, I’ve been assembling the PSU boards, testing their output, shortening wires, attaching spade connectors, wiring up switches, and other such fun things.
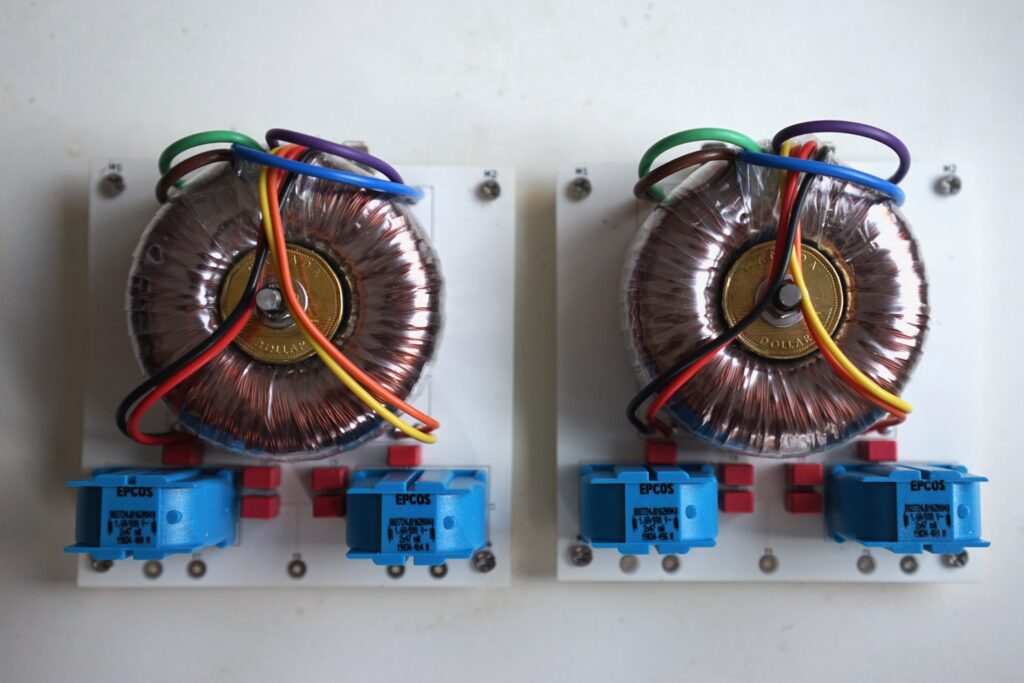
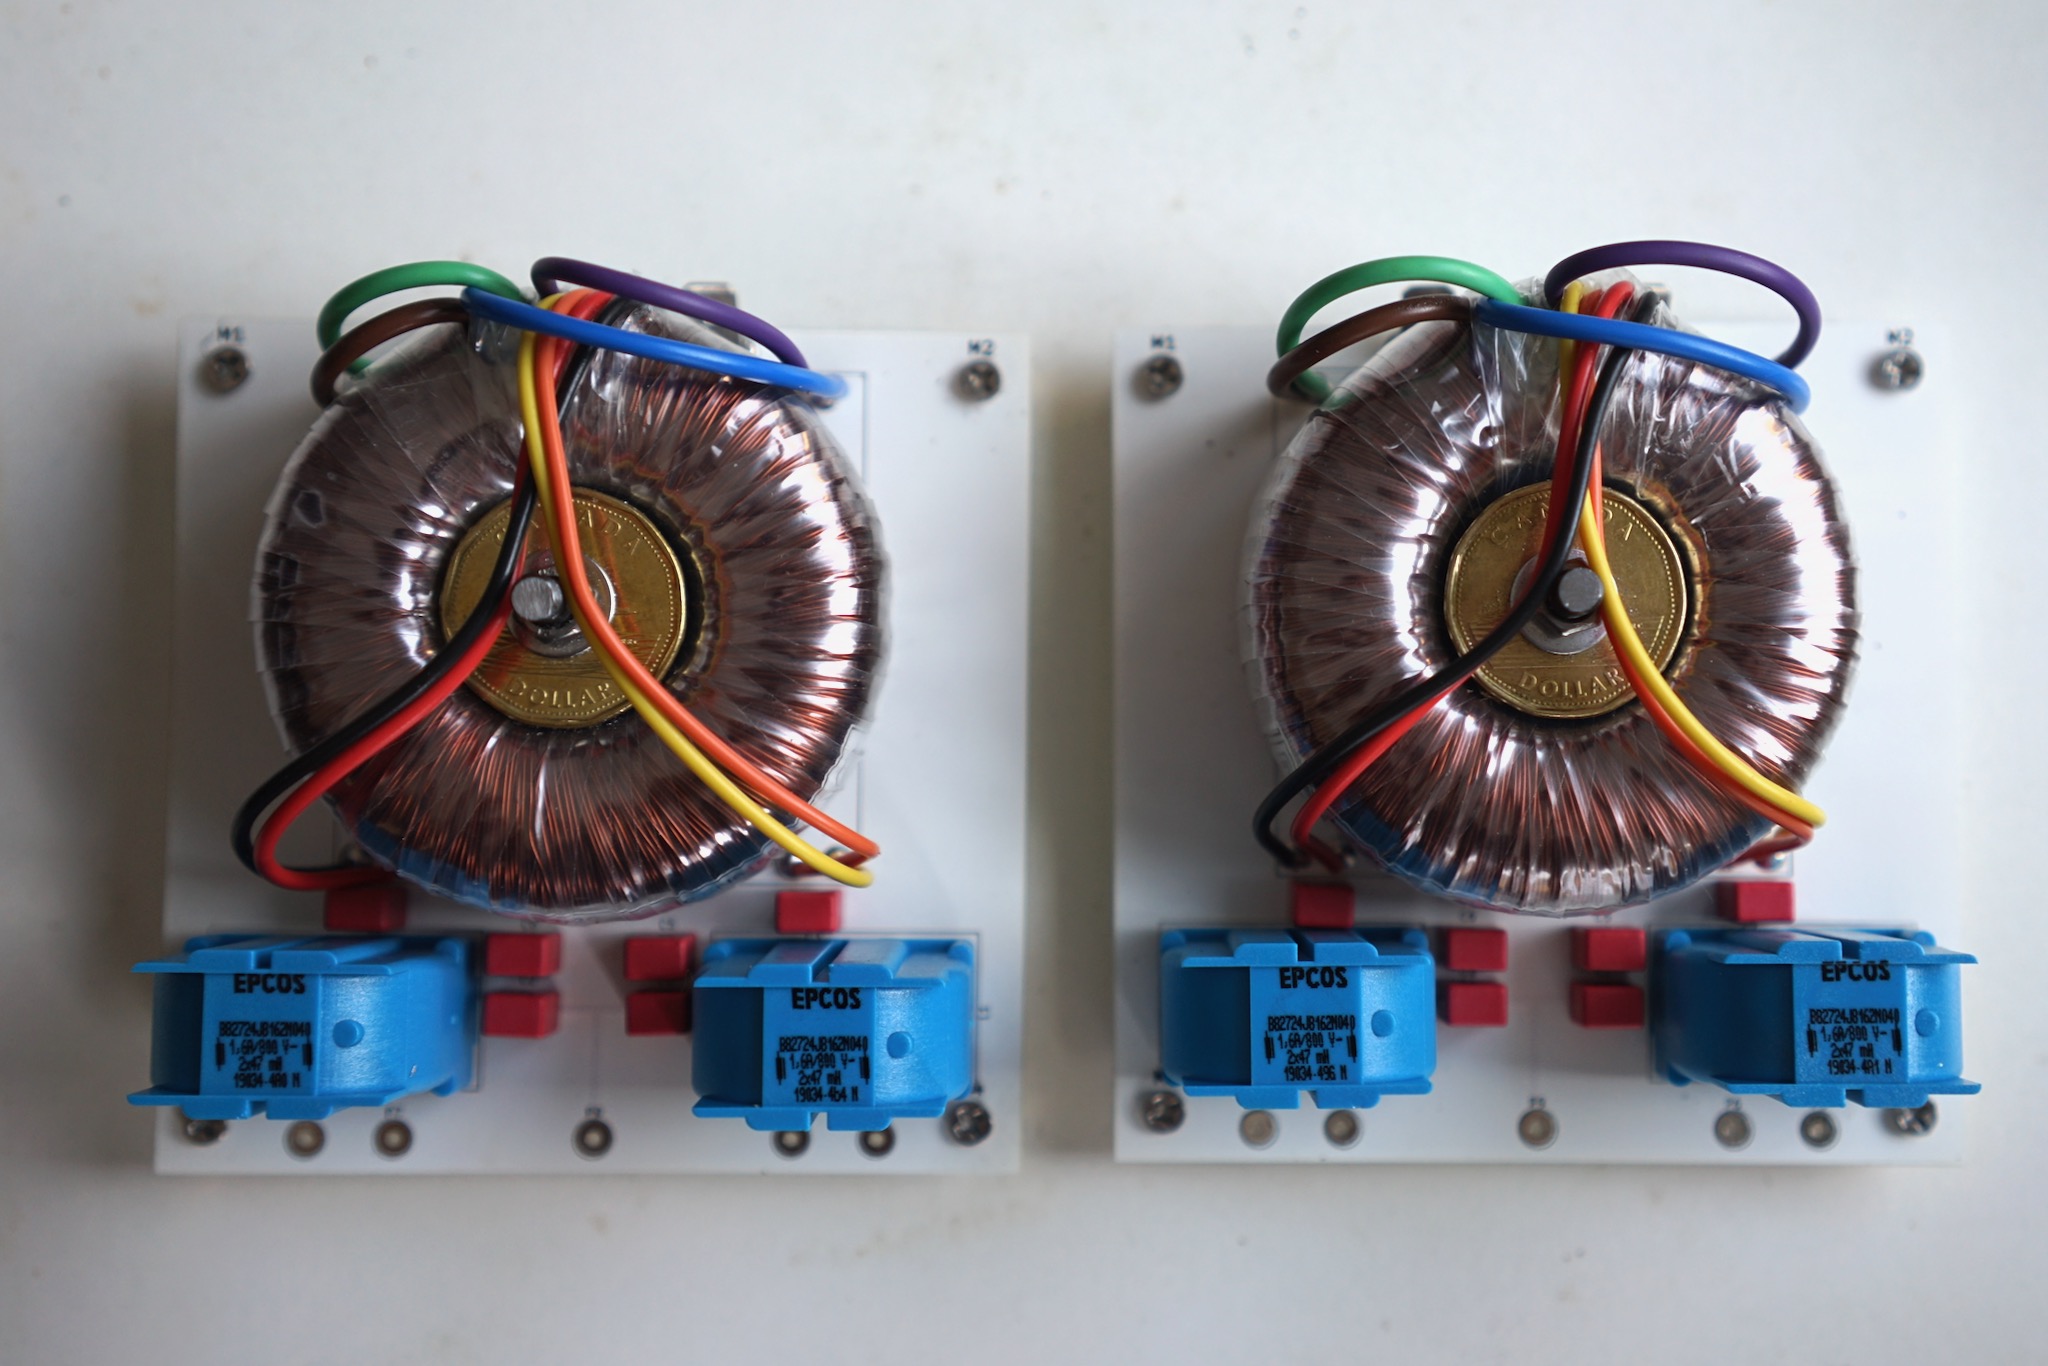
There are my beautiful transformer boards, with transformers held down by loonies (we Canadians do like to hide dollar coins anywhere we can) with an LP12 suspension grommet wedged between itself and the toroid.
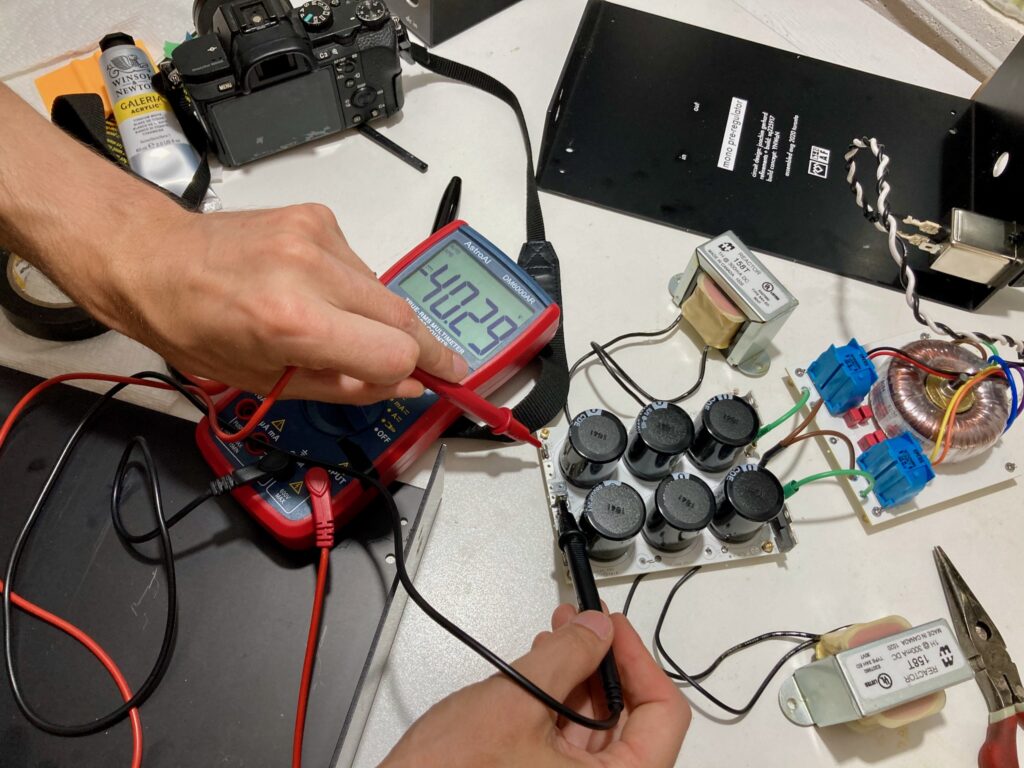
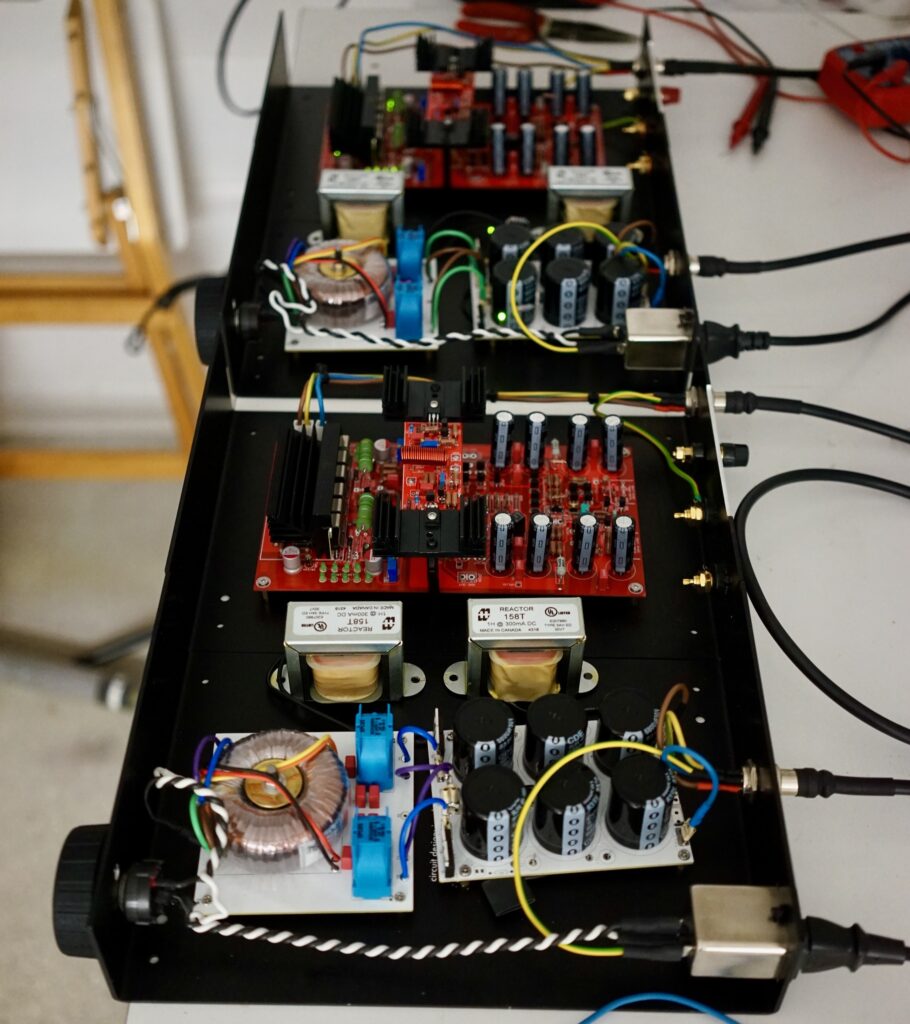
Now I’ve got the transformer boards (putting out 2 x 30V AC) attached to the “hacker cap” boards I built up (converting that to 2 x 40ishV DC). The two froggy-looking things attached to the hacker cap boards are “chokes” and they are Hammond brand (my last name) and Made in Canada (just like me).
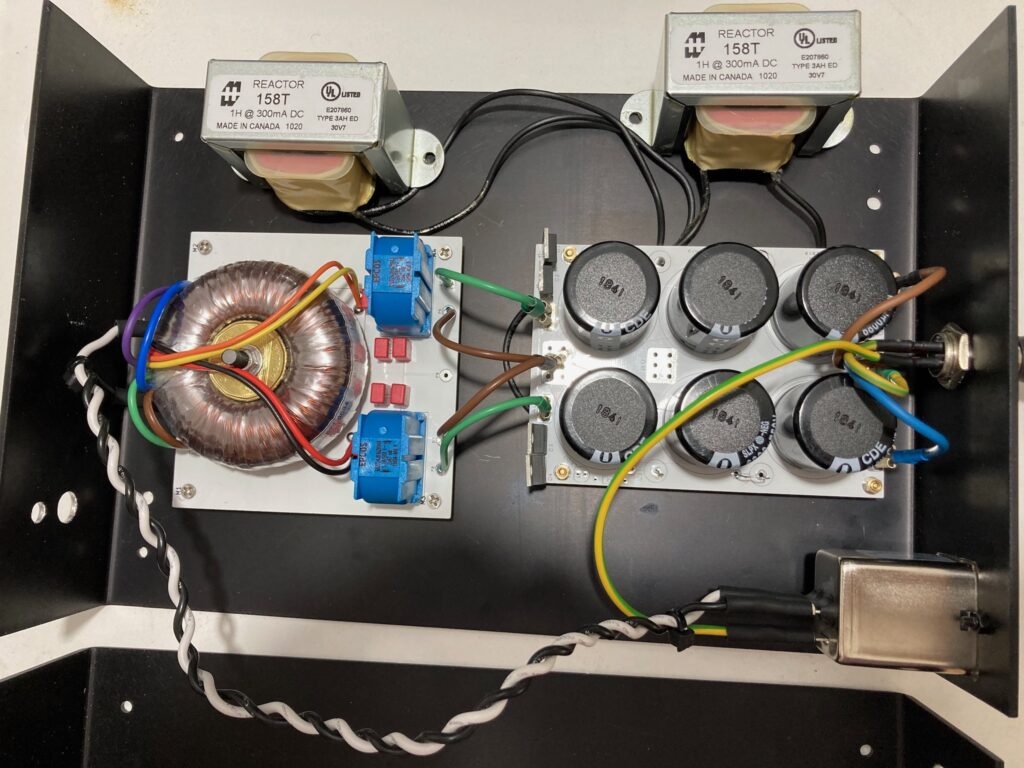
Now I’m trying out the PSU boards and components in their future home. That’s live AC coming in via the silvery box in the bottom right — so I needed to be pretty careful not to electrocute myself.
Then it was time to get the PSU connected to the main phono boards and hope nothing exploded.
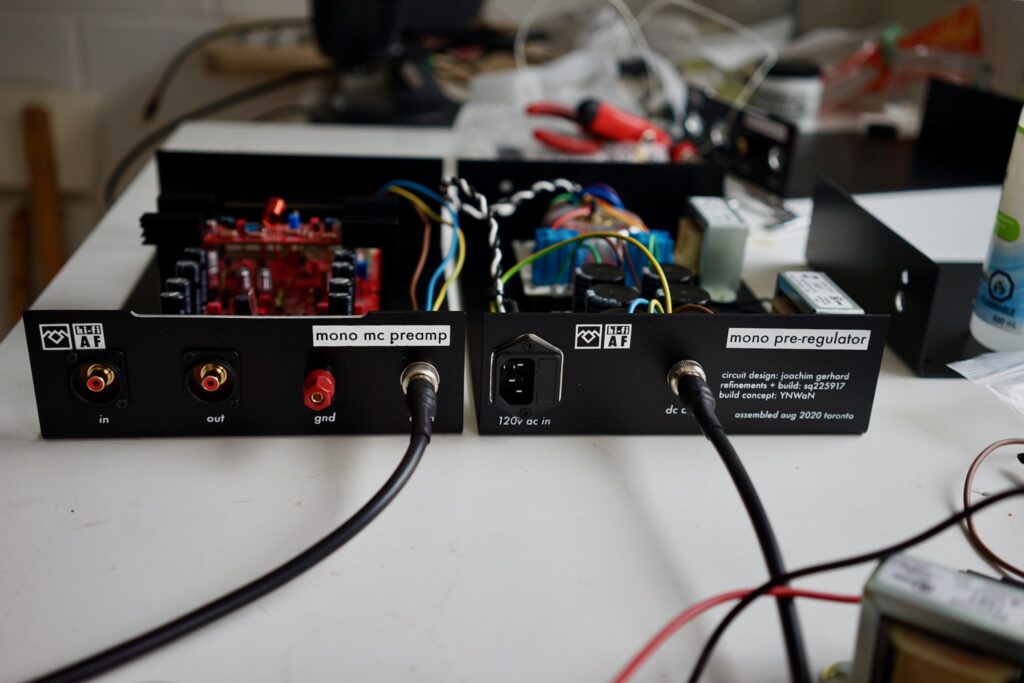
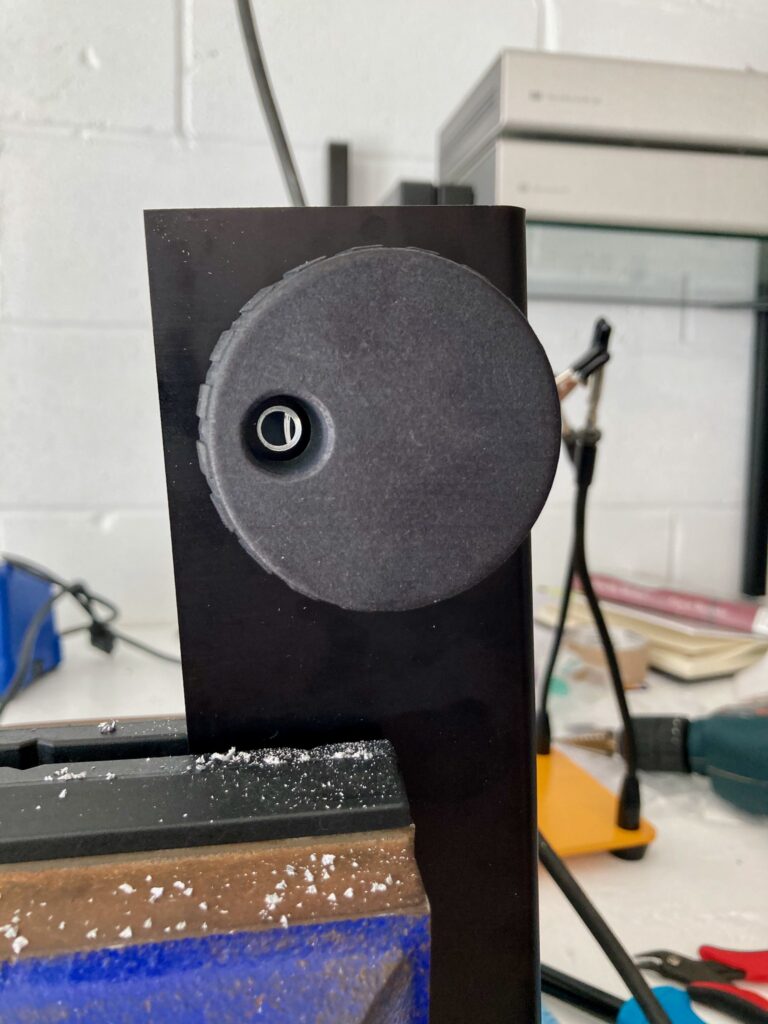
Before firing it up for the first time, I wanted to get my cool HiCap-style power switch installed.
Here is the video I took mid-day today, the first time my Paradise ever came to life. That turn to the right could have gone very badly — but happily I saw exactly what I hoped to: the LEDs under the big heatsinks came on right away, and then the rest of the LEDs in the Paradise “power shunt” slowly came to life over about fifteen seconds.
Then I tried out the right channel — which at that time didn’t have a switch installed, so I just plugged it right into the wall. It feels a little mean not to show its birth when I just showed the other. So here it is, a little bit closer up:
Then it was a matter of making sure all the voltage readings were within range — which they were.
Then I put a switch in the right channel PSU and called it a weekend.
Next steps
Inevitably, I did forget to order a couple of parts — and the voltage readings I took from my nearly-complete boxes have suggested a few more little parts I need to order. So I’ll order those, and hopefully they don’t take a week to arrive.
In the meantime, I’ll finalize the layout of the boards in the boxes and drill holes for mounting them to the cases. I may even mount the fasciae on the cases. Once the parts arrive, I’ll wire in the input and output signal — and I can actually listen to this reputedly incomparable phono stage…

