LP12MF: Installing the Mober Subchassis
Oh how I have been anticipating and dreading this day!
Ever since I got the idea to systematically unbuild and rebuild my LP12, it’s all been leading here. I ordered a bunch of parts. I ordered an LP12 jig (something I’ve been dreaming of since I was a teenager, fml). I downloaded Peter Swain’s LP12 setup guides, printed them out, had them spiral-bound, and read them over many times. Eventually, I need to just f@#king do it. That day was today.
One last item
Over the last few days, I got all my ducks in a row. I completed my pre-modification listening tests. I reread Peter Swain’s manuals. I made sure I had everything I needed.
I was missing one thing: the cap for the Cirkus bearing, without which oil gets everywhere if you turn it upside down. I called my local Linn dealer, Star Electronics, and they hooked me up — for free! Thank you, Razvan! (The bearing oil did leak a bit, but I am not blaming you or the bearing cap. I am blaming the oil itself for being so sneaky.)
Before I left, however, Razvan and his partner did make it clear to me that they thought I was going to severely mess up my LP12 by doing it myself — and also that I should be starting with the motor & control unit, not with the subchassis. The usual horror stories were told. “The LP12 is a complicated machine!” “You’ve never going to get the bounce!”
Undaunted, I boarded the #80 bus back home, bearing cap in hand — my excalibur!
Getting going
Was I so excited the night before that I could not sleep? Yes, I was that excited.
When I finally fell asleep, did I have stress dreams about “pistonic bounce”? Yes, that was the subject of several dreams.
Did I then wake up ridiculously early, like a child on Christmas Day? You know I did.
I had a quick breakfast and started leveling the LP12 jig. My heart was actually pounding. (And I am a runner!)
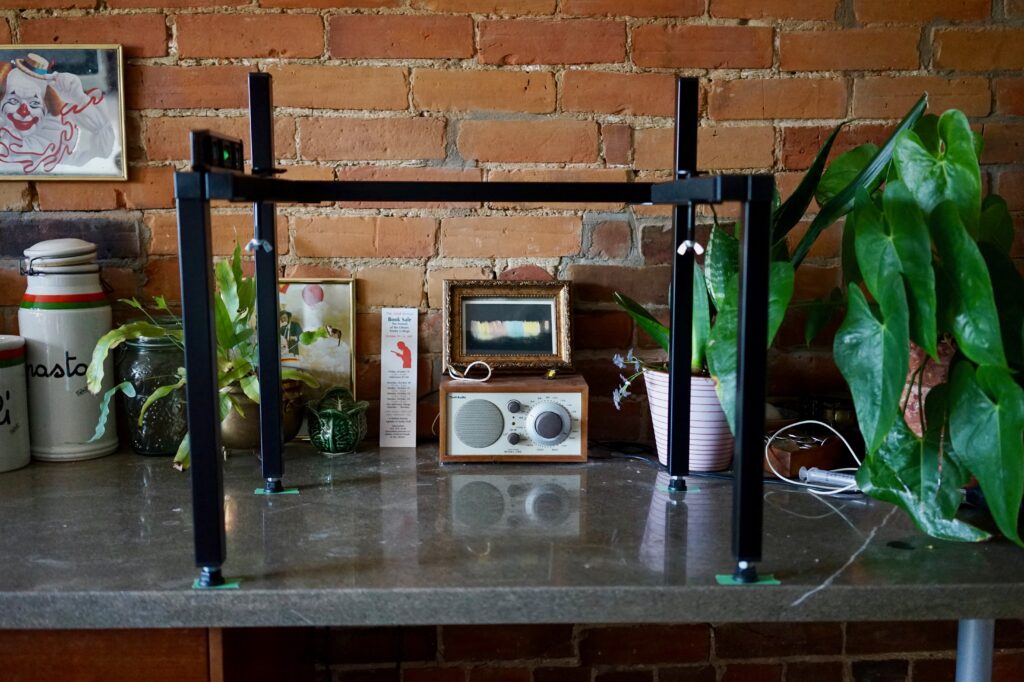
That, up there, is my blank canvas!
All kinds of good omens in that photo, all carefully placed: clown mirror, Niagara Falls postcard, lotsa plants, a Tivoli radio.
I didn’t actually level the jig until the deck was installed — but I was thinking ahead by marking the position of the feet to make sure I knew where the jig was when it was level. Good thinking, as it turned out.
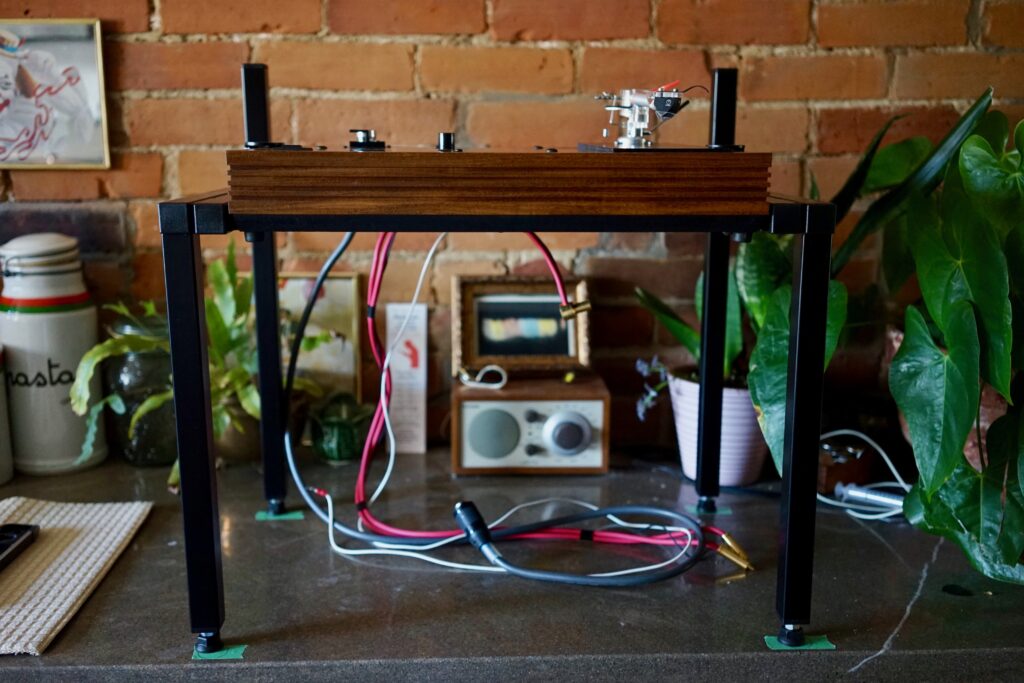
All loaded up and level. Time to get started.
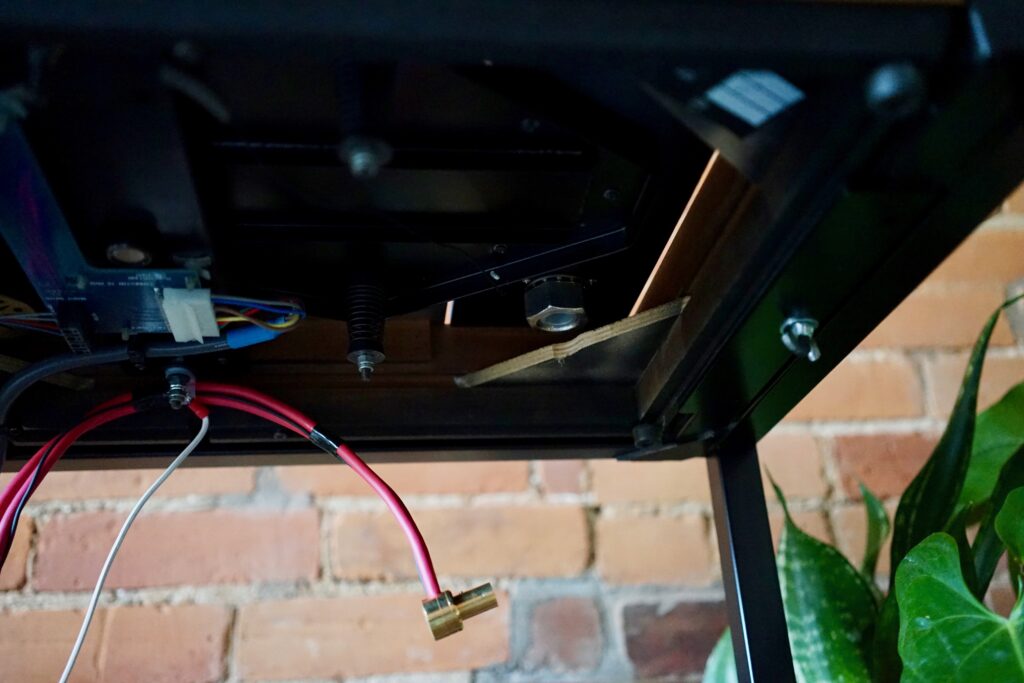
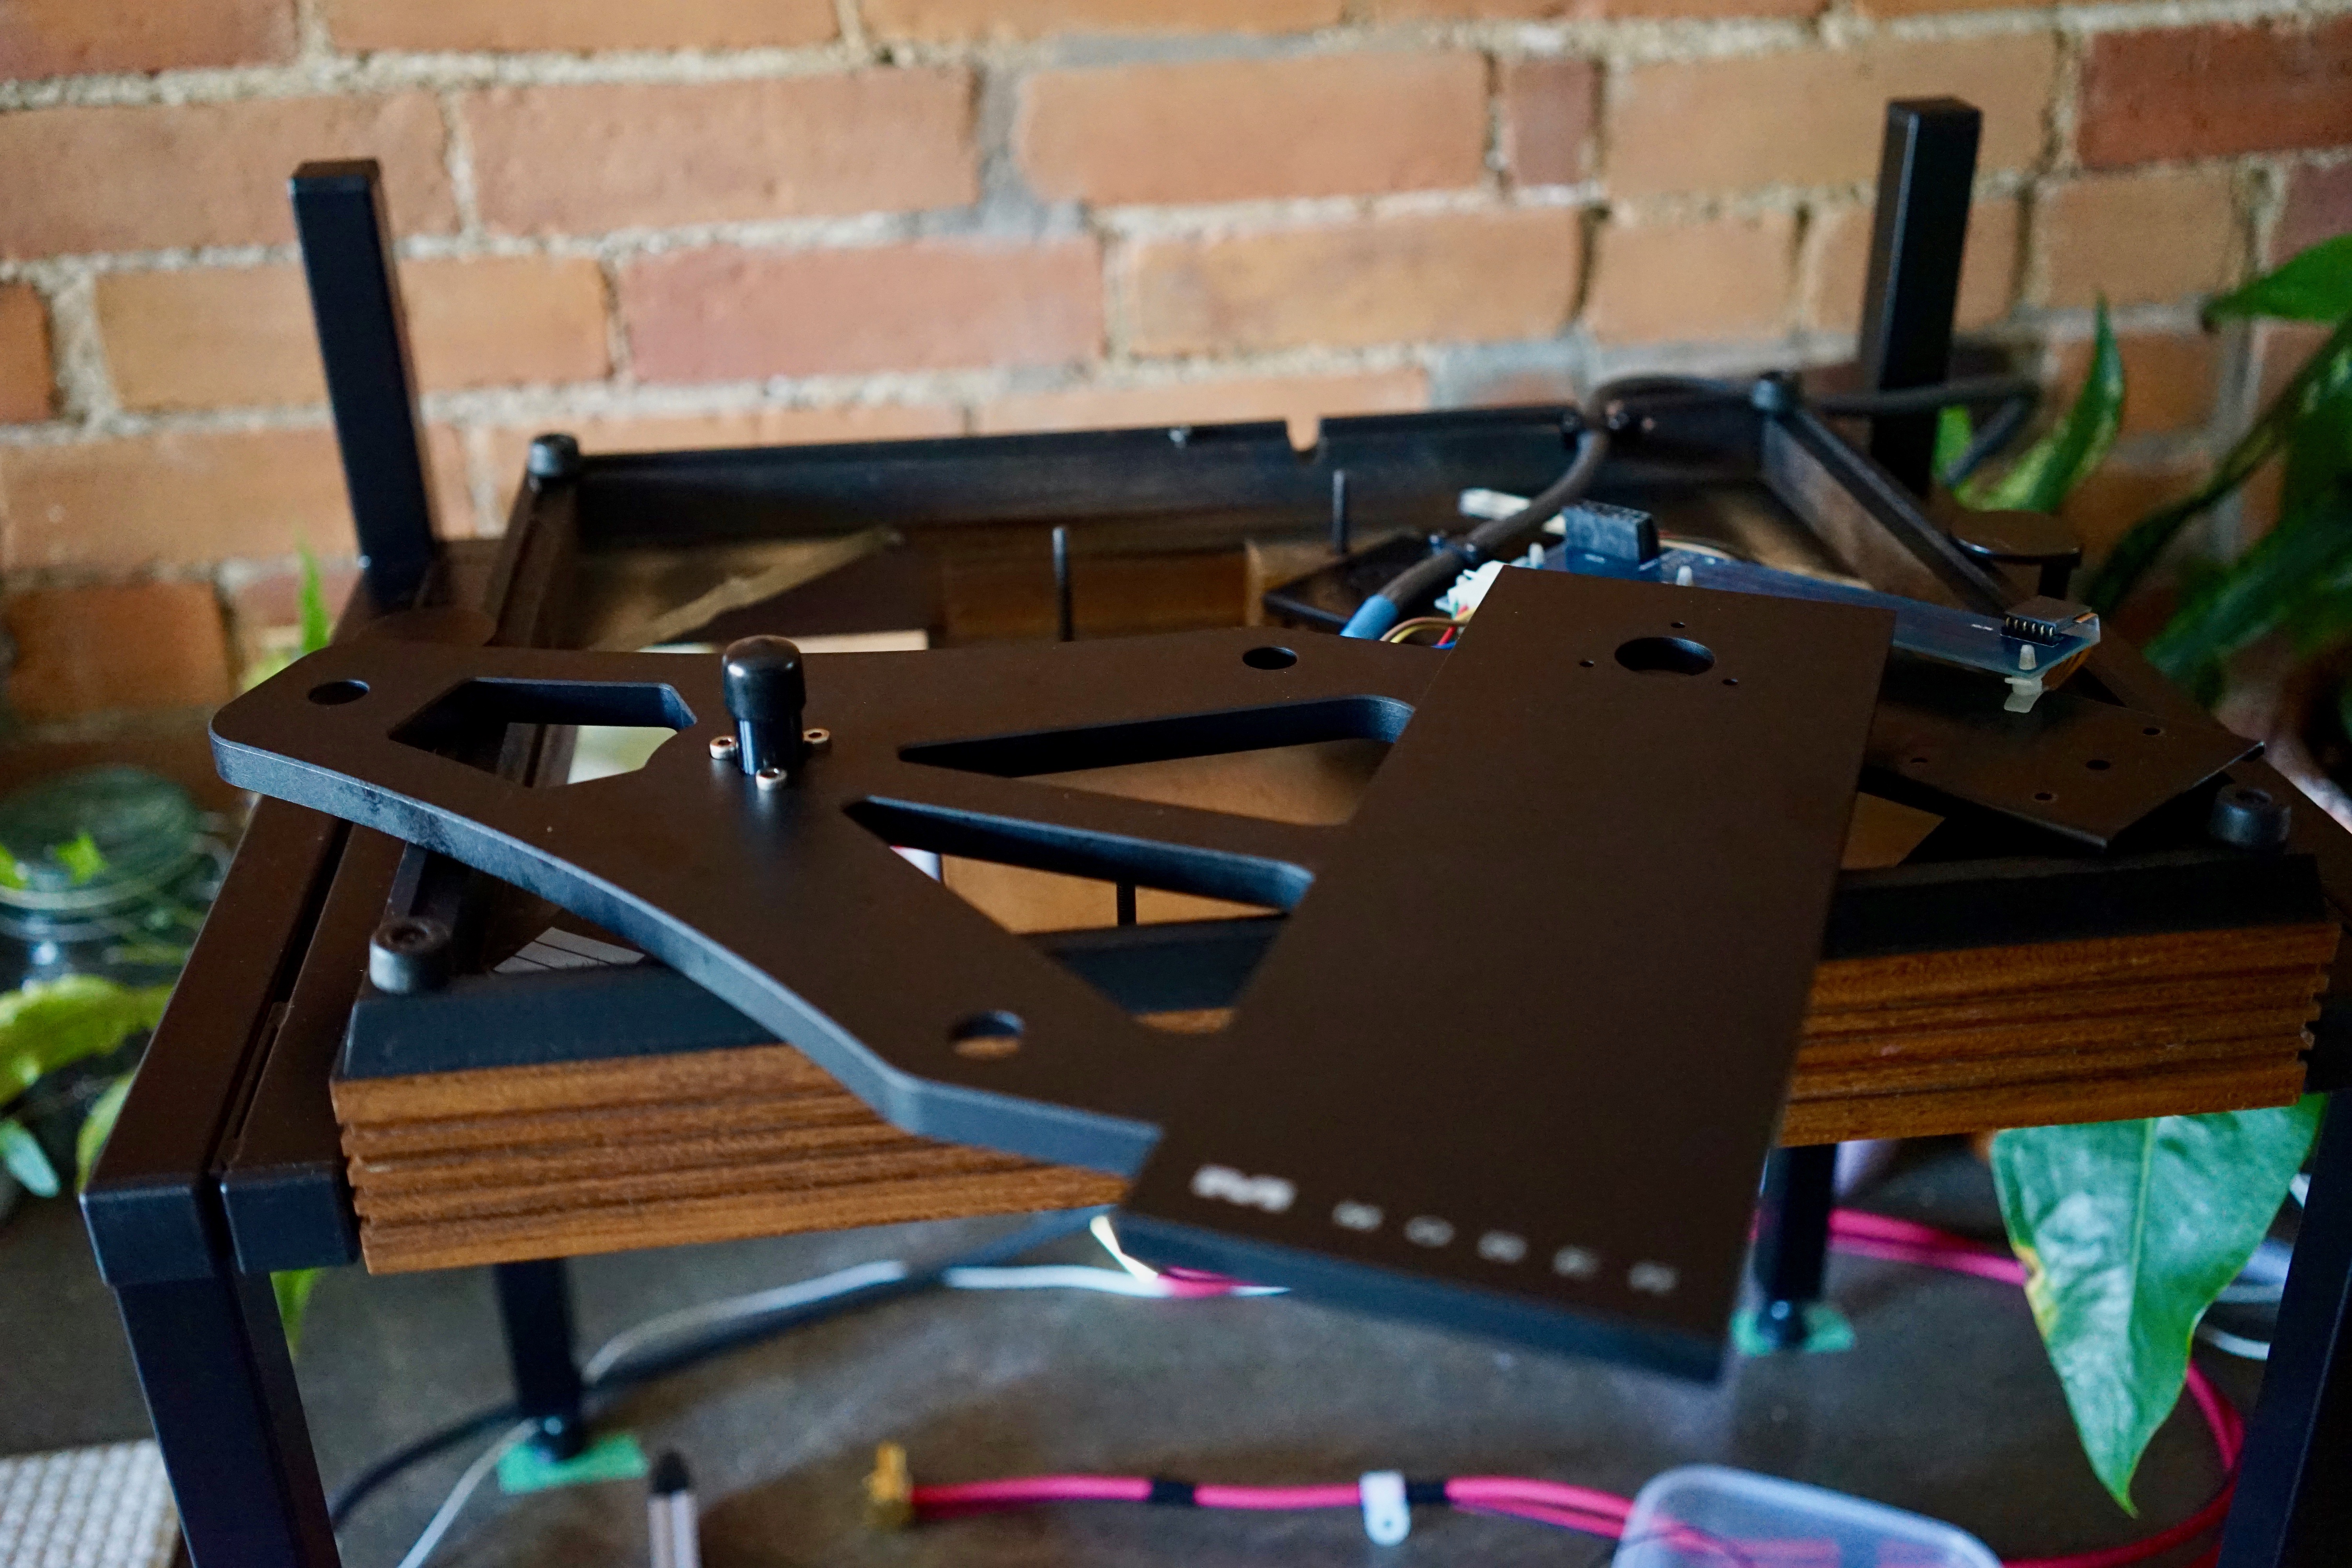
This was the single thing I was most nervous about going in: I didn’t remember how the tonearm cable connected to the Nima arm base. Good news: it just slipped right out with a press fit, no grub screw, no permanent connection. Gary Dillott, genius that he was, used a Jelco arm lead to connect to the Nima. The Nima orients its DIN receptacle backward to the standard Linn orientation — but Jelco also reverses the Linn orientation on its right-angle leads. Two wrongs make a right in this case. Nima owners take note.
Given how nervous I was about “cable dressing,” I was very happy (a) to have a tonearm/cable connection that’s easily detachable and properly oriented to the exit point and (b) to be able to just leave things as Gary had them, so I wouldn’t have to fiddle with it.
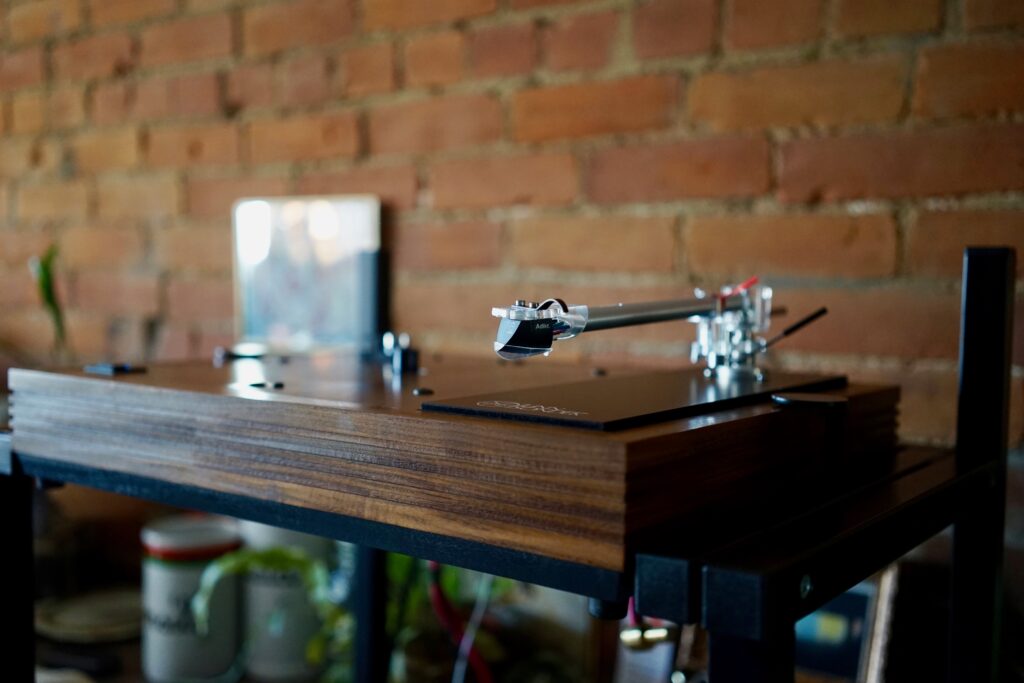
Everything’s secured. Time to flip it over.
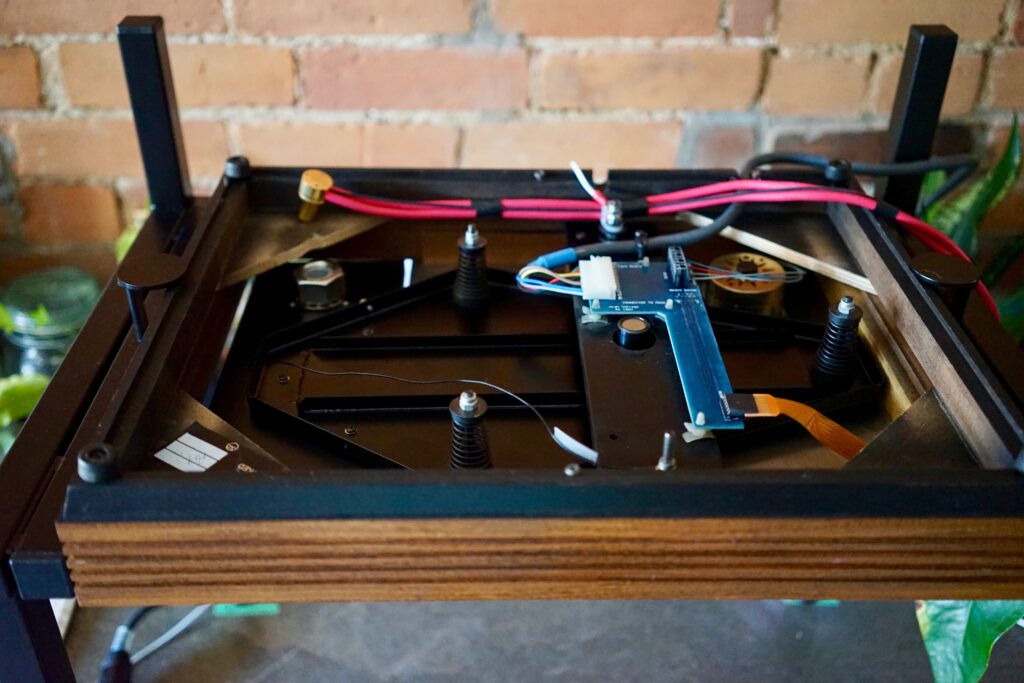
Flipped! Say your goodbyes, Cirkus chassis and Rega armboard.
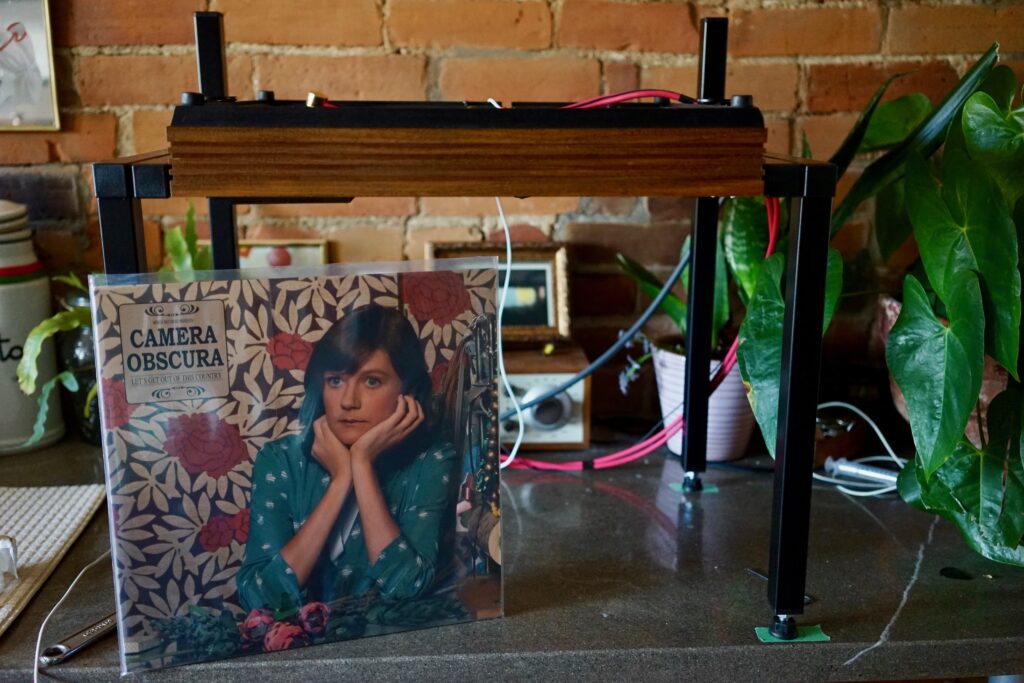
A further good-luck policy on this day was only to play Scottish music while working on my LP12. An offering to Linn gods. By this point (I hadn’t done much, really!) I was already on my second Camera Obscura LP (played on my living room Rega system, out of sight), with two more LPs to come (the one above and My Maudlin Career are my faves, but they’re all very good).
Yes, this was a long, slow procedure. I was loving every second of it.
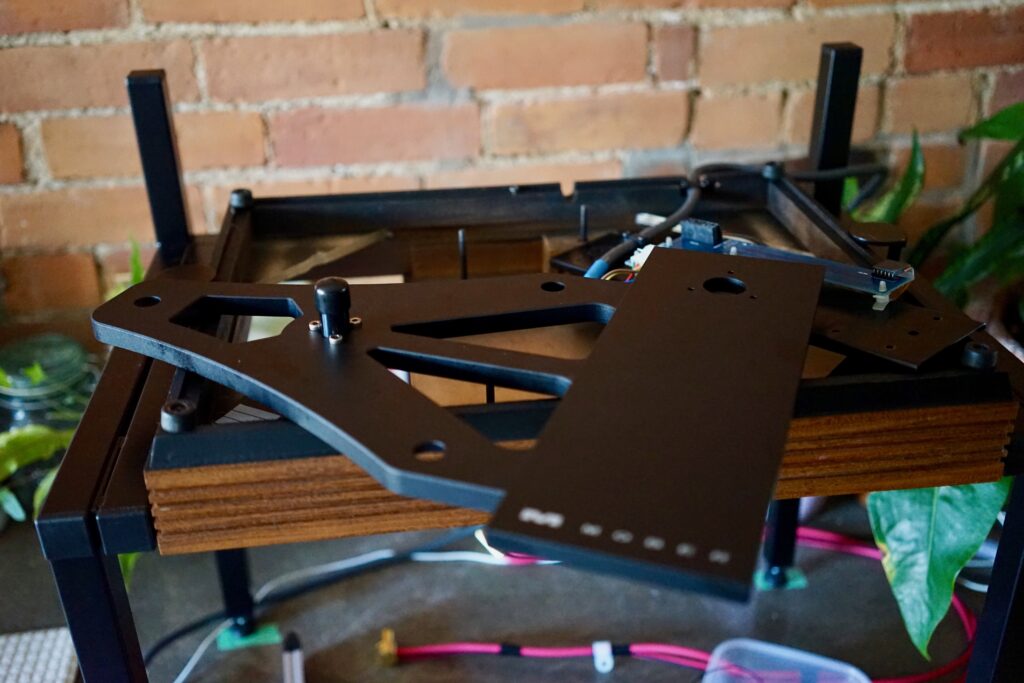
The old subchassis is out, the Cirkus bearing has been swapped onto the Mober (cap in place!). Time to put it in. (I followed Peter Swain’s advice to the letter and managed not to dent or scratch anything.)
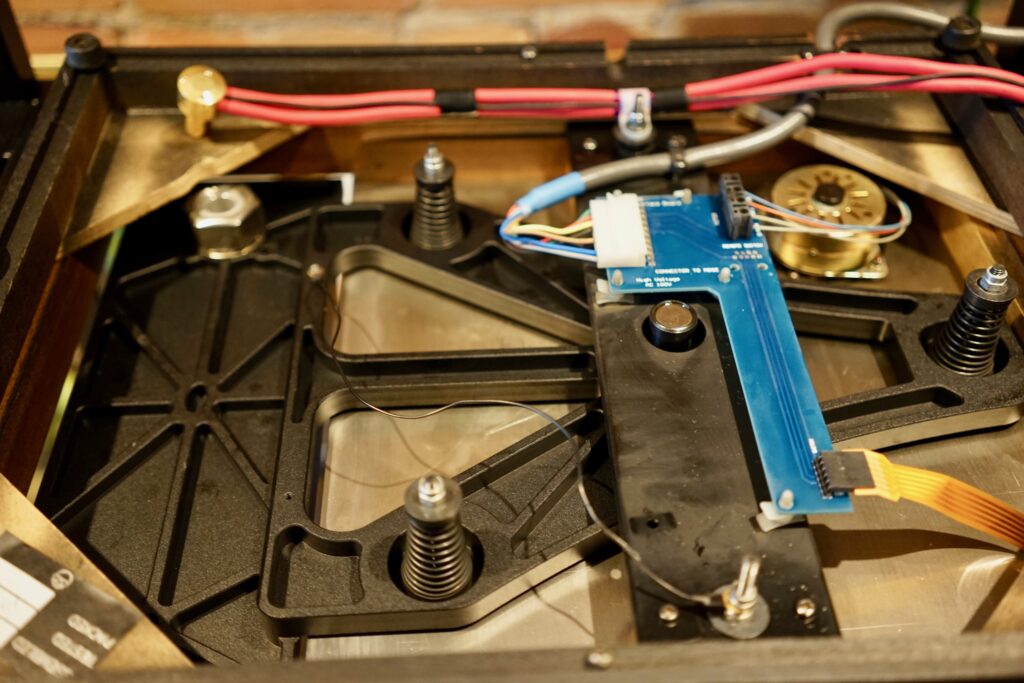
It’s in! I was very fastidious, following Peter Swain, about which spring went where. But my strategy was simpler than usual, and involved no investigation of the compliance of individual springs: I just put them where Gary Dilliott had them, since his setup was fine.
One really annoying thing was attaching the subchassis ground. It attaches to the Mober via a machine (M3?) screw, whereas the Cirkus used some kind of rough self-tapping screw. Thankfully the person who sold me the used Kore included the required screw, discovered after much grumbling, much rifling through my drawer of cycling-related screws (no M3!), and much imagining of unsuccessful trips to the hardware store (“you need metric?”) . Once located, more grumbling: it’s a keyed Torx head — WTF?! Naturally I don’t have a set of keyed torx wrenches. But I just forced it in with what I had.
(To give you a sense of time, I had worked all morning to get to this point. Then I went and got lunch. Now it was early afternoon. The day had grown cloudy, thus the poorer light from this point on.)
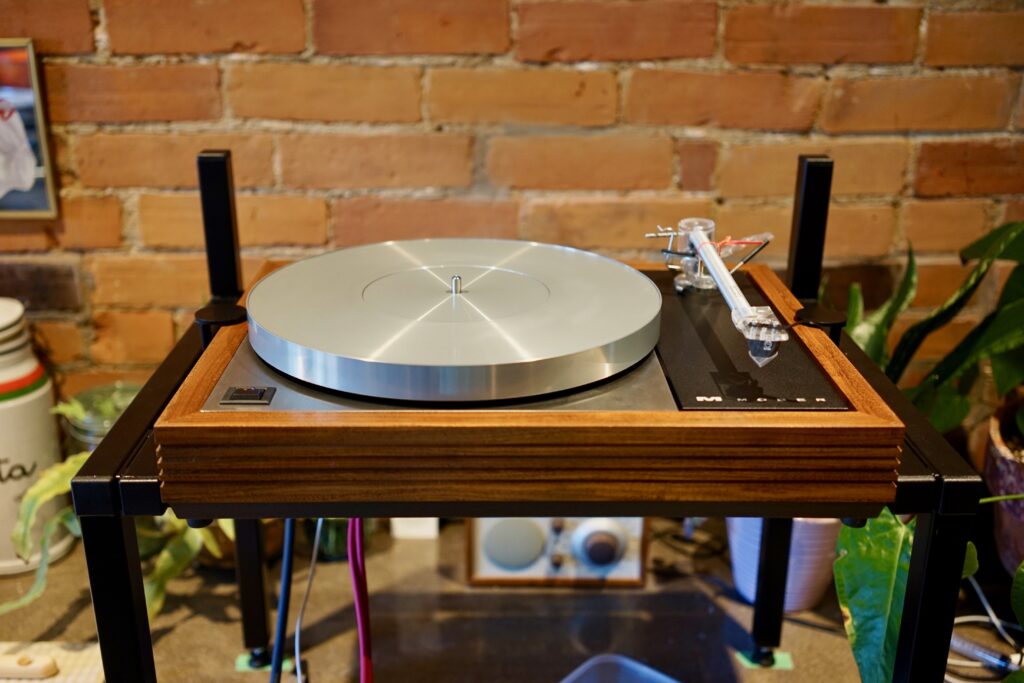
I popped the deck upright, reinstalled the arm… and I’ll be damned if it didn’t bounce pistonically right from the get-go. Of course I hadn’t yet attached the motor belt or the arm lead…
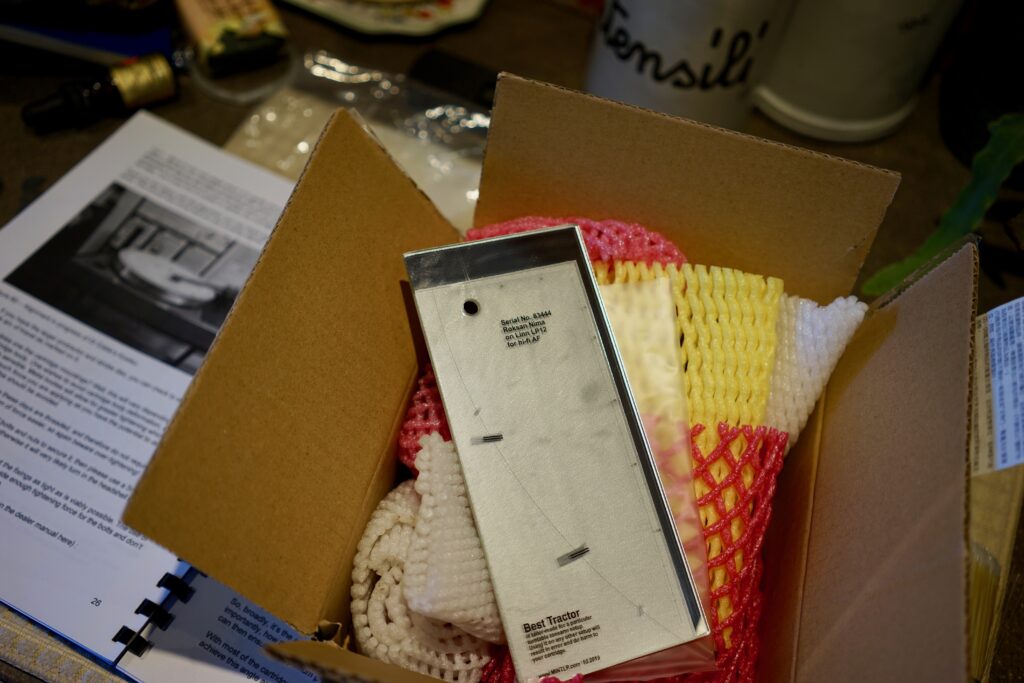
In the background: my spiral-bound Peter Swain manual. In the foreground: my Mint LP “Best Tractor” cartridge protractor, made just for me (“for hi-fi AF”!!). I wasn’t in the mood for an intense cartridge alignment session with all the other stuff I was doing, so I was hoping this would just show that the alignment Gary did was still okay — which it should have been, since the Mober and my old setup would theoretically have the same geometry. A quick check with the Best Tractor suggested it was indeed okay. I’ll get more obsessive with this when I swap cartridges. (I think a really meticulous setup, as recommended by the incredible Best Tractor manual, will take up a full day of its own.)
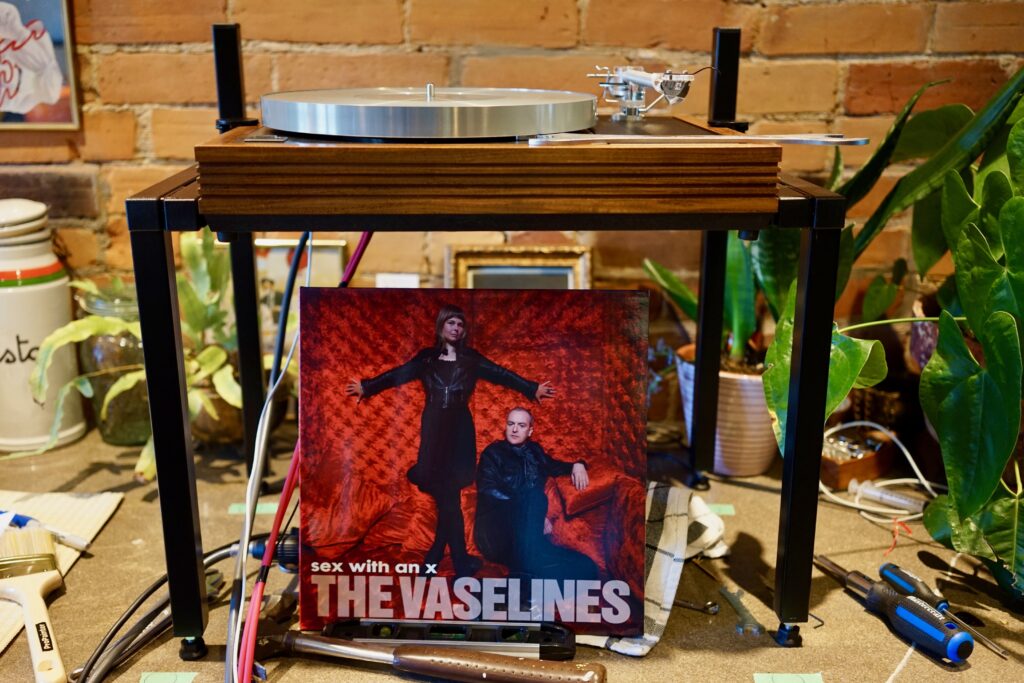
It was now well into the afternoon. I was through the Camera Obscura catalogue, had listened to some Orange Juice and Belle and Sebastian, and was now onto the sublime Vaselines…
Here I was leveling the armboard with the plinth and top plate (these bicycle headset wrenches worked well to provide a leveling target…)
The kitchen counter is getting messier and messier…
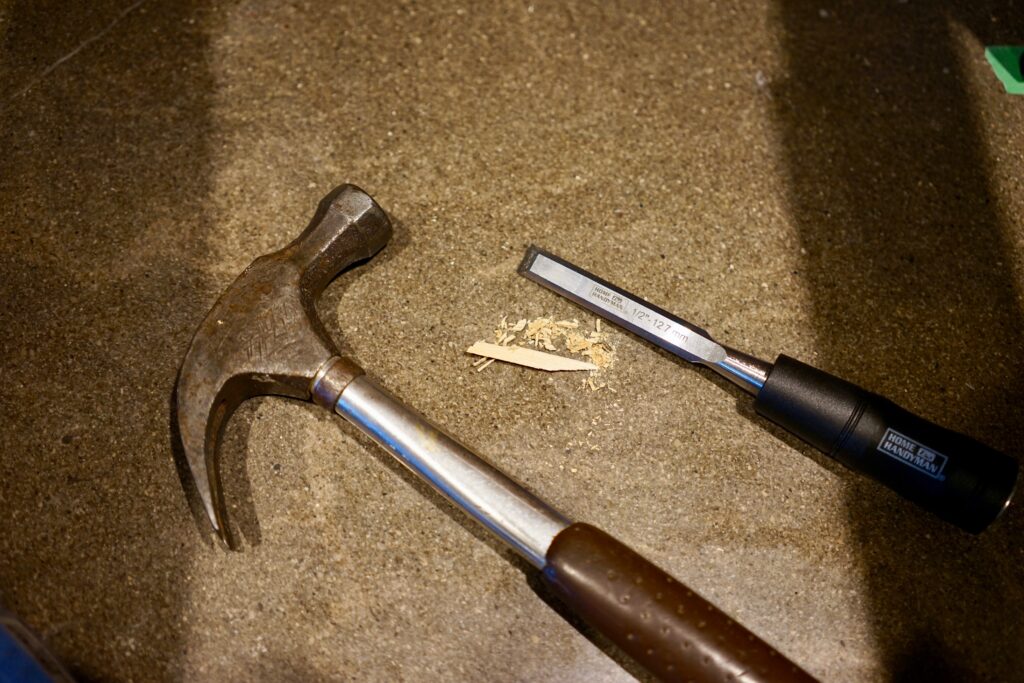
I did run into one fairly serious problem. Once I had attached the arm lead, it rubbed against the plinth cross-brace. Since I don’t have a dremel, I just chiseled that f#$cker up. Was part of one ply of the cross-brace sacrificed in my haste to do the aforementioned wood-removal without the correct tool? Sadly, yes. But there are always casualties in heroic actions such as the installation of a subchassis.
The chiseling done, the arm was moving freely and — pistonically? Honestly, without any twisting of bushings whatsoever, it was bouncing as well as it did with Gary’s setup. Good enough felt good enough, so I didn’t mess with it. In future setups, I really want to dig into cartridge alignment and pistonic bounce. But there were so many other things to worry about today…
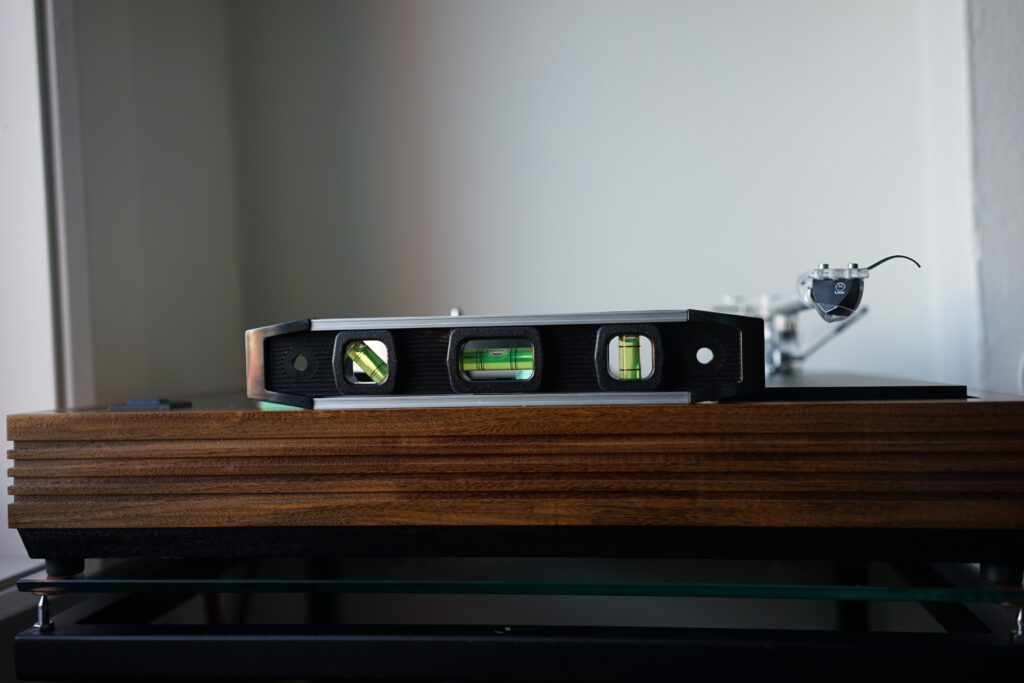
Back to my office/listening room, to get the plinth level on my Tiger Paw wall bracket— with glass shelf, which I had cut because I didn’t like the look of the chunky black shelf that comes stock.
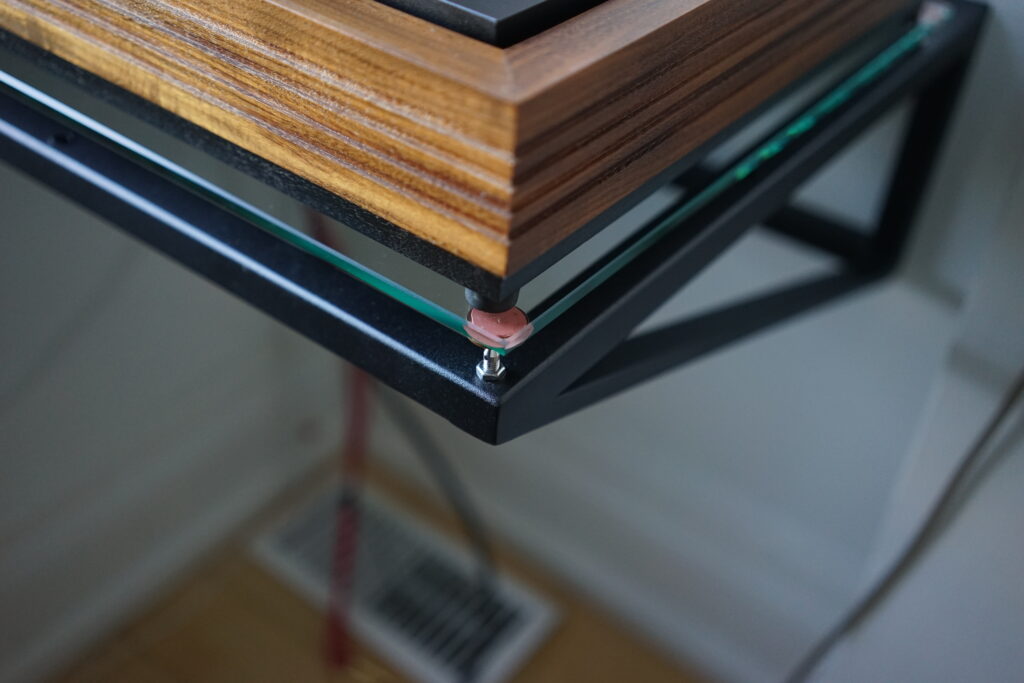
I came up with the idea of having the leveling spikes contact pennies (nice soft metal, but hard to find — no longer circulating in Canada) which I stuck to the glass with a special copper-coloured sticky tack (to match the pennies). All this, I figured, would let me have my glass shelves without the vibrations. It does look a little silly though — like a penny’s stuck to glass with chewing gum…
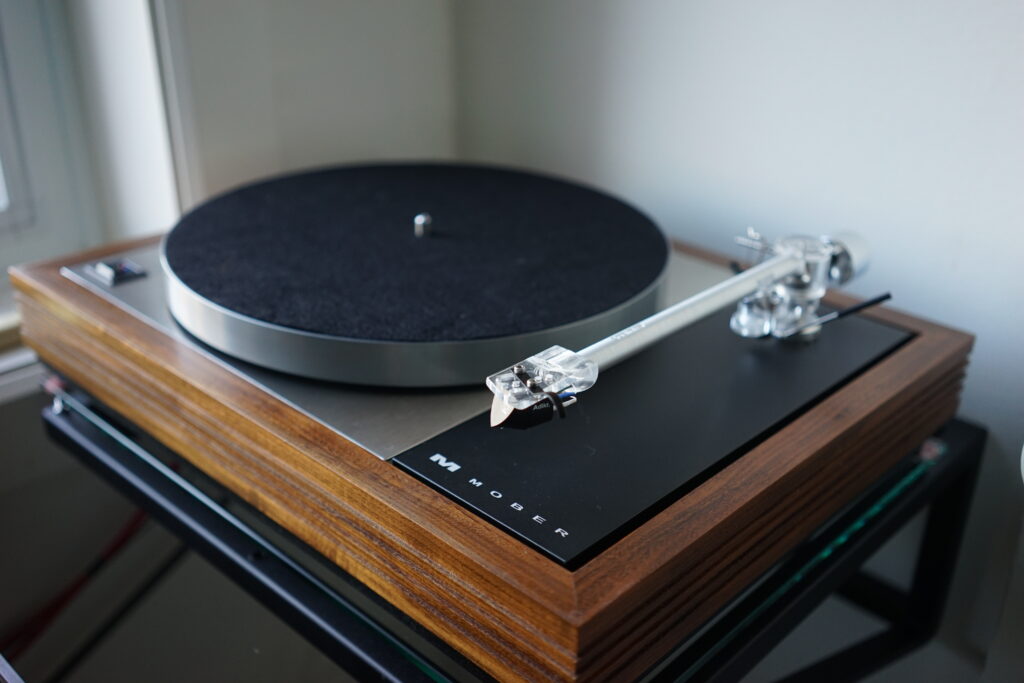
The arm board isn’t centered in its cutout: it sits too close to the front and the top plate. But I have no idea how you could modify something like that, given that the armboard is not adjustable on a one-piece subchassis, unlike the adjustable two-piece setup… Also, that’s more or less how things looked with the Dilliott setup. Maybe the top plate is to blame, putting the suspension bolts in the wrong place? It’s on its way out, anyway, so I can check soon enough… Something to obsess over later.
The Mober logo looks slightly less bad than I thought it would, but still not my cup of tea. I thought it would come off with nail polish remover, but sadly it didn’t. I’ll have to do something about it if I end up keeping the Nima setup. But until it’s clear that will happen, it can stay…
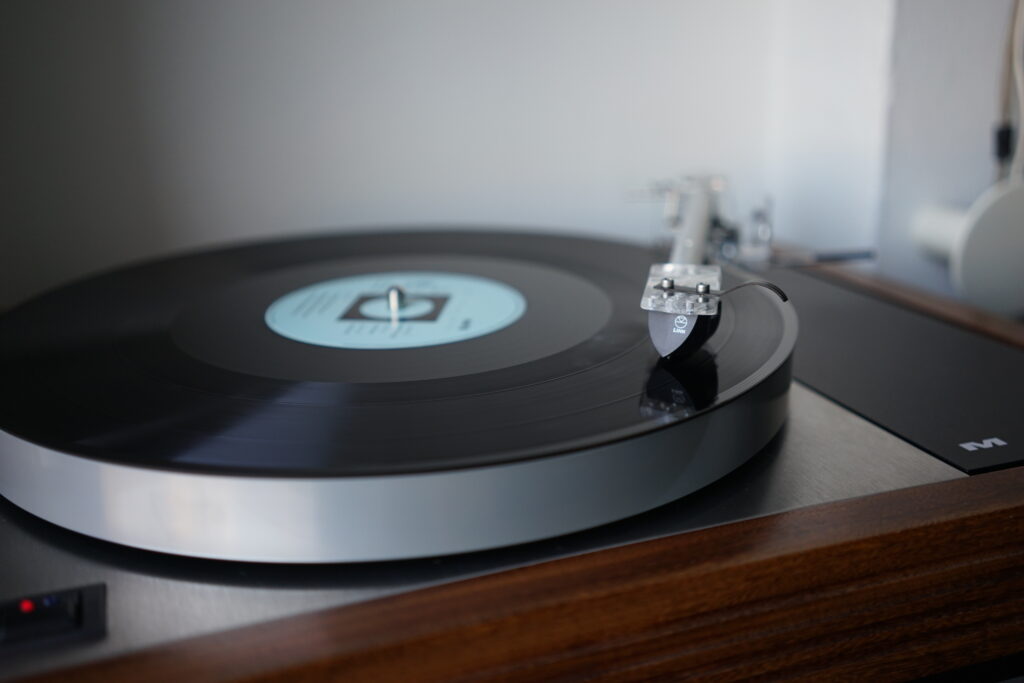
Time to see if it works! I need the perfect good-luck record… one not only Scottish, and not only really, really good — but actually released by Linn Records. Okay, The Blue Nile’s Hats it is!
With all those good luck charms, it will be no surprise to you that it did indeed work.
How did it sound? Really good. Totally non-awful. Everything grounded, no buzzing, good tracking, no weird sibilance issues.
Did it sound better?
That, my friends, is a subject for another day.

